How to Automatically Archive Your Instagram Photos with Evernote
When you pair Evernote with automation tools like Zapier or IFTTT (if this, then that), the robust platform for clipping notes, archiving receipts and saving just about anything becomes even more powerful. Through simple automation, there are dozens of ways to extend the functionality of popular platforms like Evernote.
Today, we’re going to look at a simple way to archive your Instagram photos by sending them to Evernote right after they’re uploaded. The entire process takes only minutes to set up and works in the background to archive each image when you upload to Instagram.
1. Click the arrow next to your IFTTT username to display a drop-down menu.

2. Click Create.

3. Click this and search for Instagram in the search field.
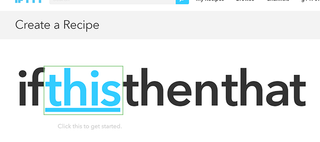
4. Click the Instagram icon.

5. Press the blue Connect button to enter your username and password for Instagram.
Stay in the know with Laptop Mag
Get our in-depth reviews, helpful tips, great deals, and the biggest news stories delivered to your inbox.
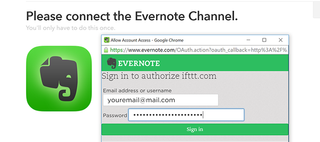
Once entered, this connects your Instagram account to IFTTT.
6. Click Done.
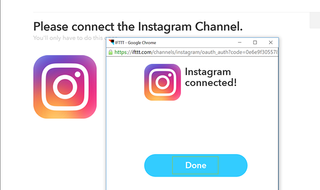
7. Press Continue to the next step.

8. Choose Any new photo by you.
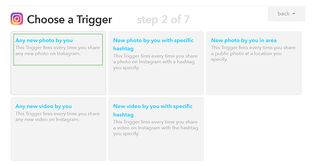
9. Press Create Trigger.
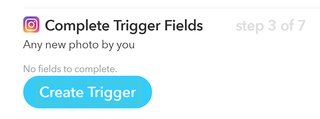
The trigger event sets the automation sequence in motion.
10. Click "that" and search for Evernote in the search field.

11. Click the Evernote icon and press Connect.
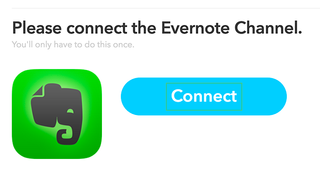
12. Enter your username and password to connect Evernote to IFTTT.

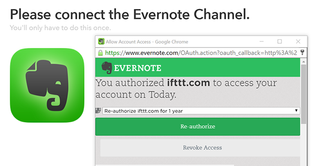
13. Authorize or Re-authorize the connect by clicking the green button.
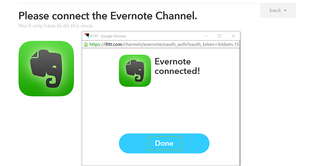
14. Press the Done button to continue.
15. Click Continue to the next step.

16. Choose Create a note from the list of actions.

17. Add the name of the Evernote notebook you want to archive your images to. Leave the Notebook field blank if you want to send your photos to the default notebook.
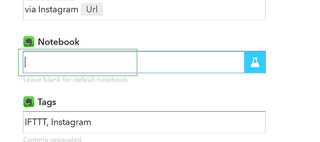
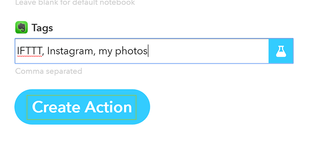
18. Add additional tags or remove the existing ones as needed.

19. Click Create action.
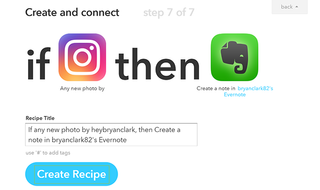
20. Click Create Recipe.
Instagram, Facebook, and Messenger are down: Everything you need to know about Meta's outage
Best education apps in 2025

