How to Add the Control Panel to Windows 10 File Explorer
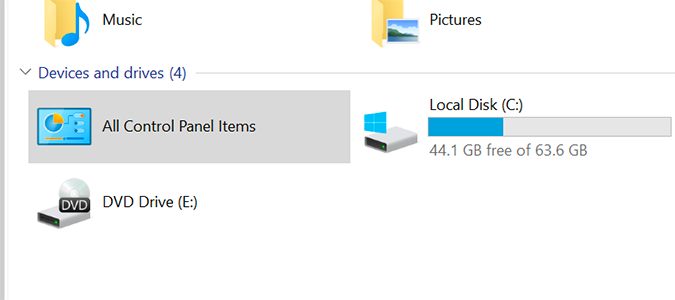
If you find yourself using the Control Panel regularly, it might prove beneficial to add it to the "This PC" section of Windows File Explorer. Of course, it’s easy enough to find these days -- just a simple right click on the Start menu -- but, the Control Panel of old is still around and just as important as ever. With a simple registry hack, you can put it wherever you’d like, but today we’ll focus on adding it to the “This PC” section of Windows File Explorer.
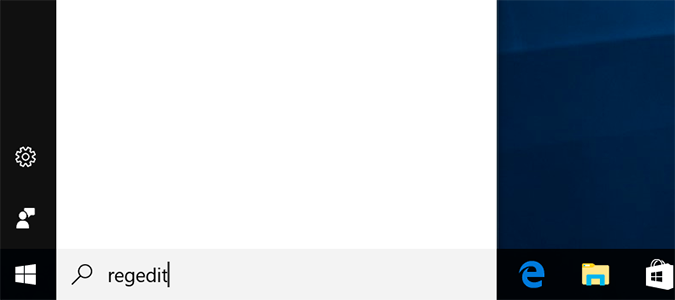
1. Open the Registry Editor by clicking the Start button and typing “regedit.”
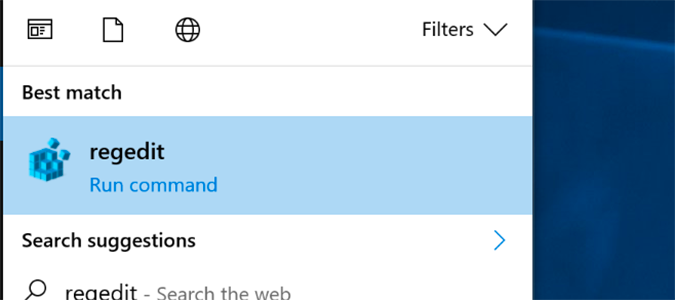
2. Hit Enter, or click the appropriate match in the Best match section.
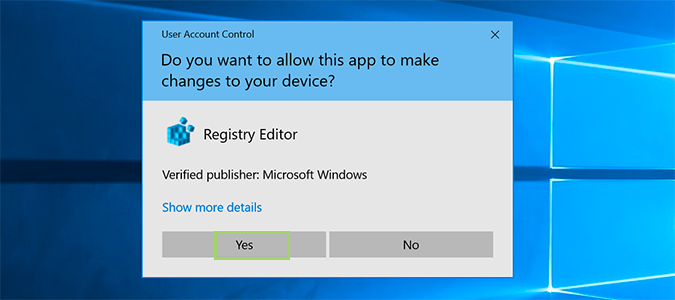
3. Click the Yes button to allow Registry Editor to make changes to your device.
4. Navigate to the following key: HKEY_LOCAL_MACHINE\SOFTWARE\Microsoft\Windows\CurrentVersion\Explorer\MyComputer\NameSpace
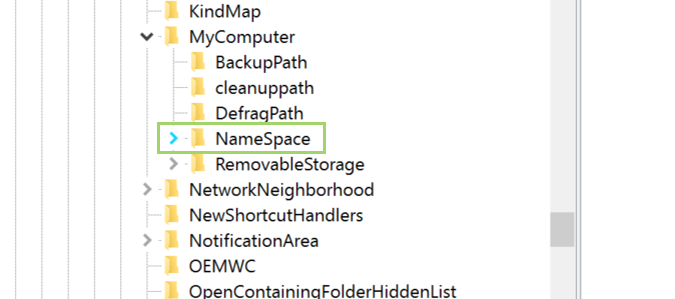
5. From here, we’re going to create a new key inside the NameSpace key. Right-click the NameSpace key and choose New > Key.
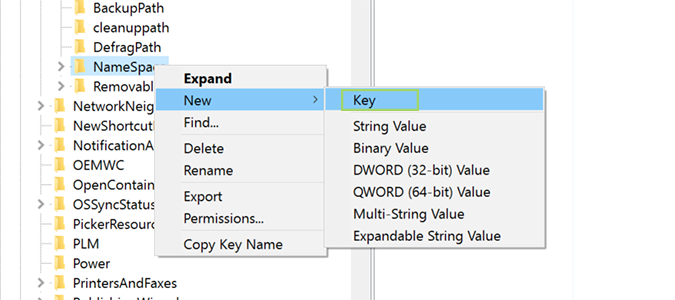
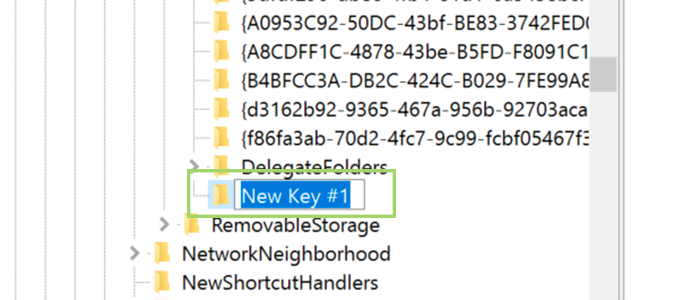
6. Depending on the name we give the key, Control panel can open in either category view or icon view. Right click the New Key and name it one of the following:
Stay in the know with Laptop Mag
Get our in-depth reviews, helpful tips, great deals, and the biggest news stories delivered to your inbox.
For category view, name it: {26EE0668-A00A-44D7-9371-BEB064C98683}
For icon view: {21EC2020-3AEA-1069-A2DD-08002B30309D}
Windows File Explorer Tips
Bryan covers everything you need to know about Windows, social media, and the internet at large for Laptop Mag. Thanks to his extensive knowledge of operating systems and some of the most popular software out there, Bryan has written hundreds of helpful guides, including tips related to Windows 11 drivers, upgrading to a newer version of the OS, editing in Microsoft Photos, or rearranging pages in Google Docs.
