How to Add Input Restrictions to Validate Data in Excel
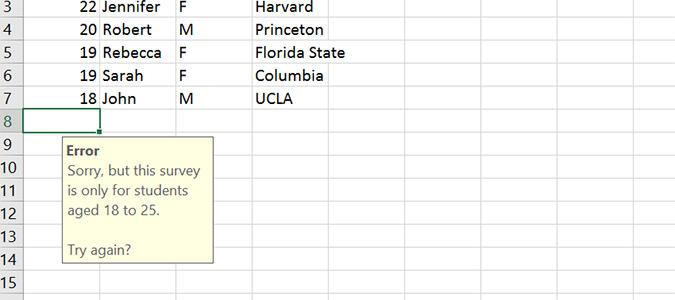
When entering data in Excel, sometimes there are specific things you don’t want in your dataset. For example, maybe you’d like prices to be rounded up to the nearest dollar, or to ensure that people in a survey are between a specific age. Today we’re going to learn about input restrictions, and how to use them to ensure improper data isn’t corrupting your workbook.
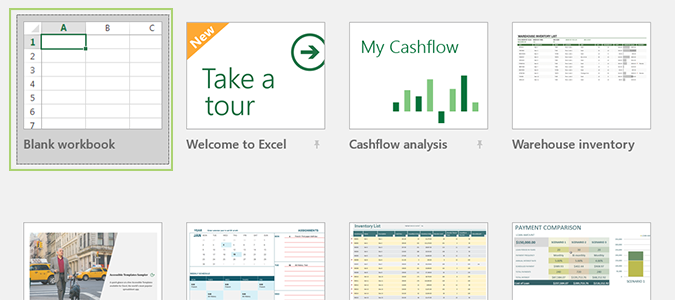
1. Open Excel and choose a Blank workbook. You can also use an active workbook with the data already filled in, just be sure to save a copy in case you make a mistake. We’re going to use dummy data to set input restrictions on age, although we could also use it for gender in this example, by requiring entries to be a single letter: either M or F.
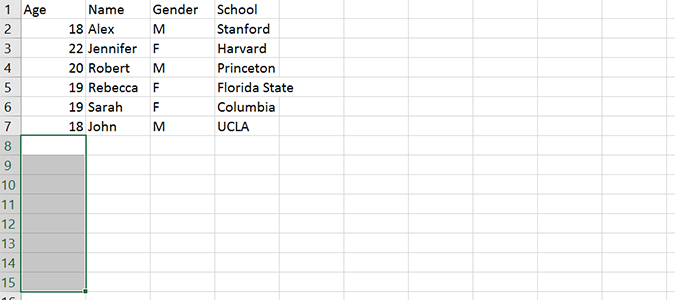
2. Select additional cells in the column you’d like to add validation restrictions for. In this case, we’ll select to row 15, and ensure that each college student answering our survey questions is between the ages of 18 and 25. If we should enter a larger or smaller number, we’ll receive an error message informing us about the input restriction.
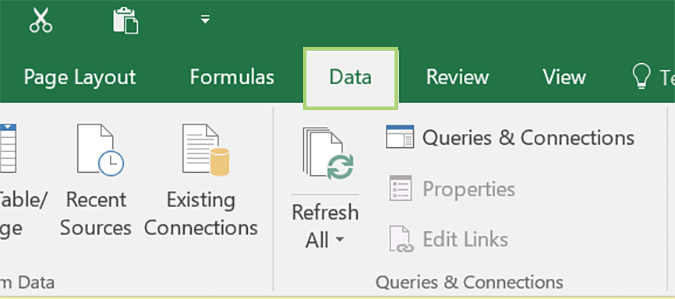
3. Click the Data tab at the top of the page.
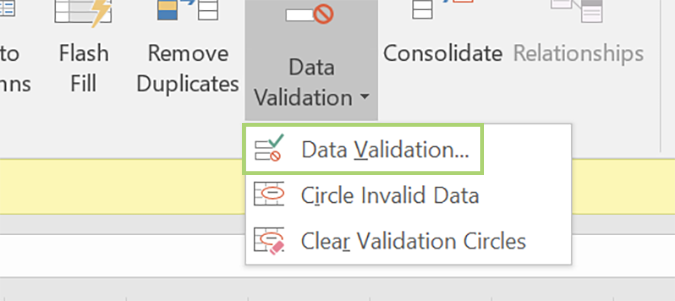
4. Click the Data Validation icon, and select the top option, Data Validation.
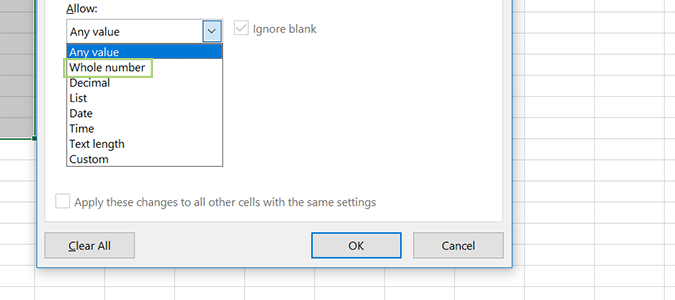
5. In the Allow drop-down, select Whole number.
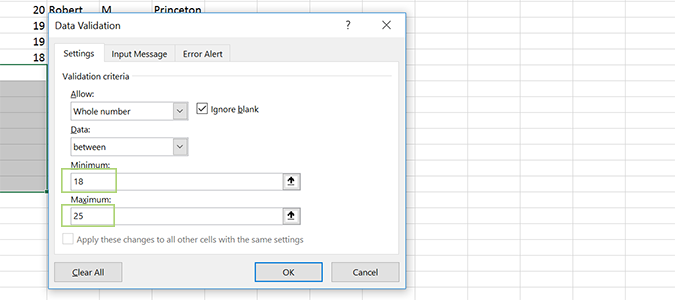
6. Choose a minimum and maximum age and add it to the appropriate section.
Stay in the know with Laptop Mag
Get our in-depth reviews, helpful tips, great deals, and the biggest news stories delivered to your inbox.
7. Switch to the Input Message tab within the same box.
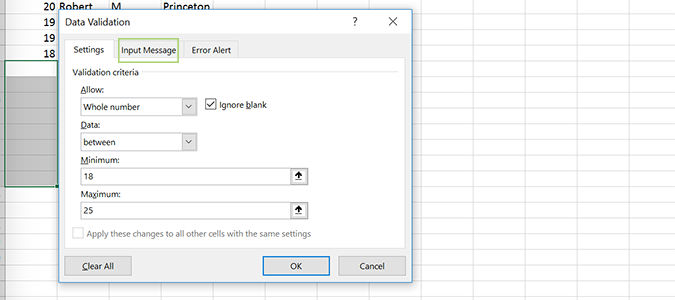
8. Add a title and input message. This message displays when someone enters text outside of your pre-determined parameters.
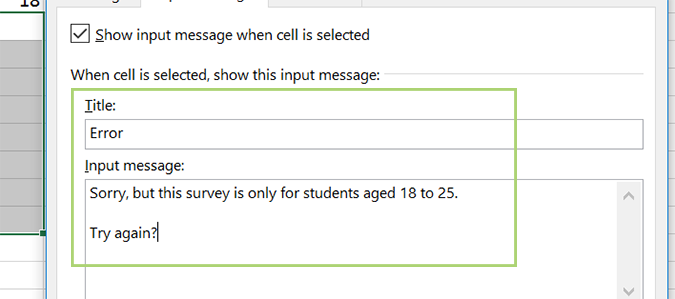
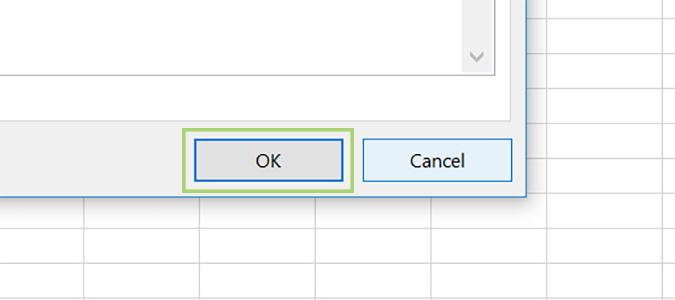
9. Press OK. Now when you enter text outside of our age range (18 to 25), you’ll be met with a pop-up error message telling you about your mistake. The workbook will not accept numbers outside this range, at least in the column(s) we selected previously.
Microsoft Excel Tips
- Use VLOOKUP in Excel
- Back Up Files Automatically in Excel
- Remove Duplicate Data in Excel
- Create a Waterfall Chart in Excel
- Lock Cells in Excel
- Freeze Rows and Columns in Excel
- Build a Forecast Chart in Excel
- Create a Funnel Chart in Excel
- Make a Treemap in Excel
- Convert Excel Sheets to Google Sheets
- Open Google Sheets in Excel
- Combine Data from Different Cells
- Merge Cells to Span Multiple Columns
- Use AutoFill for Repetitive Data
- Copy and Paste Repetitive Data the Easy Way
- Use Text to Columns
- Draw Diagonal Line in a Cell
- Create a New Shortcut Menu
- Transpose Columns Using Paste Special
Bryan covers everything you need to know about Windows, social media, and the internet at large for Laptop Mag. Thanks to his extensive knowledge of operating systems and some of the most popular software out there, Bryan has written hundreds of helpful guides, including tips related to Windows 11 drivers, upgrading to a newer version of the OS, editing in Microsoft Photos, or rearranging pages in Google Docs.
