How to Add Realistic Textures to Paint 3D Creations
Creating shapes and objects is just the start of the process with Microsoft’s Paint 3D. The fun comes from adding the finishing touches -- lighting, textures, and shapes -- that help to bring your artwork to life.
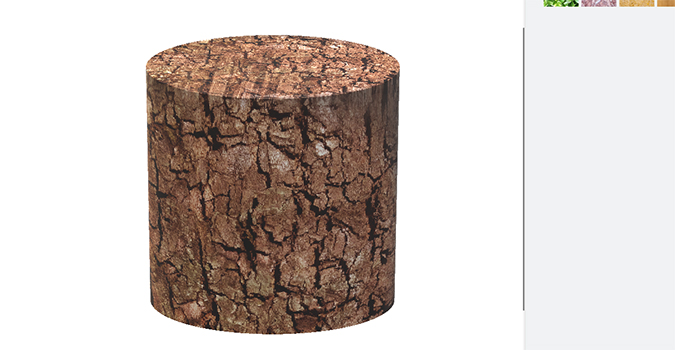
Textures offer a prime example. From a simple cylinder, we now create something resembling a tree stump… resembling being the key word.
1. Open Paint 3D and press New to start a new project.
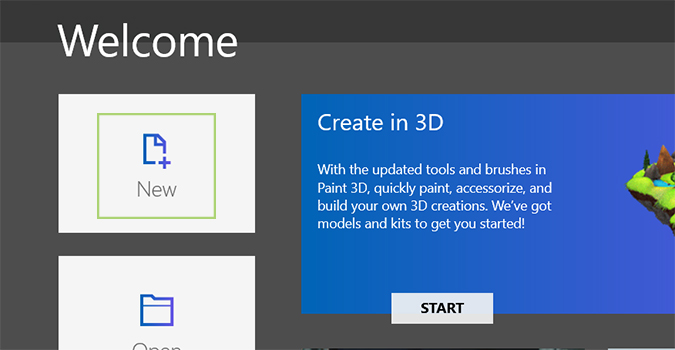
2. Start by placing an object on the board. If you don’t know how to do that, we’ve got a tutorial here. The TL;DR version is this: click the 3D shapes icon in the top menu and select any object from the sidebar. This will suffice for this tutorial, as will adding your own artwork from a previous project.
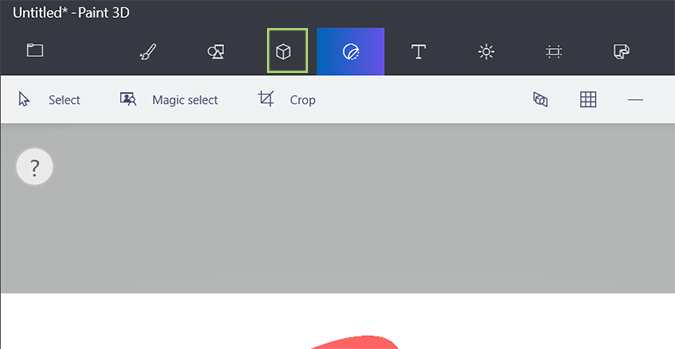
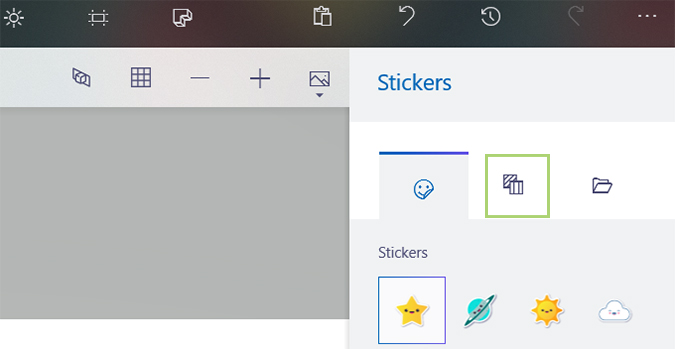
3. Select the Sticker icon from the menubar at the top. It’s the circle icon that looks like one side is being pulled away from the surface.
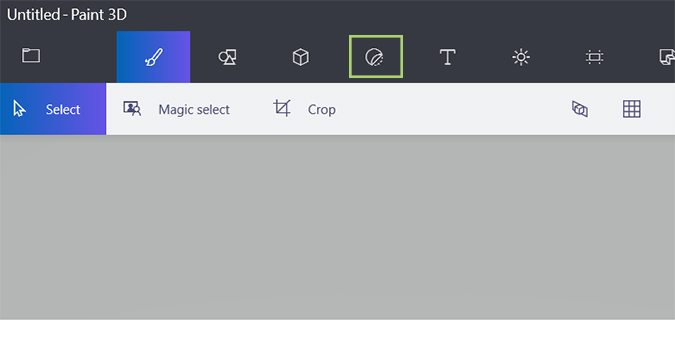
4. In the sidebar, choose the icon to the right of the smiley face under the Stickers heading. This will bring up the texture menu.
5. Click any texture, and then click again on your object to place it.
Stay in the know with Laptop Mag
Get our in-depth reviews, helpful tips, great deals, and the biggest news stories delivered to your inbox.
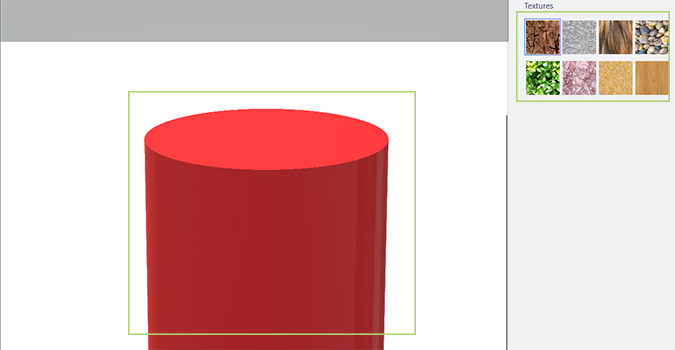
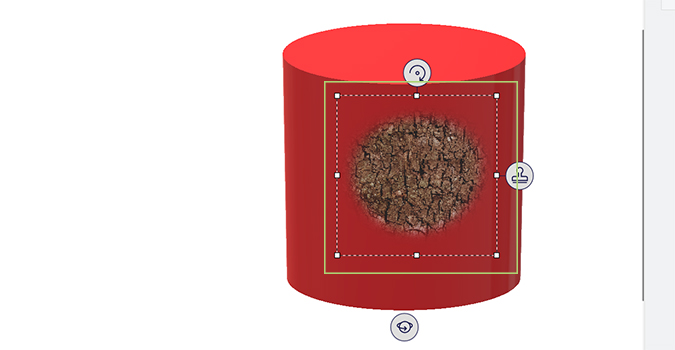
6. Grab any corner to resize the texture to fit the object. You can also rotate it or flip it from here if you’d rather position it at a different angle.
Bryan covers everything you need to know about Windows, social media, and the internet at large for Laptop Mag. Thanks to his extensive knowledge of operating systems and some of the most popular software out there, Bryan has written hundreds of helpful guides, including tips related to Windows 11 drivers, upgrading to a newer version of the OS, editing in Microsoft Photos, or rearranging pages in Google Docs.
