How to Automatically Move Files From One Folder to Another on Windows 10
Here's how to automatically move files from one folder to another in Windows 10 in order to save time and stay organized.

You might be moving files regularly from one folder on your laptop to another to archive them, to clean up clutter from your working folders, or as part of a general tidying up at regular intervals. Time is money. If you have a menial job like this that can be automated, it’s always worth the time to spend a few minutes to set up a recurring task that will do it for you.
You can use a script that uses Robocopy, a command line utility that is included in Windows 10. For the script shared below, you just need to add the frequency in days, path to the folder from where you want to move the files, and the path for the folder you want to move the files to. You can then set up a task in the Task Scheduler to run the script every day at a particular time.
How to Create a Script to Move Files on Windows 10
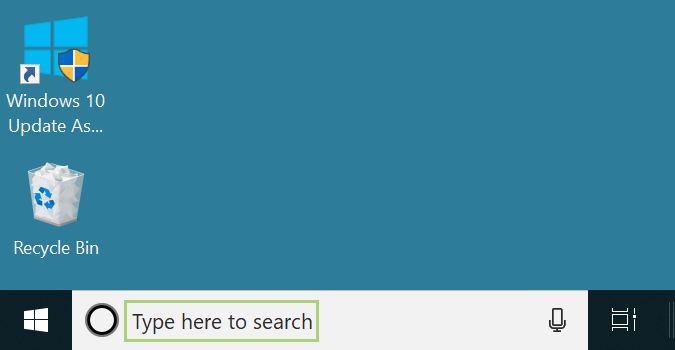
1) Type Notepad in the search box on the Toolbar.
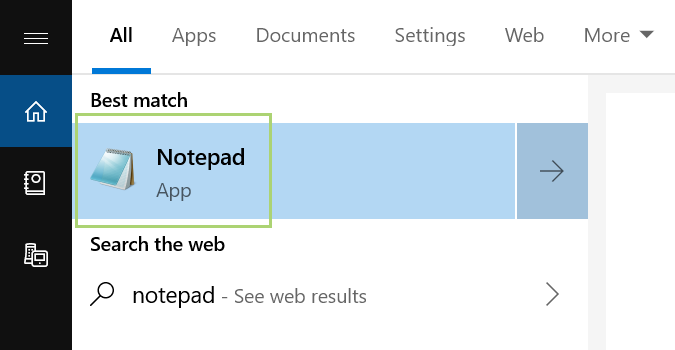
2) Select Notepad from the search options.
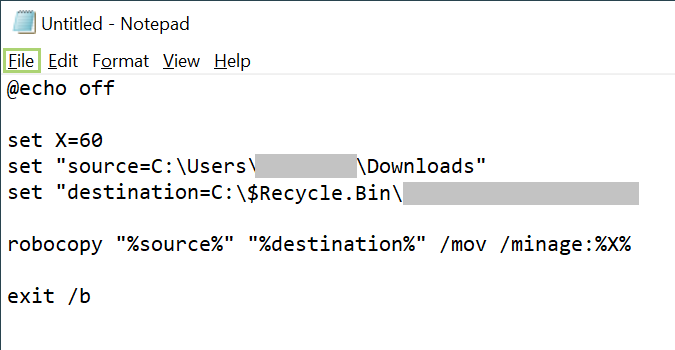
3) Type or copy-paste the following script in the Notepad. Replace the number of days, destination folder, and source folder as per your needs.
@echo off
Stay in the know with Laptop Mag
Get our in-depth reviews, helpful tips, great deals, and the biggest news stories delivered to your inbox.
set X=<days>
set "source=C:\<Source Folder Path>"
set "destination=D:\<Destination Folder Path>"
robocopy "%source%" "%destination%" /mov /minage:%X%
exit /b

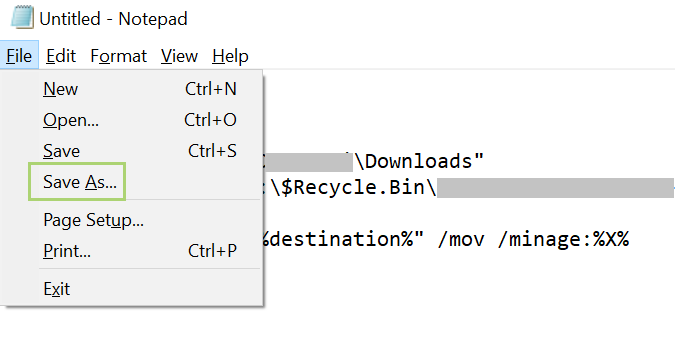
4) Open the File menu.
5) Click Save as to save the file.
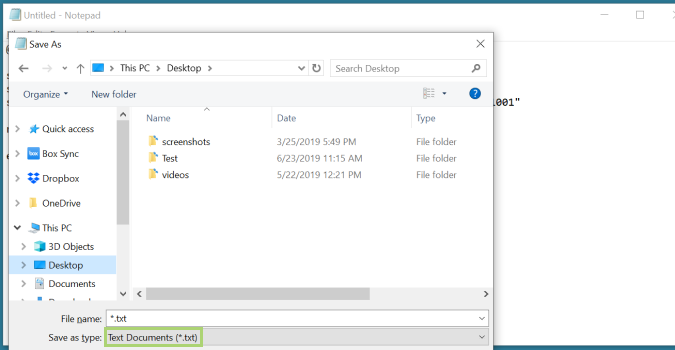
6) Select All files to change the default file type.
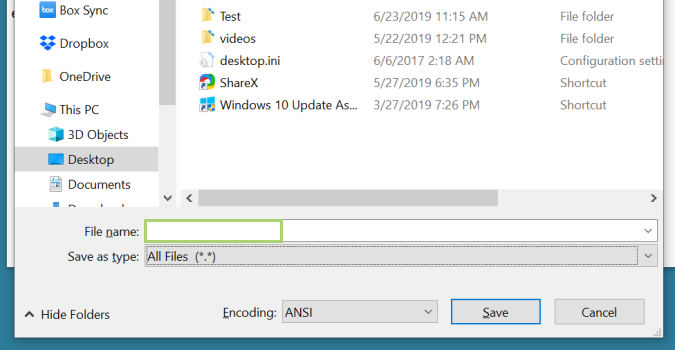
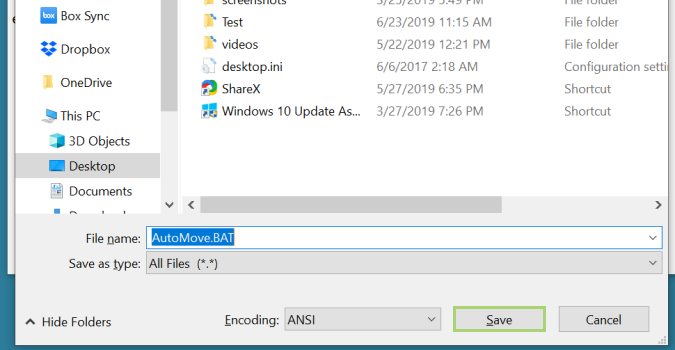
7) Type <filename>.BAT in the File name field to save the file as a .BAT file.
8) Click Save to save the file.
How to Create a Task to Run the File
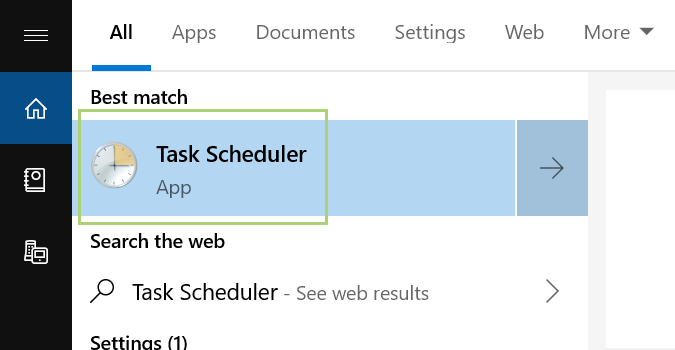
1) Type Task Scheduler in the search box on the Toolbar.

2) Select Task Scheduler from the search options.
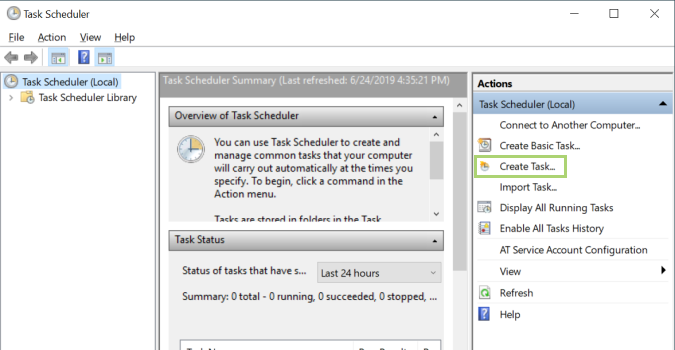
3) In the right pane, click Create Task.
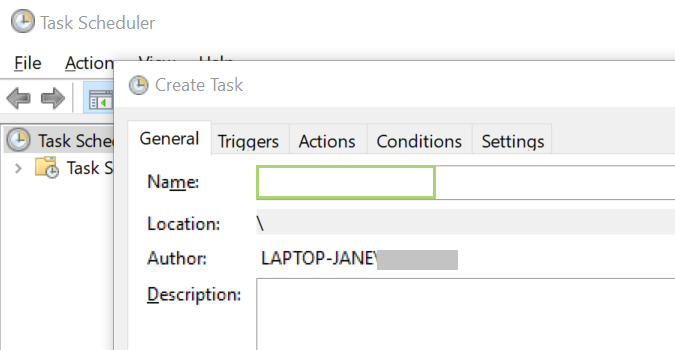
4) Type a name for the task.
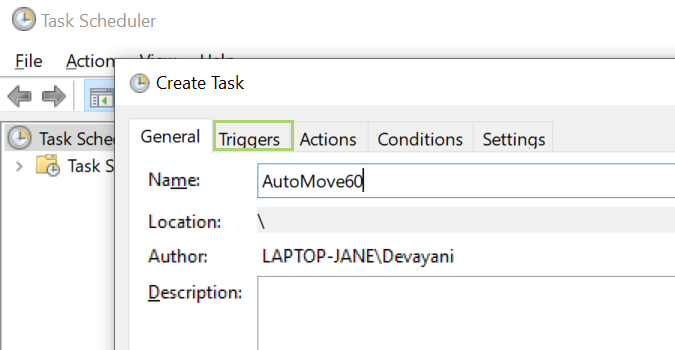
5) Click Triggers to open the Triggers tab.
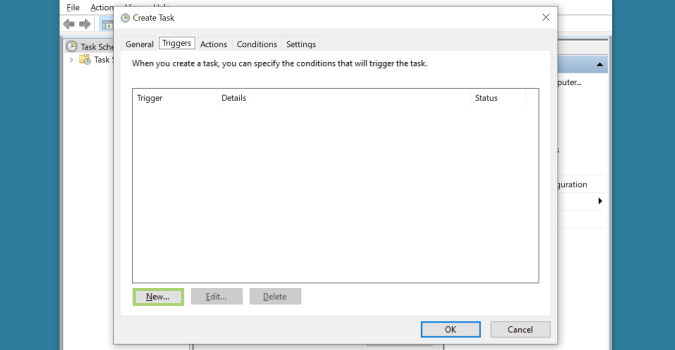
6) Click New to create a Trigger.
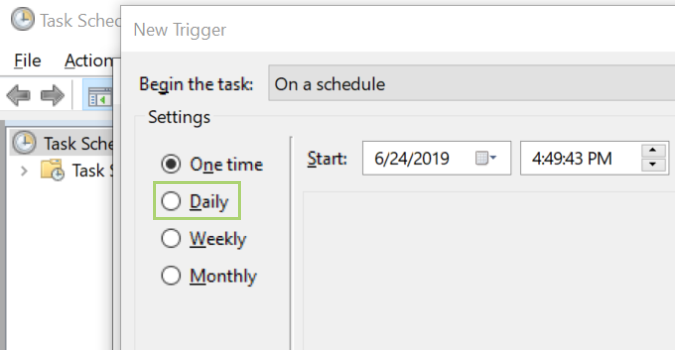
7) In the settings, select the frequency to trigger the task. In this example we have selected Daily.
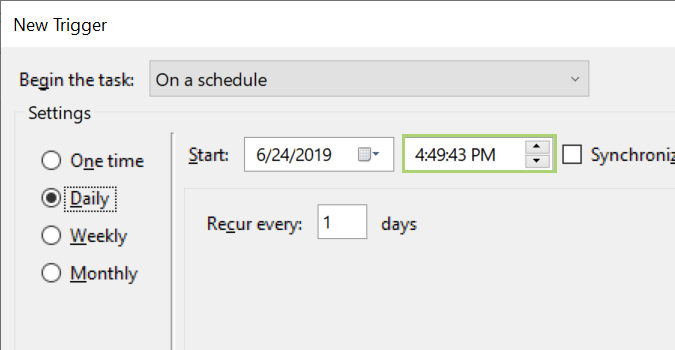
8) Set up the time when the task will be triggered.
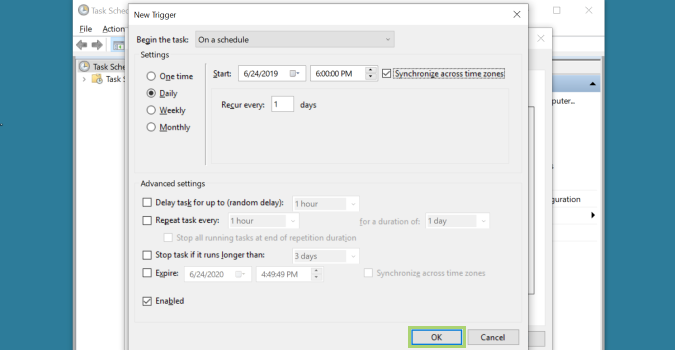
9) Click OK to finalize the trigger settings.
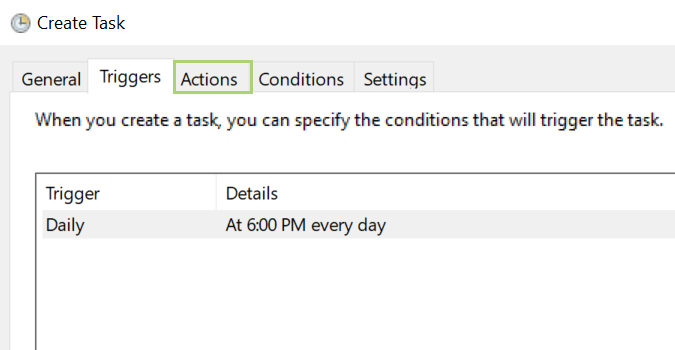
10) Click Actions to connect an action to the trigger.
11) Click New on the Actions tab.

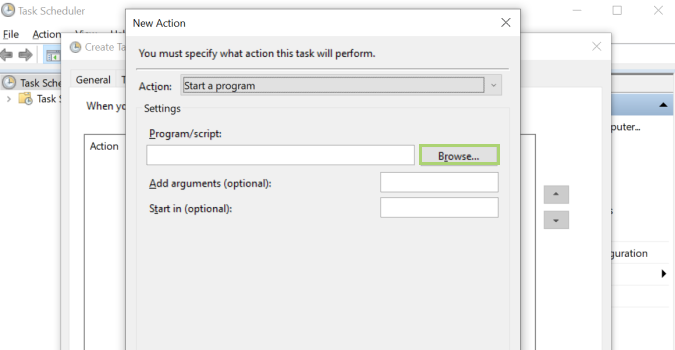
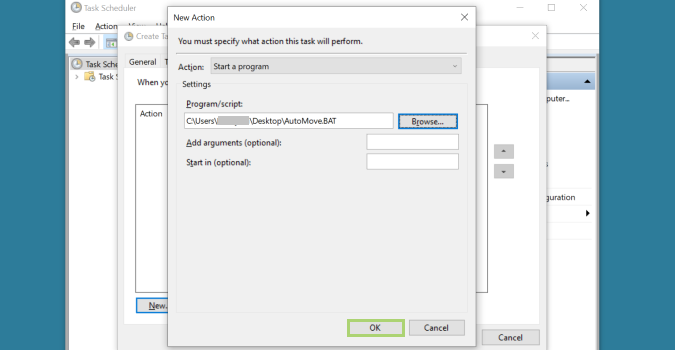
12) Click Browse to find the .BAT file previously created.
13) Click OK to save the new action.
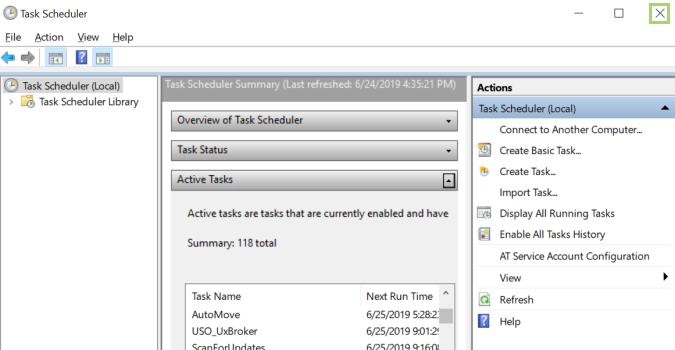
14) Click X to close the Task Scheduler.
Bryan covers everything you need to know about Windows, social media, and the internet at large for Laptop Mag. Thanks to his extensive knowledge of operating systems and some of the most popular software out there, Bryan has written hundreds of helpful guides, including tips related to Windows 11 drivers, upgrading to a newer version of the OS, editing in Microsoft Photos, or rearranging pages in Google Docs.
