How to Change Screen Resolution in Windows 10
If you need to change the display resolution setting on your Windows 10 PC, it's not hard once you know how. Whether you want to try a sharper resolution on a laptop that defaults to a lower option or need to change it back to the recommended size from a less-than-stellar option, we've got your back.
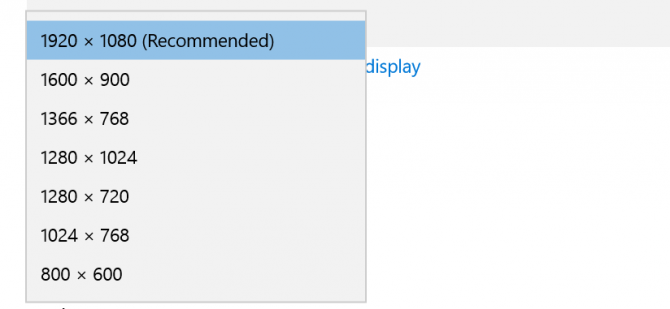
Here, we'll show how to change your display setting. We recommend that you choose the recommended one and adjust your font and icon sizes to suit you.
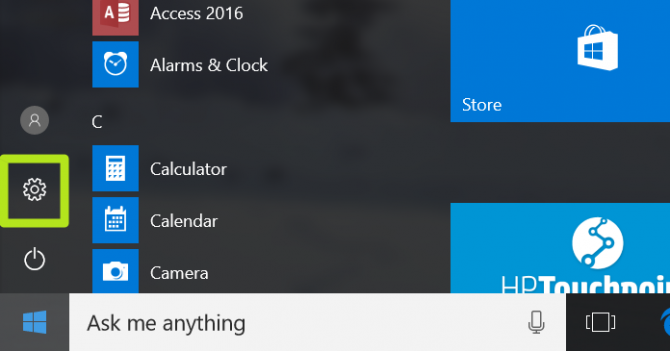
1. Click the Start button.

2. Select the Settings icon.
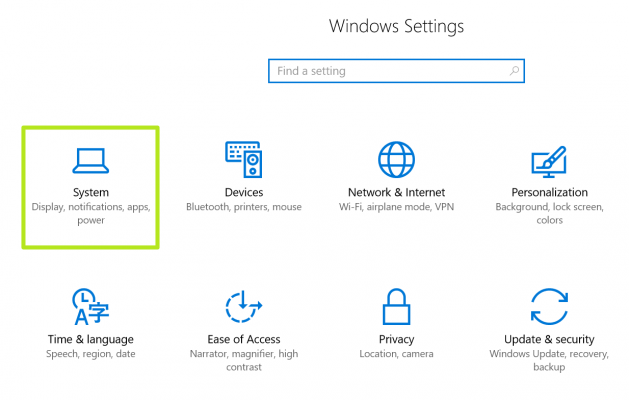
3. Select System.
4. Click Advanced display settings.
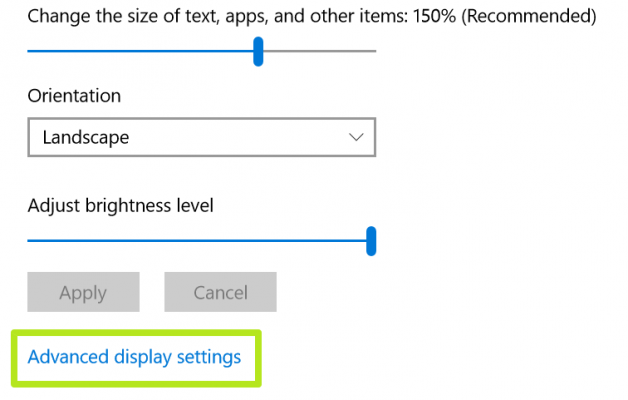
5. Click on the menu under Resolution.
Stay in the know with Laptop Mag
Get our in-depth reviews, helpful tips, great deals, and the biggest news stories delivered to your inbox.
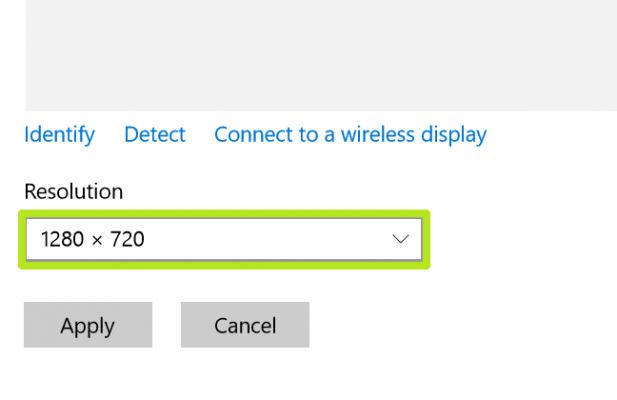
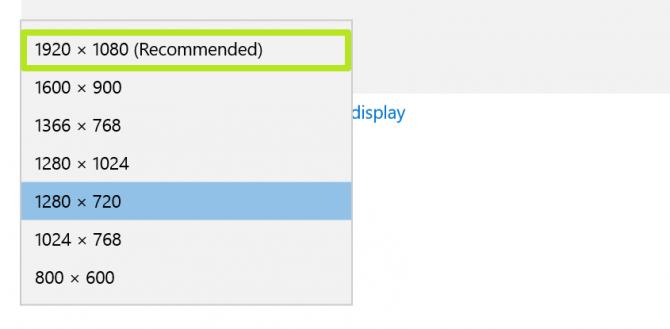
6. Select the option you want. We strongly recommend going with the one that has (Recommended) next to it.
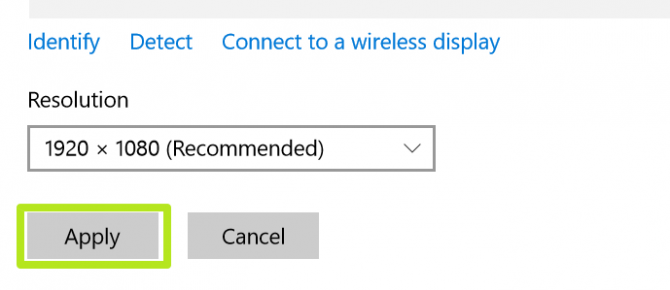
7. Click Apply.
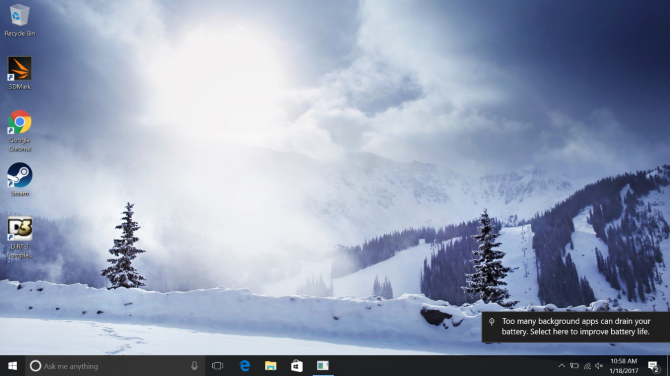
You've changed your display resolution!
Windows 10 Basics
- 7 Settings to Change Right Away
- Windows 10 Keyboard Shortcuts to Save You Clicks
- 5 Ways to Take Screenshots
- Change Your Password in Windows 10
- Uninstall Programs in Windows 10
- Enable or Disable Tablet Mode
- Add a User (Child or Adult)
- Change the Screen Resolution
- Sync Your Settings Across Devices
- Sync iPhone with Windows 10
- Control Windows 10 with Your Voice
- Upgrade to Windows 10 From Windows 7 or 8
- Eliminate Blue Light With Night Light
- Create a New Folder
- Get to the Desktop in Windows 10
- Add a Printer
- All Windows 10 Tips
- Set Alarms
Henry was a contributing writer at Laptop Mag. He penned hundreds of articles, including helpful how-tos for Windows, Mac, and Gmail. Henry has also written about some of the best Chromebooks, and he has reviewed many Apple devices, including various MacBook Air laptops. He is now a managing editor at our sister site Tom's Guide, covering streaming media, laptops, and all things Apple.
