How to Avoid Your Friends in Real Life With Cloak
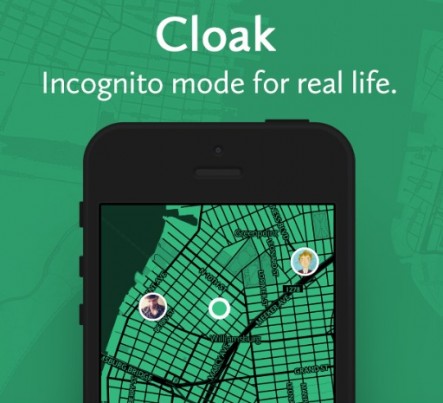
You've blocked all your frenemies from social media accounts, but you may want to hide from them in real life, too. A new iOS app lets you do just that, putting your tag-happy friends' social media accounts to work for you. Cloak tracks your friends based on their geo-tagged locations via Instagram or Foursquare and sends you alerts when they're in the area. Here's how to use Cloak to avoid those you'd rather not see, as long as your an iPhone user.
1. Download and install Cloak from the App Store.
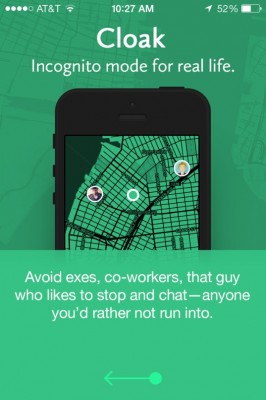
2. Swipe through the getting started tutorial pages.
MORE: Best Smartphones 2014
3. Connect your Instagram and/or Foursquare account(s). Cloak requires at least one of these services to be linked to work.
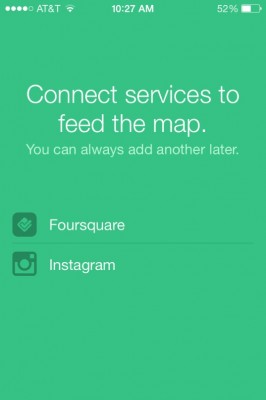
Connecting to Foursquare goes through the app, so the link will take you to the app store to download it if you don't already have it installed. Tapping Instagram opens a page that asks for your sign-in credentials.
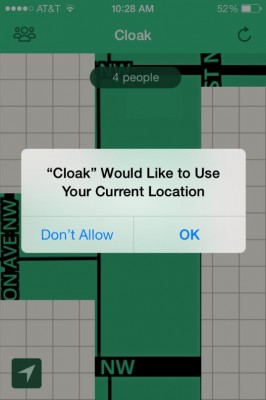
4. Allow Cloak to use your location.
Stay in the know with Laptop Mag
Get our in-depth reviews, helpful tips, great deals, and the biggest news stories delivered to your inbox.
5. See who's around you by dragging the map around, or zoom out of the map by pinching in. The number of people Cloak has detected is shown at the top of the screen, and you're represented by a green circle.
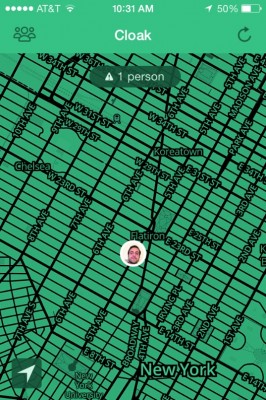
Your friend's profile picture will appear in a bubble on the map. Use the map to steer clear of them.
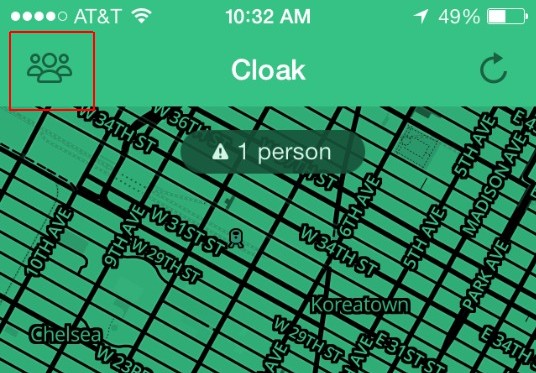
6. Tap the People icon at the top left to set up an alert for particularly pesky contacts.
7. Select A to Z at the top to pull up all your contacts.
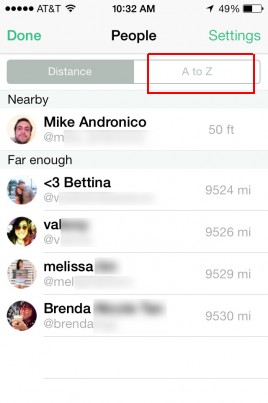
8. Look for the person you want to avoid and tap his or her name.

9. Hit Flag in the menu that slides up
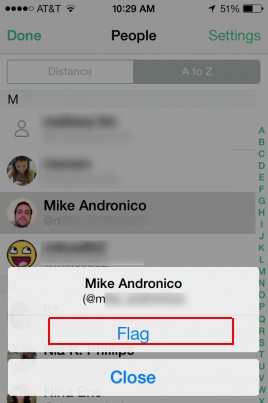
Now you'll get notifications whenever this person is within a specified distance of you. To change the distance, which by default is half a mile, navigate to Settings by tapping the top right button in step 7.

