How to Drag and Drop on an iPad in iOS 11
Dragging and dropping items between apps finally made it to the iPad in iOS 11. Not only can you employ this feature to move blocks of text, images and files, but you can make it even more powerful by using your second hand.

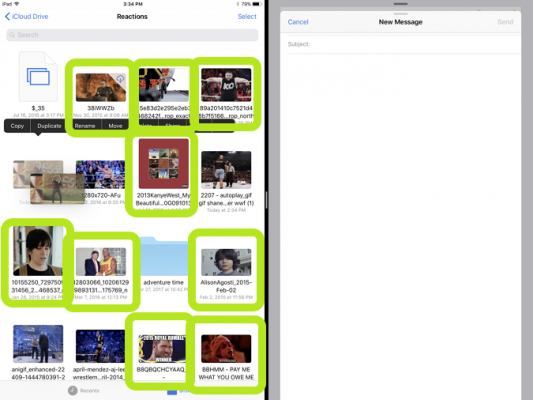
With that second hand, you can select additional items (called a drag group) as well as change the app that you're dragging items to. The biggest piece of advice we have is that you take some time getting used to steps 1 and 2, as it's not exactly simple.
MORE: Apple iPad Pro 12.9-inch (2nd Gen): Full Review
Here's how to start dragging and dropping like a pro. Steps 2, 3 and 4 are optional, but can prove helpful if you need them.
1. Press down on an item and move it slightly, as if you're wiggling it a little. Without moving the object a small amount, you won't be able to make a drag group.
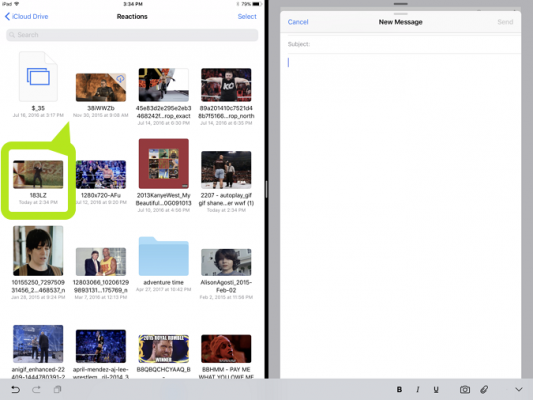
2. Using your second hand, tap other items to add them to the drag group.
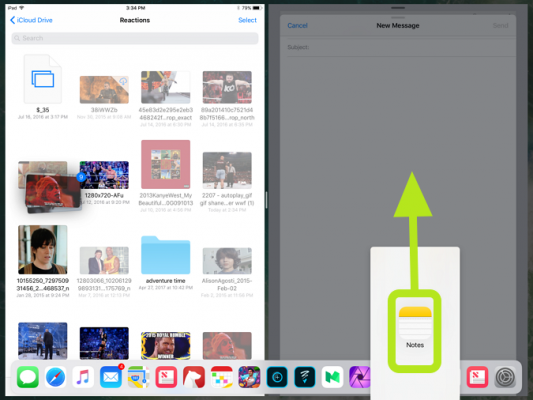
3. If you want, you can switch the second app, and you'll need to swipe the Dock up first, using your other hand.
Stay in the know with Laptop Mag
Get our in-depth reviews, helpful tips, great deals, and the biggest news stories delivered to your inbox.
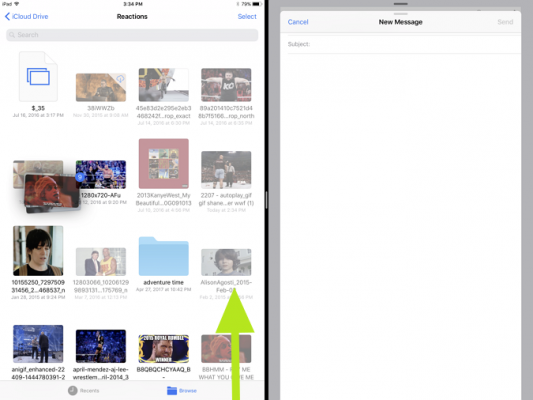
4. Then drag an app icon (where you want to drop the drag group) into the other part of the screen, and release the app.
5. Move the drag group into the target app.
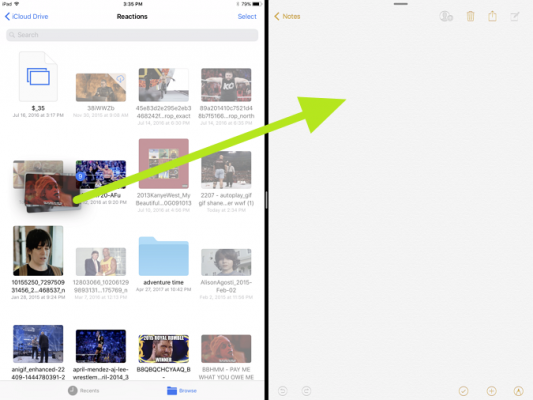
6. Drop the drag group.
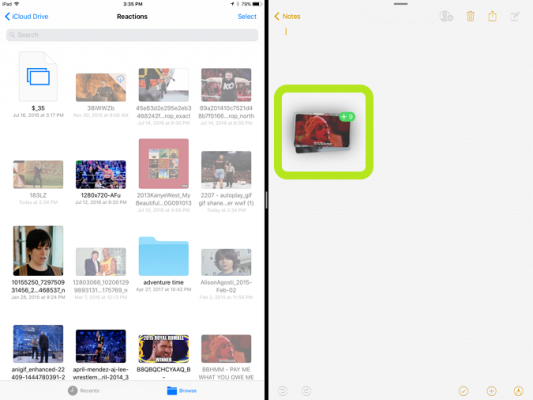
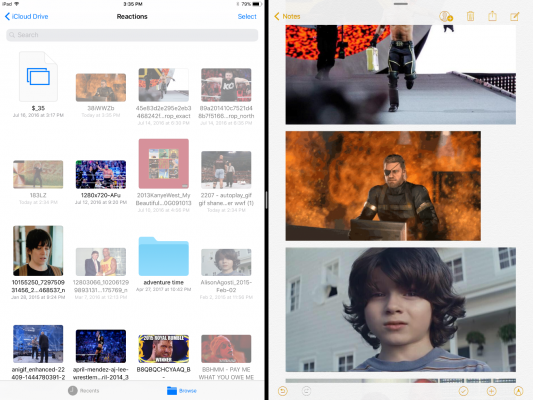
You've used both hands to drag and drop like an expert!
iPad Pro Tips and Tricks
- Multitask on the iPad Pro
- Every iPad Pro Keyboard Shortcut You'll Ever Need
- Use the iOS Keyboard as a Touchpad
- Display Two Safari Tabs Simultaneously on the iPad Pro
- How to Use the Apple Pencil with iPad Pro's Notes App
- Edit Multiple Streams of 4K Video on the iPad Pro
- Use Your iPad Pro as a Secondary Display
- Check the Apple Pencil’s Battery Life
- Use Your iPhone as a Hotspot for the iPad Pro
Henry was a contributing writer at Laptop Mag. He penned hundreds of articles, including helpful how-tos for Windows, Mac, and Gmail. Henry has also written about some of the best Chromebooks, and he has reviewed many Apple devices, including various MacBook Air laptops. He is now a managing editor at our sister site Tom's Guide, covering streaming media, laptops, and all things Apple.
