How To Create a Pivot Table Timeline in Excel 2013
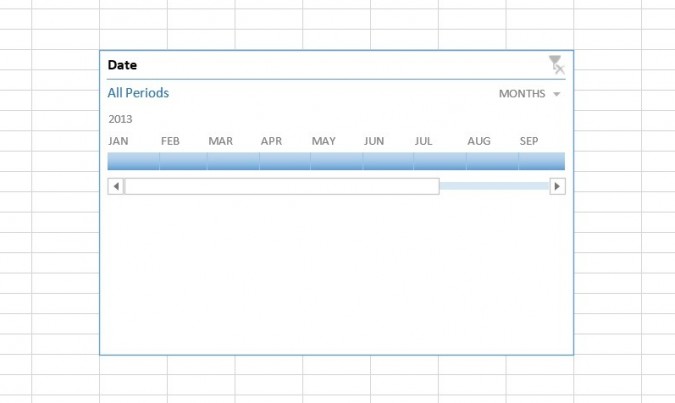
If you're tired of manipulating dates in your pivot table using clunky filter tools, Microsoft has finally provided a better way. Pivot table timelines allow you to quickly shift your pivot table according to dates and time, as well as zoom in and out of specific time periods. Fortunately, adding a timeline to your pivot table is no more difficult than a few clicks of the mouse. Just follow these steps to get started.
1. Click inside the pivot table to bring up the PivotTable Tools.
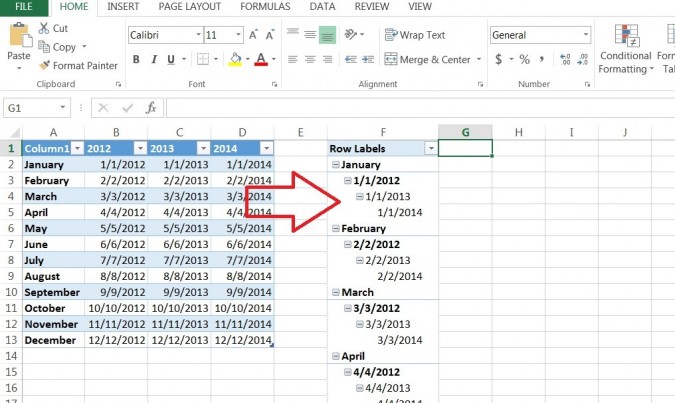
2. Click "Analyze" at the top of the screen.
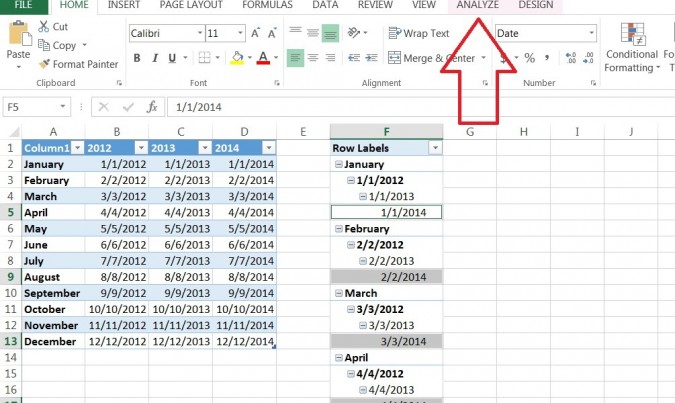
3. Click "Insert Timeline" in the Ribbon.
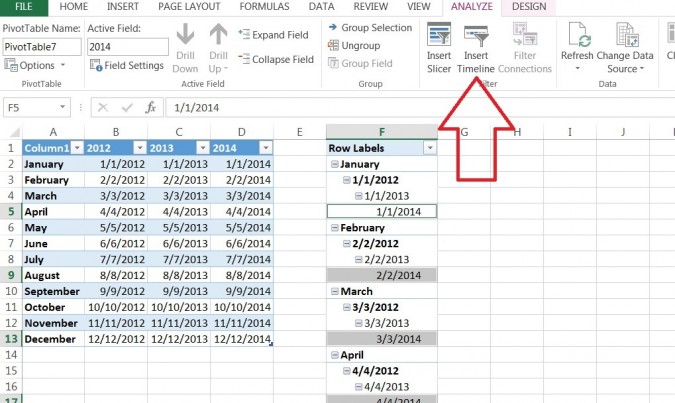
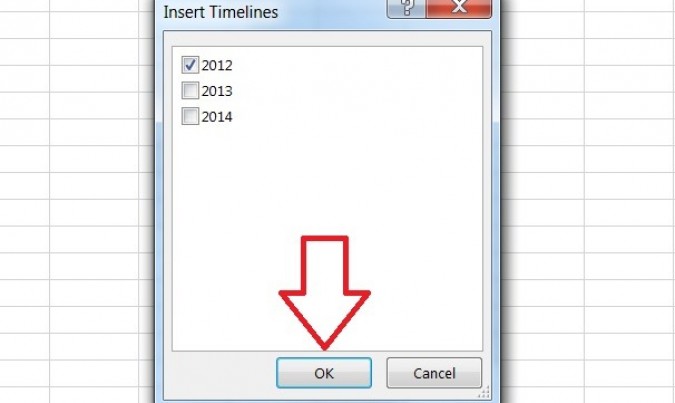
4. Select the date you wish to use and press OK.
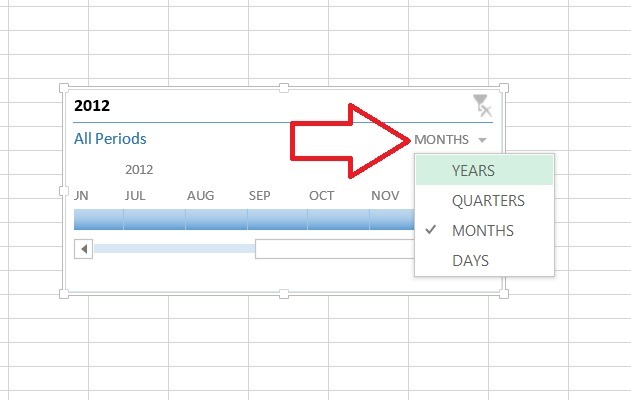
5. Adjust the timeline using the filter button. You can choose from Years, Quarters, Months or Days.
Stay in the know with Laptop Mag
Get our in-depth reviews, helpful tips, great deals, and the biggest news stories delivered to your inbox.
David was a writer at Laptop Mag. His coverage spanned how-to guides, reviews, and product rankings. He reviewed Asus, Lenovo, and Gigabyte laptops; guided readers on how to do various things in Excel, and even how to force quit an app in macOS. Outside of Laptop Mag, his work has appeared on sites such as Tom's Guide and TechRadar.
