How to Turn on Family Sharing in iOS 8
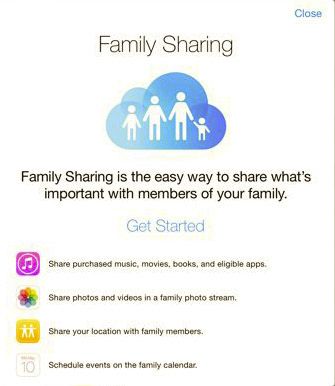
Family Sharing is a new feature in iOS 8 that allows up to six members of a family to share apps, music, movies and calendar information while each having their own account. Apple makes it easy to connect family members who already have accounts, and you can create accounts for children under the age of 13 if you are their legal guardian.
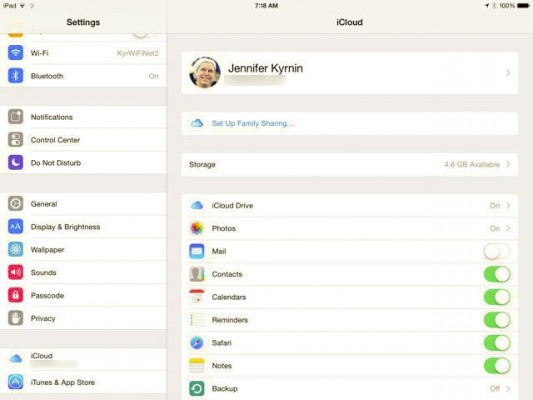
1. Select iCloud in the settings menu on your device. Then click "Set Up Family Sharing..."
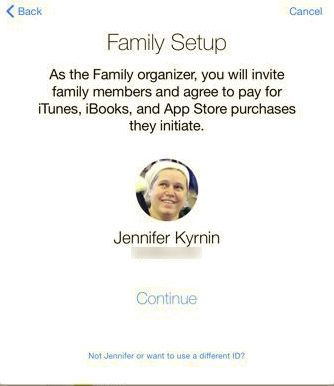
2. If you are the organizer, click Continue, otherwise click the link “Not [your name] or want to use a different ID?
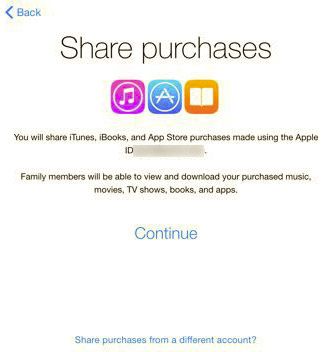
3. Click Continue to share your purchases. You can also choose to share purchases from a different Apple account.
MORE: iOS 8: 5 Features That Are Still Missing
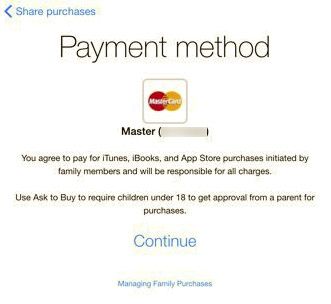
4. Confirm the credit card number you will use for family member purchases. You can prevent children under 18 from purchasing without your approval.
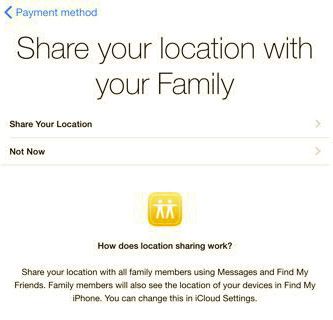
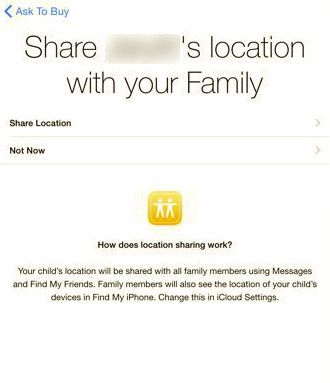
5. Choose to share your location with your family. This allows other family members to know where you are in Messages and Find my Friends. They will also be able to see the location of your devices using the Find My iPhone app.
Stay in the know with Laptop Mag
Get our in-depth reviews, helpful tips, great deals, and the biggest news stories delivered to your inbox.
6. Click on Add Family Member... to add another account to your family. Enter their email address and they will be sent an invitation.
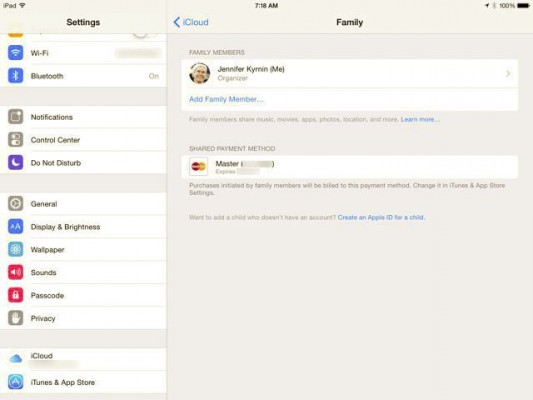
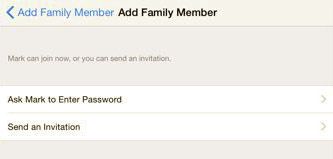
7. Have them confirm the account by entering their password on your iPhone or by confirming in Family Sharing Settings on their device. You will receive a notification that they have been added to the family account.
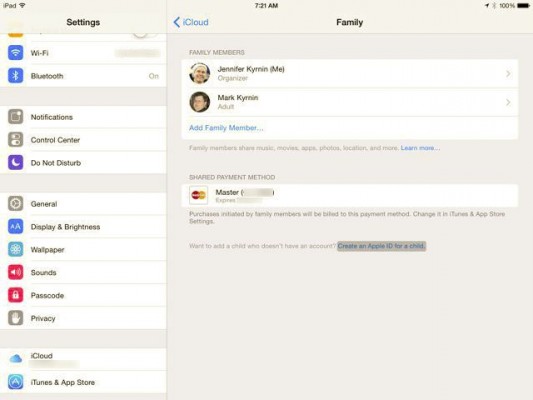
8. To add a child who doesn't have an account, click on the link “Create an Apple ID for a child”
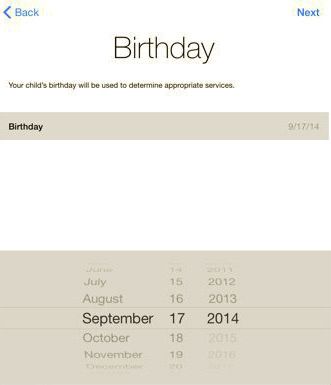
9. Enter the child's birthday.
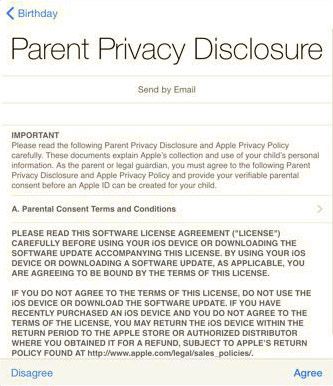
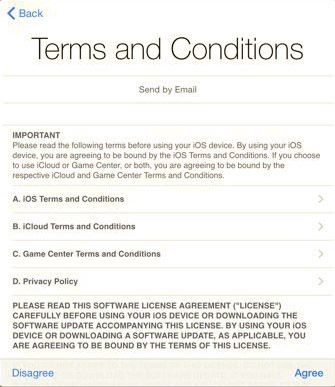
10. Agree to the parent privacy disclosure. I recommend getting it sent to you by email so you have a complete copy.
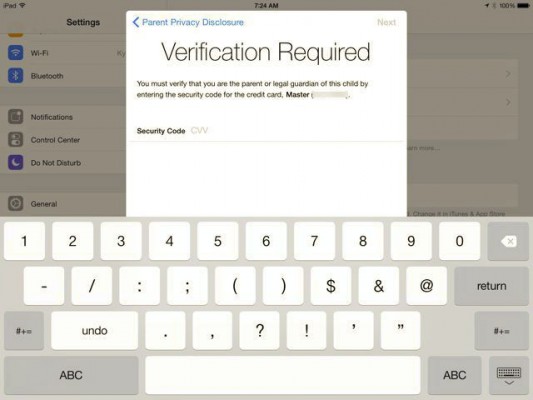
11. Verify your identity by entering the security code to your credit card.You are agreeing that you are the child's legal parent or guardian.
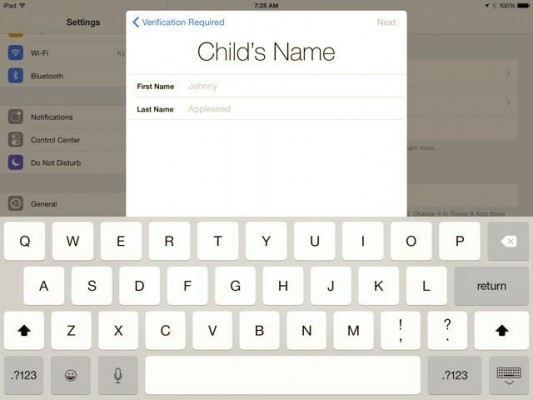
12. Fill in the child's name.
MORE: 6 Reasons the iPhone 6 Has Already Lost
13. Create an Apple ID.You can create an icloud.com email address for the child as well.
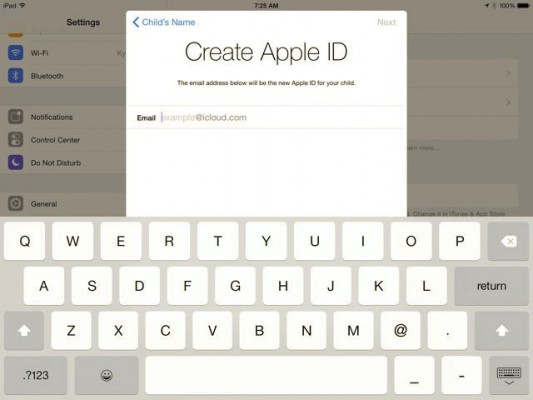
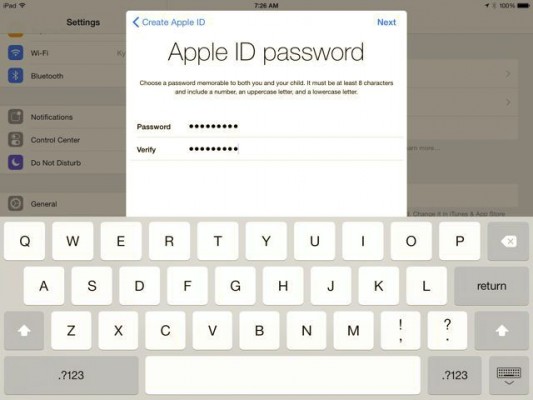
14. Create a password for the account. Make sure it's something both you and your child can remember.
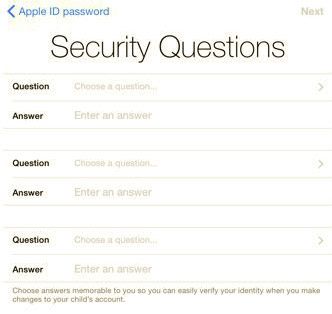
15.Choose and answer three security questions. These should be questions that you can answer so that you can make changes to the child's account.
16. Turn on "Ask to Buy" to require approval for all iTunes, iBooks, and App Store purchases made by your child.
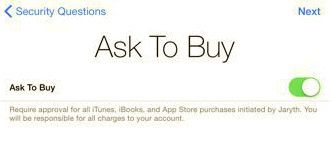
17. Choose to share your child's location with the family. This will be shared by Messages and Find My Friends, as well as the location of their devices in Find my iPhone.
18. Agree to the Terms and Conditions. I recommend having these sent to you by email as well. You will be shown several terms to agree to.
19. Navigate to the Family Sharing Settings, and mark each parent as Parent/Guardian if you want them to approve purchases.. They will receive a notification that they can approve purchases.
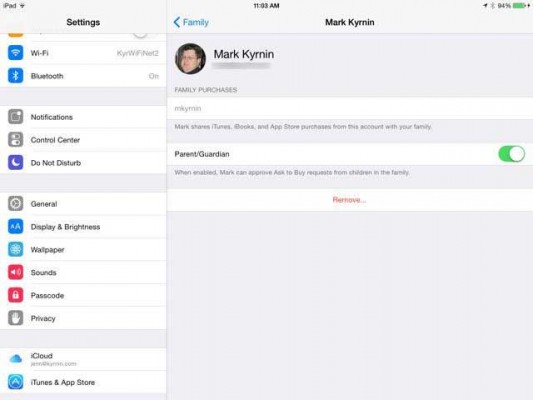
Repeat the above steps for other adults or children in your family. And then they can begin sharing apps, music, movies, and calendars.
iOS 8 Tips
- How to Use iOS 8 Spotlight Search
- How to Change Keyboards in iOS 8
- How to Shoot Time-Lapse Videos in iOS 8
- How to Use the iOS 8 Photos App
- How to Use Ask to Buy in iOS 8
- How to Make and Answer iOS 8 iPhone Calls on Your iPad
- How to Share Everything with Family Sharing in iOS 8
- How to Use iOS 8 Shortcuts and Notifications
- How to Use the iOS 8 Mail App
- How to Leave a Group Message in iOS 8
- How to Send Voice and Video Messages in iOS 8

