How to Use Google Drive Spell Check
Google announced a new Spell Check update yesterday that makes its online document editing tool Google Drive even more powerful. Where you used to have to address spelling errors one by one in a Google document, the new Spell Check tool allows you to check for and fix all errors in your document at once, making the program even more similar to Microsoft Word.
If you already have your document typed up in Google Docs, here's how to use the hot new feature to quickly clean it up.
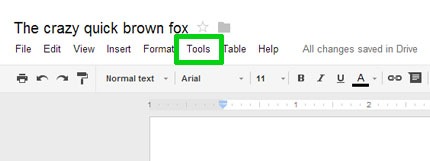
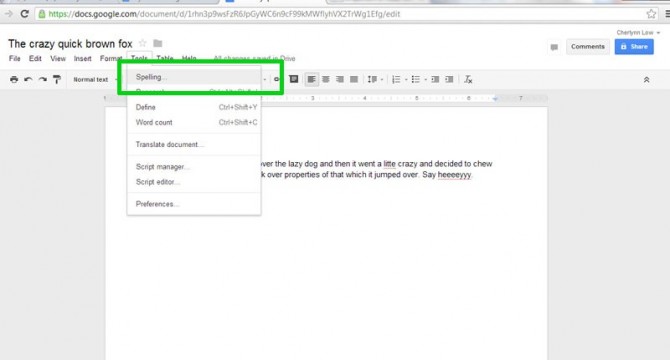
1. Click Tools at the top of the screen.
2. Click Spelling from the dropdown menu. A small window will pop up at the top right of the window, displaying words Google Drive thinks are misspelled.
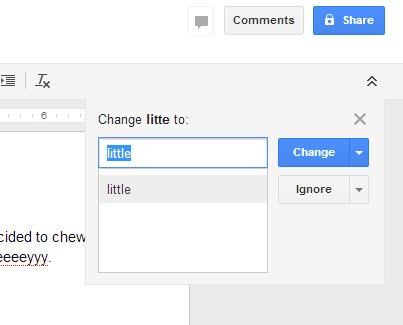
3. Click the blue Change button to fix your mistake.
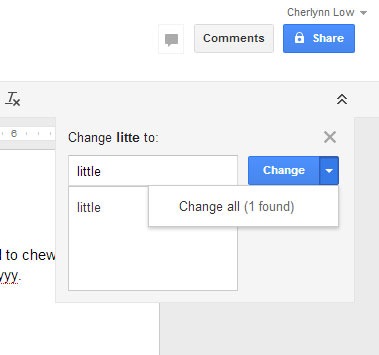
If that particular error happens more than once in your document, Google Drive picks it up and you can choose to change all of them at once by clicking the dropdown arrow next to the Change button and selecting Change All (X found).
4. Click Ignore below the change button to skip to the next error without fixing current word.
Stay in the know with Laptop Mag
Get our in-depth reviews, helpful tips, great deals, and the biggest news stories delivered to your inbox.
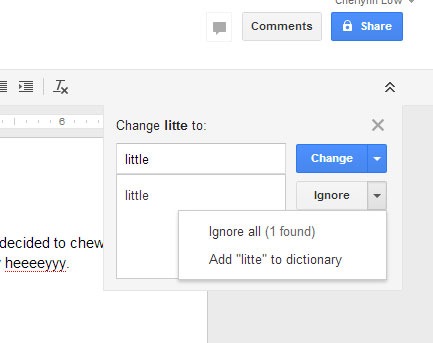
If this word appears often and you want to ignore all occurrences of it, select Ignore All (X found). If it's something you foresee yourself using often, like a person's name or a frequently-used abbreviation, add it to your dictionary by selecting Add "your word" To Dictionary.
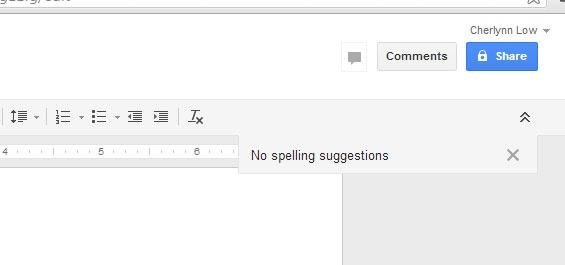
5. Repeat till done. Keep going through your document and either fix or ignore until your document is clean. When Google Drive thinks your document is error-free, it will say "No spelling suggestions."
