How to Install an SSD in Your Notebook
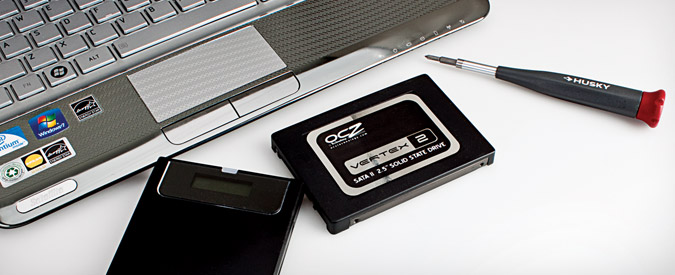
Whether your notebook is three years old or brand new, upgrading from a mechanical hard drive to a solid state disk will dramatically improve its performance. With speed boosts as high as 250 percent on the tasks that matter most—opening apps and files, copying files, and multitasking—an SDD will make you think someone replaced your system with an identical, but must faster, replica.
Unlike mechanical drives, which use a tiny metal head that rolls over a rotating magnetic platter like an old-fashioned record player, solid state drives have no moving parts, so they can read and write your data at lighting-fast speeds of up to 500 MBps. The lack of a physical head also means that SSDs can more easily survive a fall. With prices hovering around $200 for a 120GB model, upgrades are not cheap, but they’re worth it—especially if you paid more than $500 for your laptop.
What You Need
To install a new SSD in your notebook and transfer your files over, you will need a Phillips head screwdriver, disk-cloning software, and an external drive enclosure that allows you to connect the SSD to your notebook’s USB port while you’re copying the data. Enclosures start at less than $10 and serve the purpose of both connecting your SSD to the notebook for the initial copy and turning your old hard drive into an external backup disk once it has been removed. For our testing, we used a Zalman ZM-VE200 enclosure. Our favorite disk cloning software is Acronis Migrate Easy, which typically costs $39.99, but is available as a free demo download for 15 days (www.acronis.com).
Check Your Data, Ground Yourself
Once you have the SSD, enclosure, software, and screwdriver, you’re almost ready to start your upgrade. But before you put hand to screwdriver, you must first make sure that your current hard drive does not have more space in use than your new SSD can hold. So, if you have a 120GB SSD and your 320GB hard drive has 150GB of data on it, you will need to delete some things or move them to an external drive. You can check the amount of space you’re currently using by clicking on the Computer icon (My Computer in Windows XP), right-clicking on your hard drive letters, and selecting properties.
Once you’re sure you have the space, follow these steps to install your SSD.
Stay in the know with Laptop Mag
Get our in-depth reviews, helpful tips, great deals, and the biggest news stories delivered to your inbox.
1) Put your SSD into the enclosure and close it.
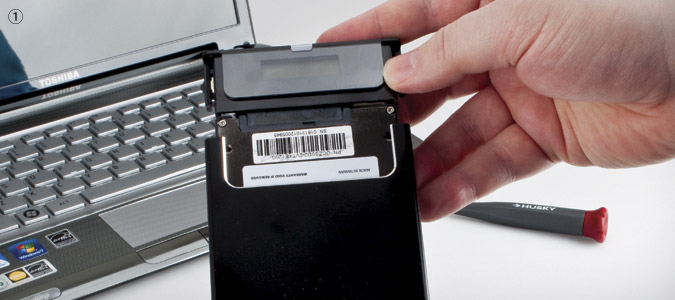
2) Connect the enclosure to your notebook’s USB port.
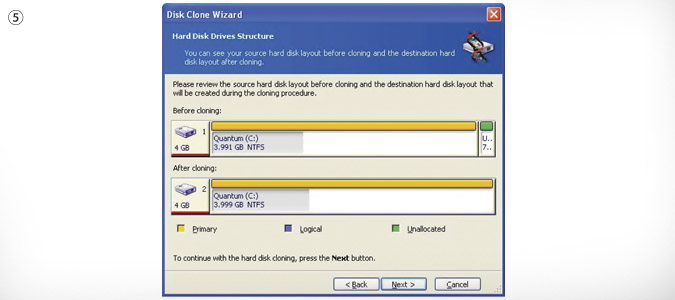
3) Launch Acronis Migrate Easy and select Clone Disk.
4) Select your computer’s hard drive as the source disk.
5) Select the external drive as the destination disk and click Next and OK a couple of times. If asked whether you want to delete the partitions on your destination disk, say yes. The computer will reboot and take anywhere from 20 minutes to more than an hour to copy your data to the new disk.
6) Turn off your notebook once the cloning process is complete and unplug it from power.
7) Remove the SSD from the enclosure and place it somewhere safe.
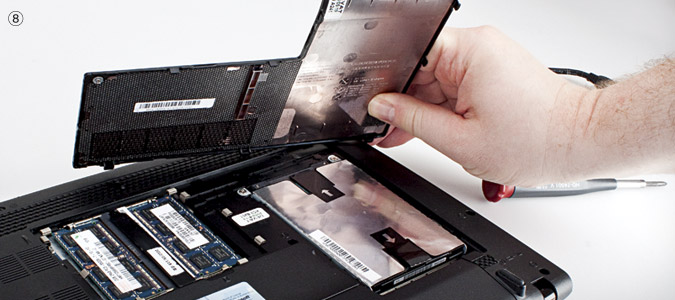
8) Open your notebook’s hard drive upgrade panel, removing any screws that hold it in place. Typically, the upgrade panel is on the bottom of the notebook and is marked by a tiny icon of a cylinder. However, on a few notebooks (such as the ThinkPad X200 series) the panel is on the side of the chassis. If you can’t find the upgrade panel, check your user’s manual. Remove any screws that fasten the hard drive to the chassis and pull the hard drive out with its mounting bracket or rails still attached.
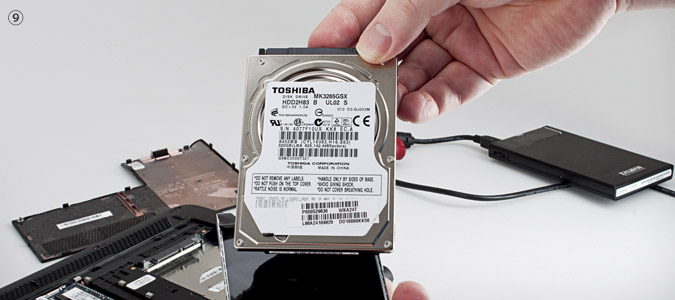
9) Swap the mounting bracket from the old hard drive to the new SSD.
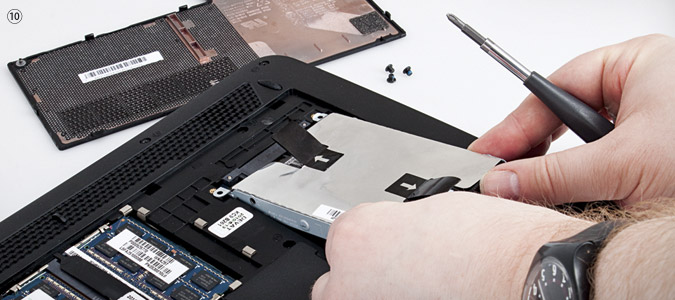
10) Insert the SSD back into the notebook’s drive bay, screw it in, and close the case.
11) Boot your notebook to test the SSD. If the notebook does not detect the drive, re-open and check to make sure your SSD is connected to the SATA port. If the drive is connected but has no operating system, repeat the cloning process.
12) Put your old hard drive into the drive enclosure. You can now connect it to the notebook to use as a backup drive.
Note: Whenever you are working on the inside of a notebook, take steps to avoid static electricity, such as using a static wrist strap.
Video Demonstration

