How to Set Up Parental Controls on the Kindle Fire HDX
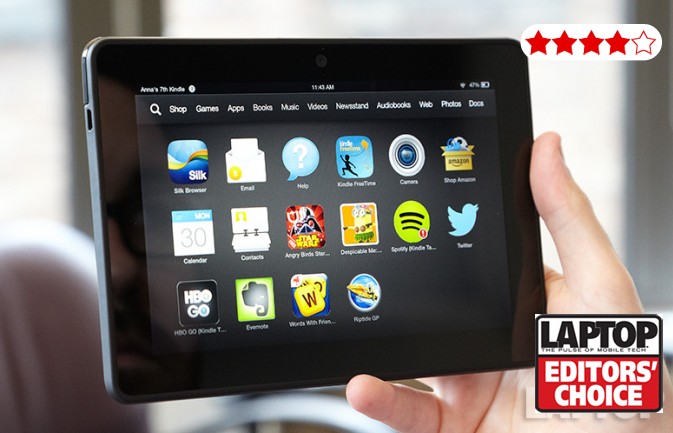
Most tablets designed for use by children are not worth the money in your pocket. But who says you have to be wrapped in a rubber bumper and skinned with a blue or pink background to be kid-friendly? Amazon is definitely on to something with its helpful and easy-to-use settings on the Kindle Fire HDX. Through Kindle FreeTime, best for children ages 8 and younger, you can set up separate user profiles that each offer specific approved content and time limits. Through the more basic parental controls, that Amazon recommends for children 9 and up, you can restrict Web access and ban specific apps, among other things. Here's how to get set up.
For Children Ages 8 and Under
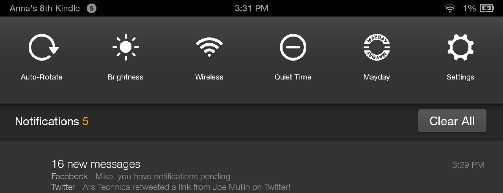
1. Pull down from the top to reveal the quick settings menu. Tap Settings.
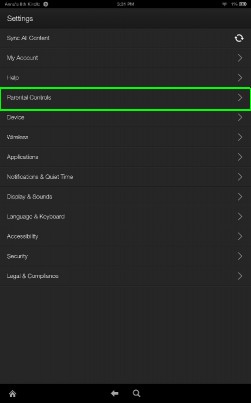
2. Tap Parental Controls.
3. Tap Open Kindle FreeTime.
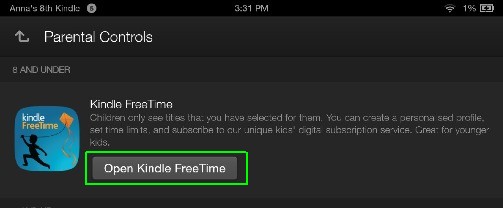
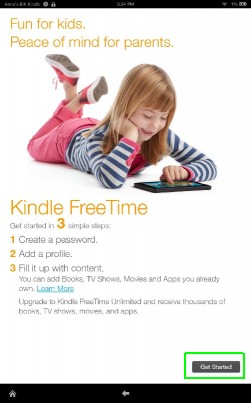
4. Follow the set up directions. Tap Get Started and enter your password.
MORE: Tech Tantrums: 6 Things Parents Need to Know
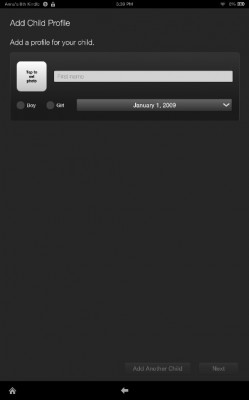
5. Add a child's name, check off the child's gender, set his or her birthday day and tap the white box to pick a picture to represent that child. Tap Add Another Child to repeat this process. Or tap Next.
Stay in the know with Laptop Mag
Get our in-depth reviews, helpful tips, great deals, and the biggest news stories delivered to your inbox.
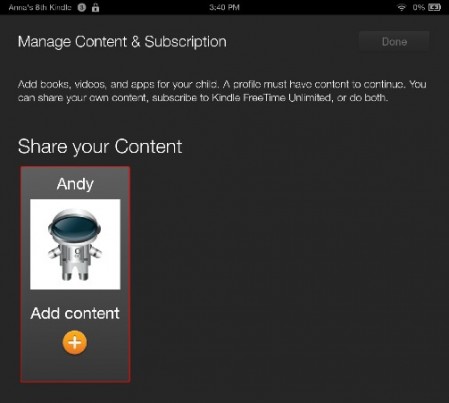
6. Tap the + sign beneath Add Content.
7. Check off which apps you want your child to be able to access. Amazon automatically selects those it deems kid-friendly.
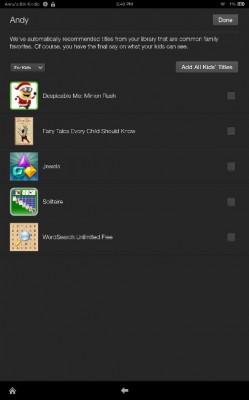
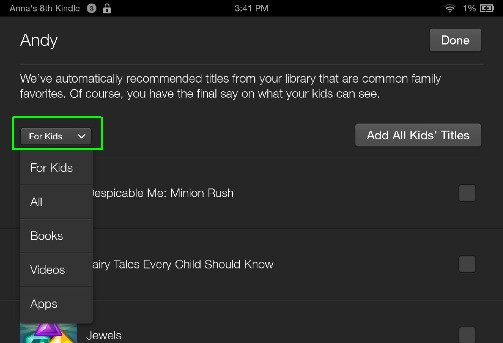
8. Tap the bar that says For Kids to get access to your larger library of apps, books, movies to manually add those to your child's list. Tap Done.
9. You'll be presented with an ad for Kindle FreeTime Unlimited. This is a service that gives your child access to kid-friendly books, apps and videos for a monthly fee ($2.99 for one child; $6.99 for a family of up to 6).
MORE: Children and Smartphones: What’s the Right Age?
10. Tap Daily Time Limits and enter your password.
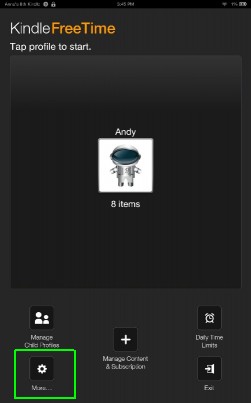
11. Tap the icon for your child.
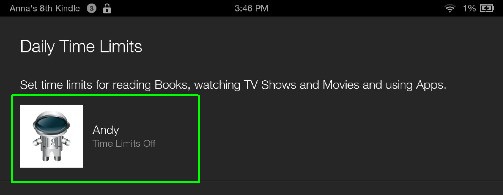
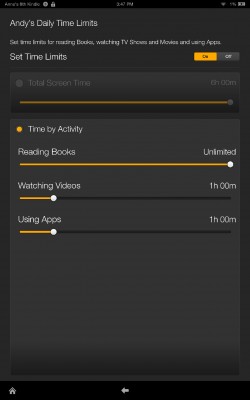
12. Toggle Set Time Limits to On.
13. Select Total Screen Time or Time By Activity. Slide your finger along the bars of yellow to select a specific time frame. Total screen time goes up to 6 hours. Reading Books, Watching Videos, Using Apps can go on a scale up to 6 hours or be set to Unlimited.
14. Tap the back button to go back to the menu. Select the Gear icon.

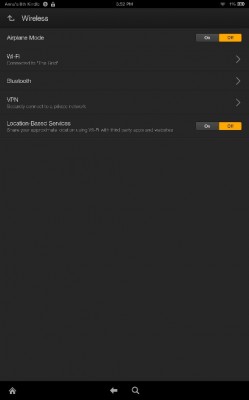
15. Tap Wireless Networks to disable apps from using location based services.
16. Toggle the Location-Based Services line to Off.
17. Go back to the menu page. Tap the icon of your child in the middle of the screen. This will open his very own user interface/profile that only displays those things you set for him. To get out of this environment, swipe down from the top, and tap Exit Parental Controls. You'll need your password.
MORE: 10 Terrible Tech Frustrations My Toddler Will Never Have
For Children Ages 9 and Up
1. Pull down from the top to reveal the quick settings menu. Tap Settings.

2. Tap Parental Controls.

3. Tap On next to Parental Controls. Then enter your password.
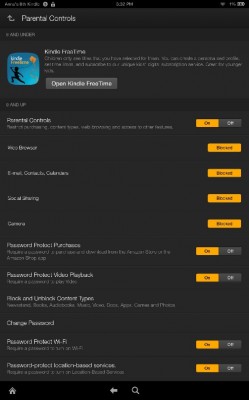
4. Manually set what to allow or restrict from the list.
- Web access
- Email, Contacts and Calendars apps
- Social networking
- camera
- Shopping on the device
- Access to movies and TV shows from Amazon Instant Video
- Specific content types, including books and apps
- Wireless connectivity
- Location-based services
6. Write down your password, or put it into a password management program such as LastPass. If you lose or forget your password, you must factory reset the device to make any changes.
A lock icon will appear at the top of your screen to let you know Parental Controls are on.

