How to Find (and Remove) Duplicate Files in Windows 10
Duplicate files are the bane of my existence. Aside from using disk space, these files do nothing but clutter up your drive, make your PC run slower, and increase the difficulty level significantly when it comes to finding the right version of a specific file: is it the one I just updated, or the other one?
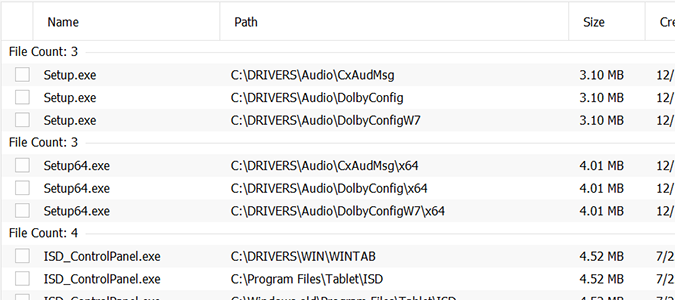
Using a free program that comes pre-installed on a lot of PC’s, CCleaner, you can perform advanced search and destroy missions that free your drive of unwanted clutter. You don’t have to install the Pro version to clean these files, any version will do. We’re using the Free version for this tutorial.
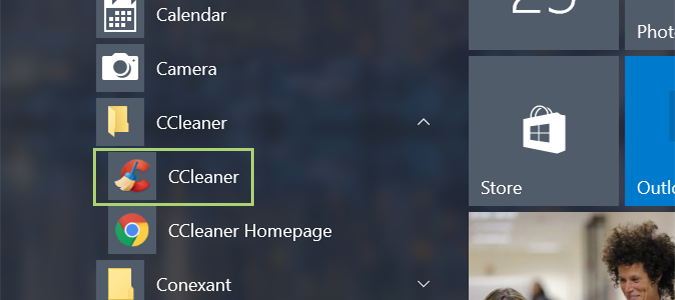
1. Open CCleaner.
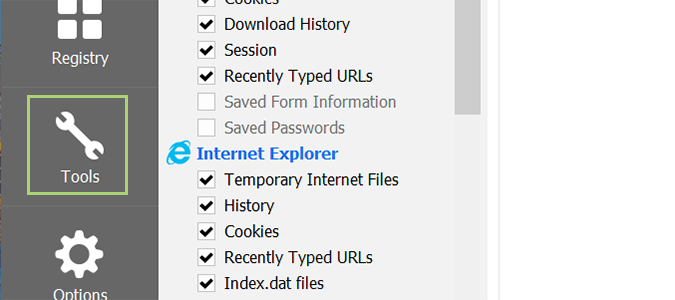
2. Select Tools from the left sidebar.
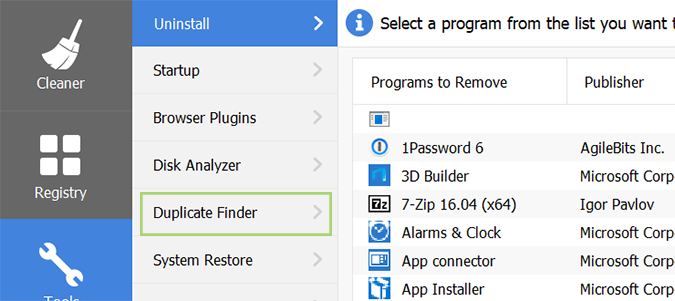
3. Choose Duplicate Finder.
4. For most users, running the scan with the default selections is fine. You can, however, alter these searches by checking or unchecking the provided boxes, and selecting new sizes in the drop-down menus.
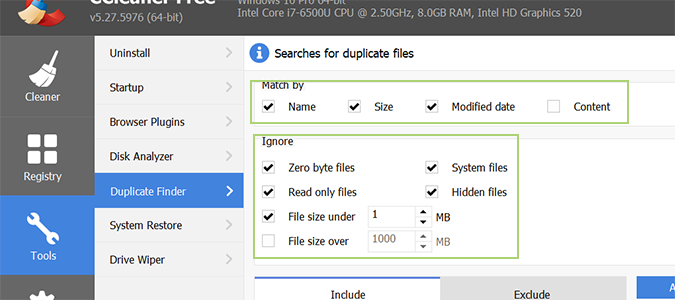
5. Choose the drive or folder you want to scan.
Stay in the know with Laptop Mag
Get our in-depth reviews, helpful tips, great deals, and the biggest news stories delivered to your inbox.
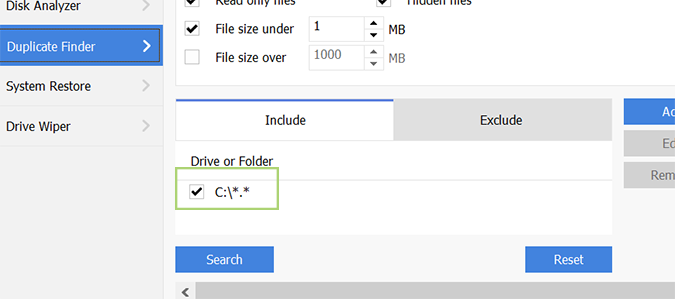
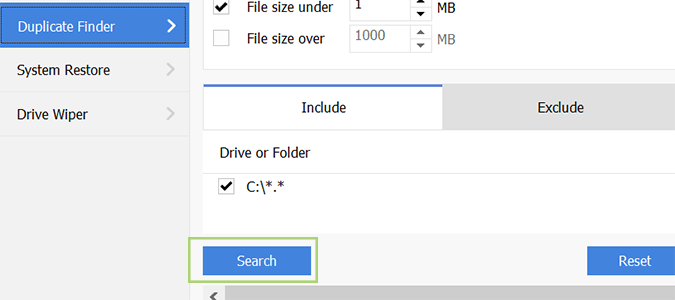
6. Click the Search button to start the scan.
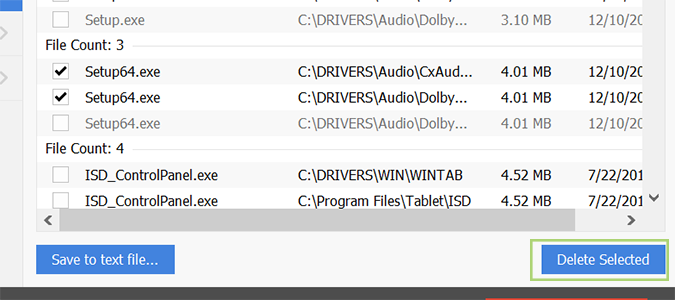
7. Select the files you’d like to remove (carefully). Once you complete the next step, there’s no turning back. These files are gone.
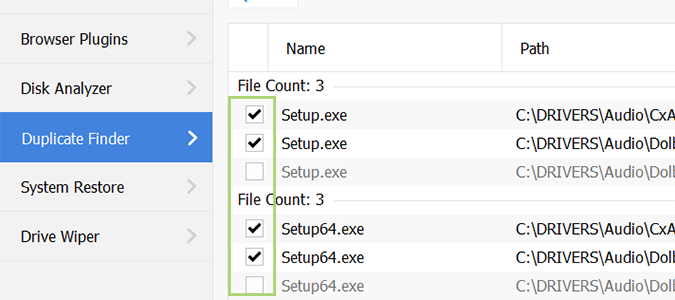
8. Click the Delete Selected button to finish the operation.
Windows 10 Storage and Backup
- Reclaim Hard Drive Space by Shrinking Windows 10
- Delete the Windows.old Folder in Windows 10
- How to Save Space By Cleaning Windows' WinSxS Folder
- Back Up Files with the File History Feature
- Mount and Burn ISO Files
- Format a Hard Drive For Both Windows and Mac
- Zip a File or Folder in Windows 10
- Control Which OneDrive Files Are Available Offline
- Map OneDrive as a Network Drive
- Fetch Any File on a Remote Computer with OneDrive
- 3 Ways to Save Space
- Free Disk Space Automatically with Storage Sense
- All Windows 10 Tips
- How to Install Apps to an External Drive
Bryan covers everything you need to know about Windows, social media, and the internet at large for Laptop Mag. Thanks to his extensive knowledge of operating systems and some of the most popular software out there, Bryan has written hundreds of helpful guides, including tips related to Windows 11 drivers, upgrading to a newer version of the OS, editing in Microsoft Photos, or rearranging pages in Google Docs.
