How to Stream to Twitch from a Laptop
Streaming games to places such as Twitch and YouTube is a cultural phenomenon that shows no signs of slowing down. Whether you're streaming for some friends or fantasize about building a huge audience, the process is easier than ever.
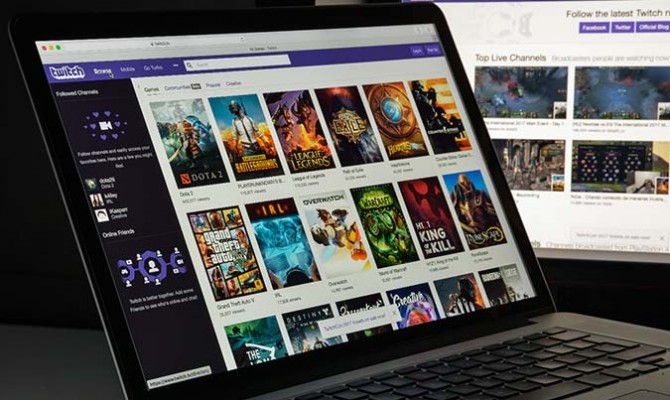
What is the absolute minimum software and hardware you need to get started with streaming? And can you start with the laptop you currently own?
Let's dive into the fascinating world of streaming to see what we need and how our entry-level hardware will do.
System Requirements
Twitch's official minimum requirements for streaming are as follows:
- CPU: Intel Core i5-4670 or AMD equivalent
- Memory: 8GB DDR3 SDRAM
- OS: Windows 7 Home Premium
While the CPU is the most important component of the streaming process, some of the work can be off-loaded to the GPU as well. However, the age and speed of your CPU will largely dictate the quality of your stream.
The i5-4670 is a 3.4-GHz Haswell CPU. Laptop CPUs tend to be slower (due to heat and energy constraints), but they can still stream with the correct settings.
Stay in the know with Laptop Mag
Get our in-depth reviews, helpful tips, great deals, and the biggest news stories delivered to your inbox.
Additional Hardware
While a laptop can handle most requirements for basic streaming, I would strongly encourage you to consider using an external microphone. Viewers usually do not mind lower-quality graphics or a more compressed stream if the gameplay and commentary are engaging, but low-quality audio (like that coming from a laptop's integrated microphone) is one of the biggest turnoffs for viewers.
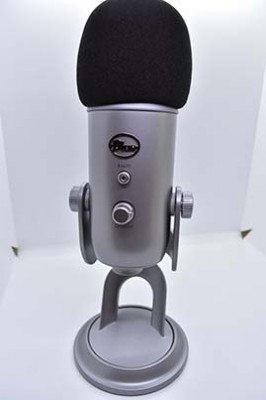
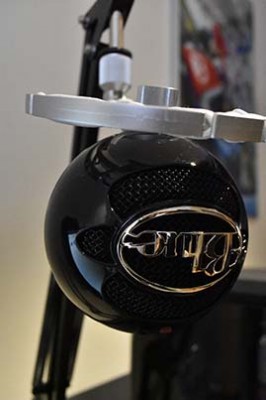
Many streamers and YouTubers swear by the Blue Yeti ($129), which is a great all-around microphone. I use a Blue Yeti for 90 percent of my YouTube audio. If that microphone is outside of your budget, the Blue Snowball ($49) can provide comparable audio quality for half the price. I use a Blue Snowball anytime I have to stream or record from outside my office.
Also, if you are considering buying a microphone, make sure it can connect to the PC over USB rather than the mic jack. Most laptops I have tested (especially the cheaper ones) have severe limitations on their microphone jacks that completely destroy the sound of any good device.
Internet Connection
It should be somewhat obvious that you need a decent internet connection for streaming. It is usually recommended to have at least 2 Mbps of upload bandwidth to stream at 720p.
A common recommendation is to stream over a wired Ethernet connection to ensure network stability, as Wi-Fi is vulnerable to interference that can cause stuttering or interruptions in the stream.
MORE: Top-Rated Wi-Fi Extenders to Boost Your Signal
However, your streaming desk might not be in an area where Ethernet cabling is available, or you might be using an Ultrabook with no Ethernet ports. If you use the 5-GHz band (or have a lot of confidence in your network), you can get away with streaming over Wi-Fi. I do all of my streaming experiments over 5-GHz Wi-Fi, and I've never had any major issues.
Software
There are many options for streaming software, from Nvidia's own GeForce Experience Share to premium options such as XSplit. For this article, I used Open Broadcaster Software (OBS). It is completely free (and open-source), has decent performance, is easy to set up quickly and offers a ton of depth for more complex broadcasts.
The logic of OBS is very simple once you get the hang of it. You have a variety of "scenes," and each scene has a set of inputs arranged in a specific way.
For example, you could have a main "gaming" scene with your game footage, your camera footage and your microphone audio as input and a second "break" scene with just a static image on the screen for when you need to interrupt the stream for a moment. Only one scene is shown to the viewer at any given time, and you can switch between them on the fly while the stream is going.
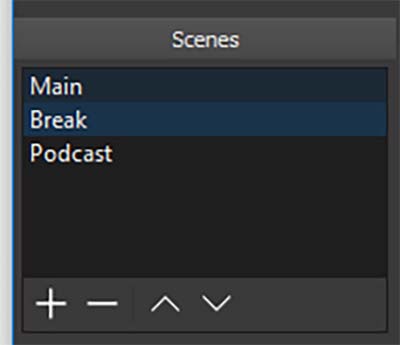
For each scene, you can add a series of input sources and arrange their volume and screen location pretty easily.

For example, to add audio input from your microphone, click the plus sign and then "audio input source." Then, create a new audio source with a descriptive name (like "external microphone"), and on the device menu, select your microphone.
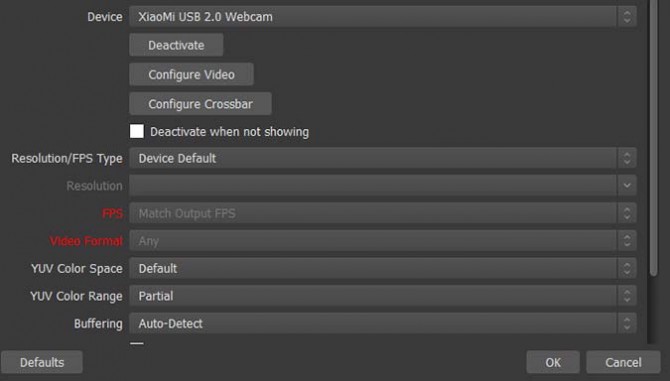
To add camera input, you repeat the same process but add a "video capture device" and select your camera from the drop-down menu. You will now notice that a window for the camera is added to the preview, which you can resize or position any way you'd like.
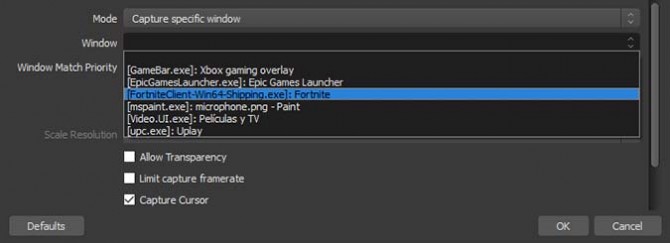
Finally, to capture a game, I like to add a "game capture" source. The default option for this input is to capture any full-screen application (which is usually the case for games), but I prefer to have it capture a specific window. If you select a currently open game from the drop-down menu, OBS will always show the correct game footage and not anything else from your PC by accident.
You can double-click on the input later to change the game, or create different scenes with different games and camera positioning that you can switch midstream.
To stream to Twitch, you need to obtain your stream key, which you can find in your Twitch channel settings. Do not, under any circumstances, share your stream key with anyone. Anyone with the key can stream to your channel.
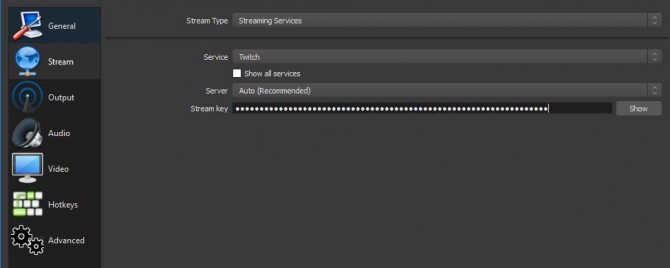
You can add your stream key by going to Settings > Stream and then selecting Twitch from the drop-down menu. Once you have the key saved, all you need to do is hit Start Streaming, and whatever you see in the preview will be shown on Twitch.
MORE: Top-Rated Wi-Fi Extenders to Boost Your Signal
Here's an extra tip: If you want to test the impact of your stream on your PC's performance without it going public, you can add "?bandwidthtest=true" to the end of your key. This will send the stream to Twitch servers, but it will not be displayed on your channel.
Performance
As long as you are streaming using software like OBS, there will be a performance impact on any game. After all, some of your computer's resources are committed to keeping the stream going.
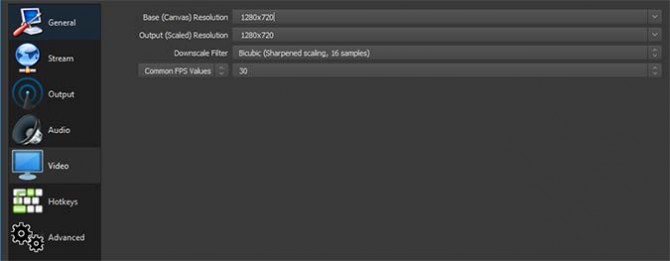
The main way to minimize this impact is to go to the video options and reduce the streaming output to a lower resolution (such as 720p) and set the frame rate to 30 frames per second rather than 60 fps.You can also change the process priority to "High" in the Advanced section of the settings.

In the Stream section, you can select between software encoding and hardware encoding. The advanced options also allow you to choose an encoder preset; the ultrafast preset is better for slower CPUs.
Generally, software encoding uses the CPU to encode the video, while hardware encoding uses the GPU. You can select one depending on which is less taxed when gaming. Hardware encoding tended to give the best results in my test.
In both cases, keep in mind that you want to leave some room for the software to function, so it is important to drop the settings and limit the frame rate to something reasonable for every game.
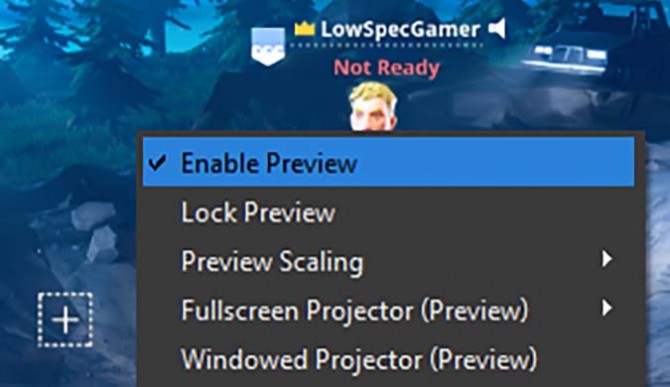
Another important performance tip is to disable the preview by right-clicking on it and deselecting Enable Preview once you start streaming. You would be surprised by how much of an impact this can make.
Also keep in mind that every new element you add to the stream requires a bit more power. You will see less of a performance impact by streaming just the game and your voice than if you add a camera view, for example.
And on the topic of performance, what sort of experience can you get away with on a general use nongaming laptop versus something a bit more powerful?
MORE: Which Laptop CPU is Right for You?
To find out, I spent an afternoon streaming three popular and highly optimized games — Counter-Strike: Global Offensive, Fortnite Battle Royale and Overwatch — on three different laptops to figure out what was possible.
Dell XPS 13 with Intel HD Graphics
The idea of streaming from an Intel HD graphics laptop will probably send a chill down the spine of any serious streamer, but surprisingly, it is possible with a bit of patience.
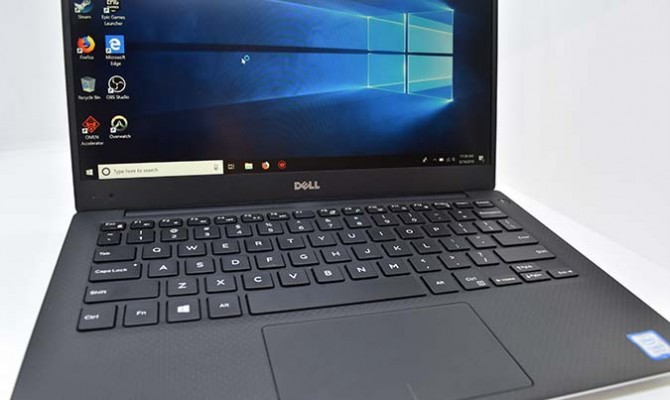
I used the Dell XPS 13 9360 from 2017 with an Intel Core i7-8550U, Intel UHD Graphics 620 and 8GB of RAM. The lack of dedicated graphics ruled out hardware encoding, and the GPU would likely be at 100 percent use for almost any game.
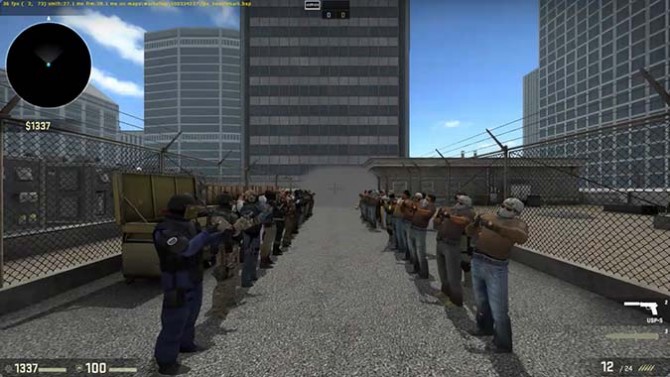
Because Counter-Strike: Global Offensive is a lighter game, I decided to give it a try on a benchmark map at 720p, the lowest settings and a 60-fps limit. The benchmark map tends to push the game further than usual play, so it is a great place to test what is possible.
Surprisingly, it managed to average over 50 fps. The stream itself (720p, 30 fps) was stable but was affected by heavy compression artifacts. This is mainly the result of the very light CPU preset used.
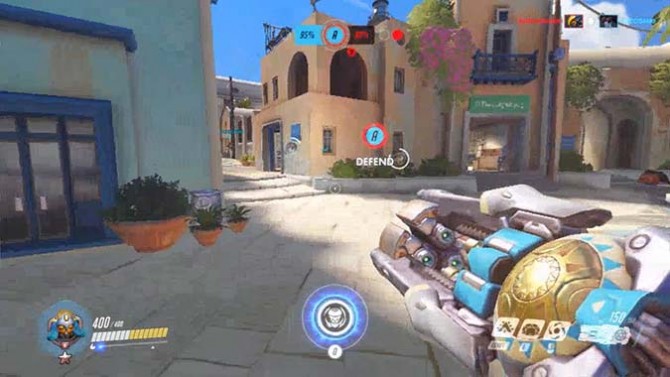
The laptop was also perfectly capable of playing and streaming Overwatch and Fortnite. The former was at 50 percent internal resolution (640 x 480), and the latter was at 75 percent internal resolution (960 x 540), and both were on the lowest possible settings and had a 30-fps limit.

The heavy video compression was more noticeable in the highly dynamic scenes of Overwatch, but considering the circumstances (and how CPU-intensive Overwatch can be), it was a pleasant surprise to see the stream function without interruptions or stuttering.
Verdict: If you absolutely must, it is possible. You might experience heavy compression artifacts.
Xiaomi Pro - Nvidia MX150
The Xiaomi Pro Ultrabook — sporting a Core i5-8250U quad-core CPU, 8GB of RAM and Nvidia MX150 graphics — is my daily driver for most of my work. The dedicated MX150 is basically a mobile version of the GT 1030, which provides graphical capabilities beyond those of any integrated GPU while still fitting in a thin Ultrabook.
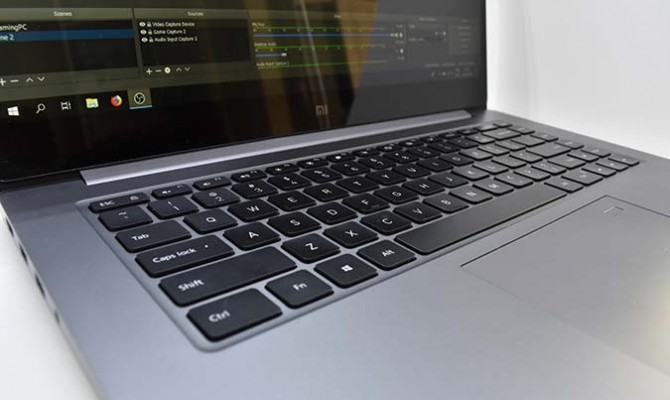
Access to a dedicated GPU meant that we could use hardware encoding, and we achieved good stream quality while maintaining or rising game quality.
At full 1080p, Counter-Strike: Global Offensive maintained a similar performance average as before while streaming at 720p and 30 fps, but with a much clearer viewer experience and significantly fewer compression artifacts.

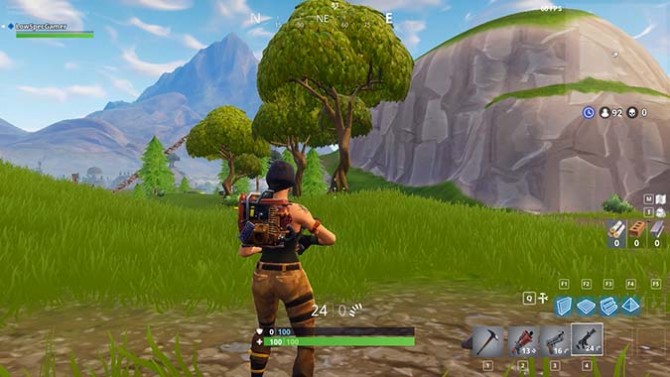
Fortnite did spectacularly well on full 720p, the lowest settings and 60 fps, and had plenty of space left for the streaming software. Neither the game nor the stream missed a frame, and compression was barely noticeable during most of the match.
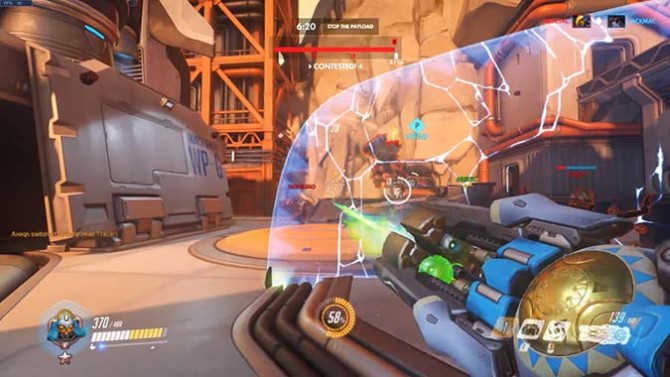
Overwatch was an interesting case. I left the frame-rate limit at "display based," which ended up being around 70 fps. While the game had no issues maintaining this frame rate on the lowest settings and 720p, the stream did experience some very annoying drops. Dropping the frame rate improved it, and the stream continued fluidly.
Verdict: An Ultrabook with a low-end dedicated GPU is actually enough to get started on streaming on 720p. The stream looks great, and well-optimized multiplayer titles work without issues.
What about a dedicated gaming laptop?
To finish, I tested a more gaming-oriented laptop: the MSI GL62M-7REX with a Core i7-7700HQ CPU, 8GB of DDR4 RAM and a GTX 1050 Ti GPU with 4GB of VRAM.
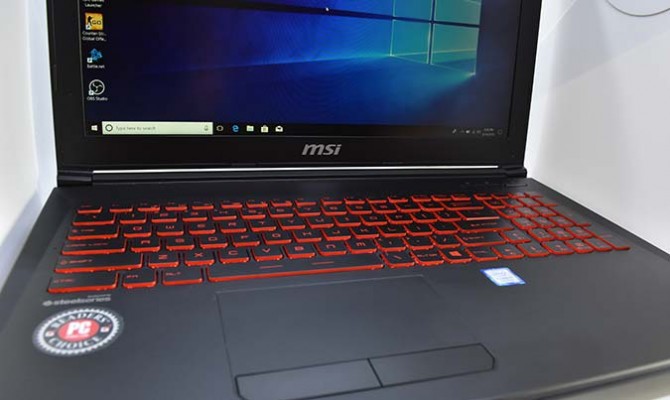
Given the upgrade, it is not a surprise that all the games could be played at 1080p and 60 fps while still streaming at 1080p and 30 fps. The settings remained on low to leave plenty of space for streaming, but no major issues arose.
MORE: Best and Worst Laptop Gaming Brands
The GL62M-7REX is usually considered an entry-level gaming laptop, so you can likely get away with streaming on the lower settings on a laptop with a modern midrange GPU.
Bottom Line
If you want to get started with streaming to Twitch from a laptop, it is surprisingly easier than ever. Not only is the software free and easy to operate once you know the basics, but you can also get away with broadcasting from low-end hardware with the right settings.
