How to Upgrade Your ThinkPad 13's RAM
If you want to boost the performance on your Lenovo ThinkPad 13, you may want to consider adding more RAM. When we reviewed the laptop, it had 4GB of RAM, but it can fit up to 16GB.
You'll need to open up your ThinkPad 13 to add RAM, so be sure to back up your data before you start. You'll also want to find some small Phillips head screwdrivers. Be sure that you purchase DDR4 RAM that is compatible with the notebook.
Here's how to upgrade the RAM in your ThinkPad 13.
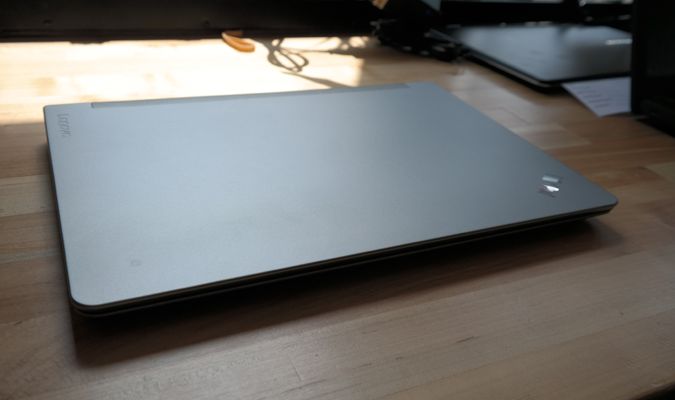
1. Turn off and close your ThinkPad 13.
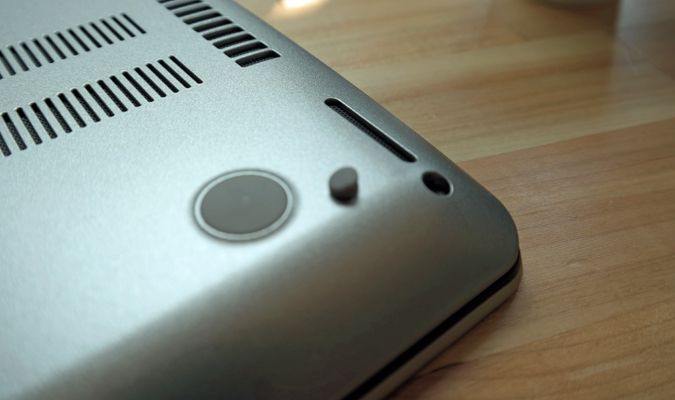
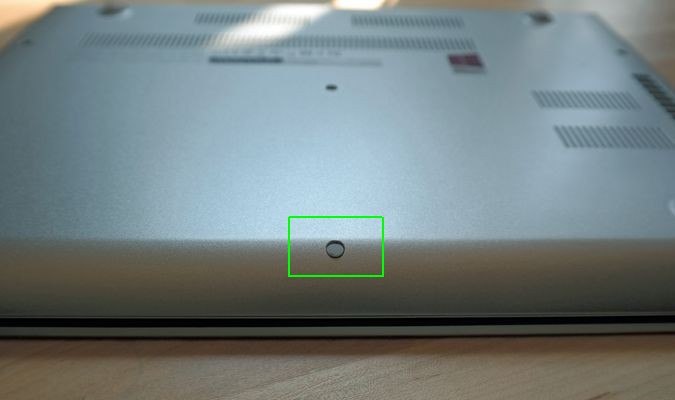
2. Flip over the computer and remove the three screwcaps along the bottom.
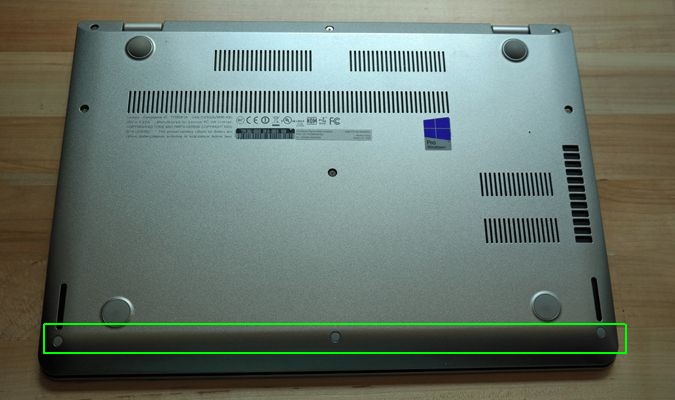
We got them out with a small flathead screwdriver. Place them in a cup or bowl so you don't lose them.
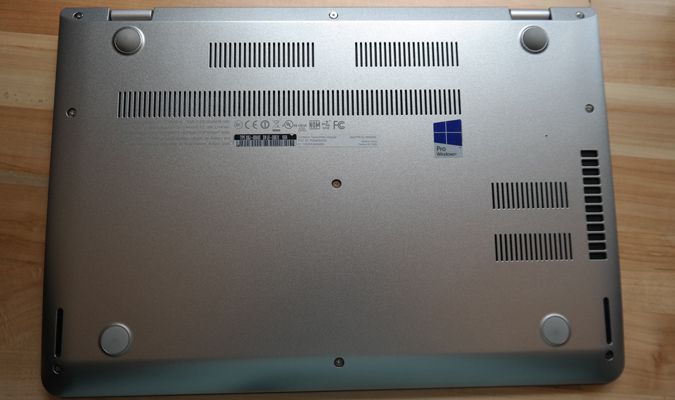
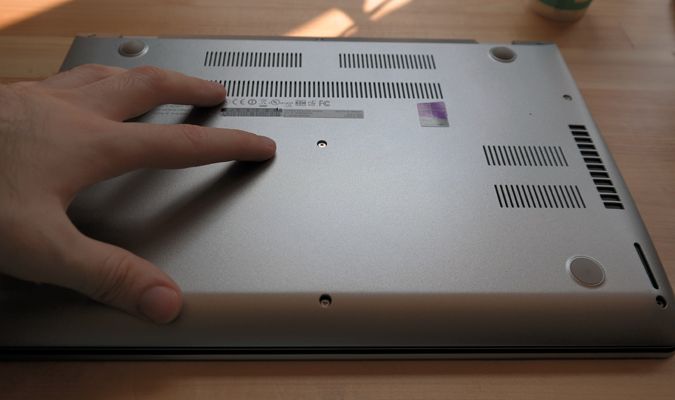
3. Loosen the 8 screws along the edges of the base and the 1 screw in the center. Use a small Phillips head screwdriver. Note that these screws don't come out.
Stay in the know with Laptop Mag
Get our in-depth reviews, helpful tips, great deals, and the biggest news stories delivered to your inbox.
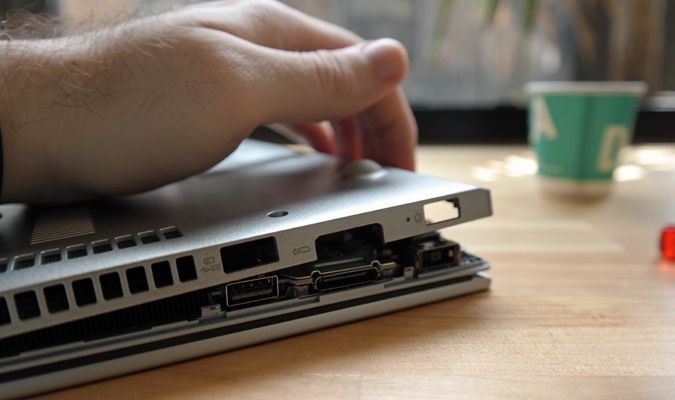
4. Pry the cover from the laptop. Lenovo recommends starting at the top left and working clockwise. Be patient, and try using a thin tool like a small flathead screwdriver to get the base off. Take care not to scratch your computer, as the warranty likely won't cover that.
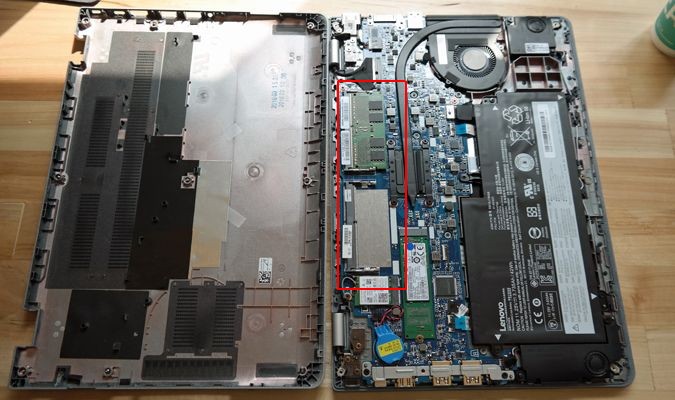
5. Place the base to the side and locate the RAM. Depending on the configuration, you may have one empty RAM slot.
6. Gently push the clips on each side of the RAM. It will pop up at an angle when it is released.
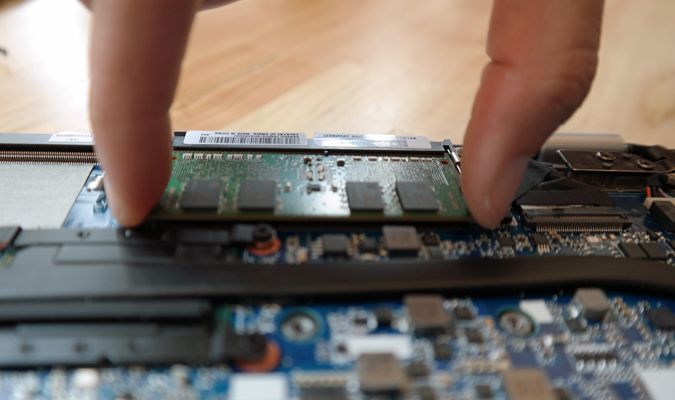
7. Remove the old RAM from the computer. Make sure not to touch the contacts, and place the RAM in anti-static packaging.
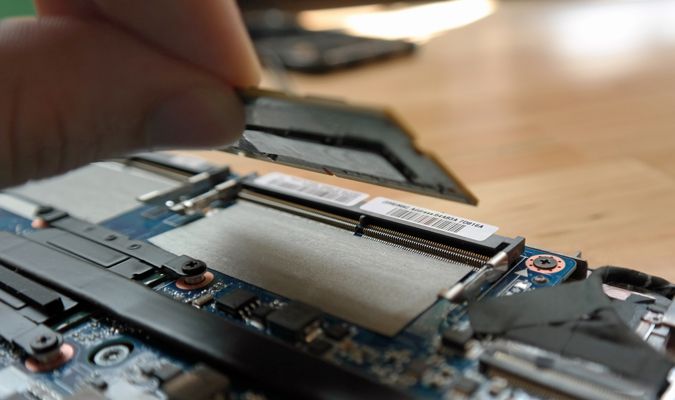
8. Insert new RAM into the slot at a slight angle. You can do this in both slots, depending on how much RAM you are adding.
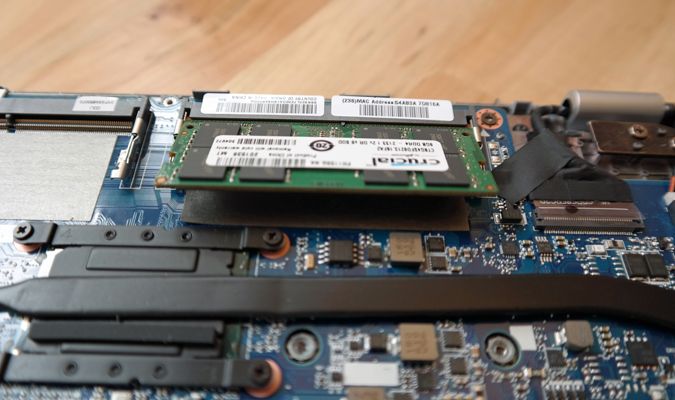
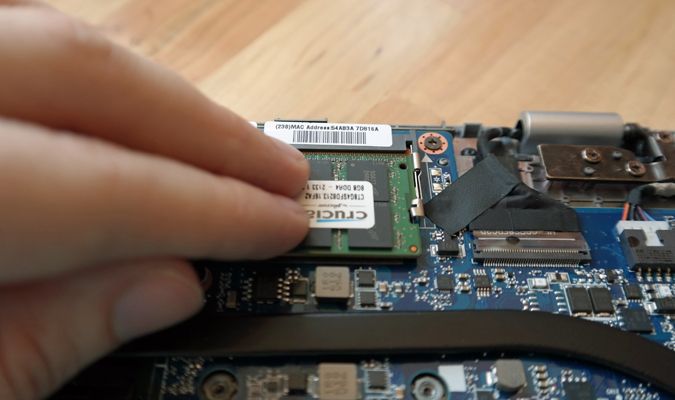
9. Press the new RAM down flat against the motherboard. The clips will hold it in place.
10. Place the cover back on. Be sure to snap it entirely back into place. Tighten all of the screws.
11. Put the screwcaps back on top of the three front screws.
12. Turn on your ThinkPad 13 and check the Device Manager to see if the new RAM is recognized.
