How to Use the New Calendar App in iOS 7
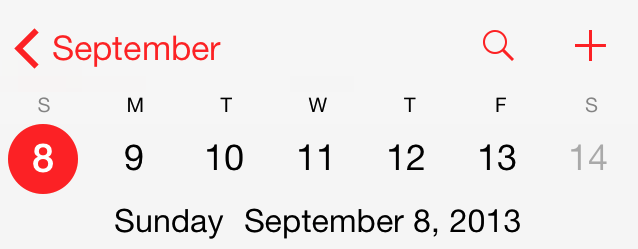
Apple's refreshed Calendar app in iOS 7 has a brand new look and feel. It's simple, clean and easy to use, if you know how. With the right know-how you can even toss those third-party calendar apps you've been using. Here's our step-by-step guide to easily navigate your way through the app, add events and keep your life organized.
MORE: Apple iOS 7 Full Review
1. Open the Calendar app. Like the rest of iOS 7, the Calendar app is much more minimalist. Instead of a gray calendar showing the month, and then the day's events below in white, the new app is almost all white. At the top, instead of a monthly view, you see just the week, with the current day circled in red. Below, a timeline for the day dominates. A red line cuts across the middle, showing the current time, and at the bottom are options to view the day's schedule, Calendars and your Inbox of calendar invites. Swipe to the right or left to show the previous or the next day.
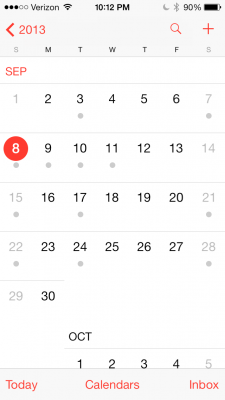
2. Press the Month at the top left to enter a monthly view; as with the daily view, the current day is encircled in red; small gray dots below a date indicate that there's an event on that day. From here, you can scroll up or down to view each month.
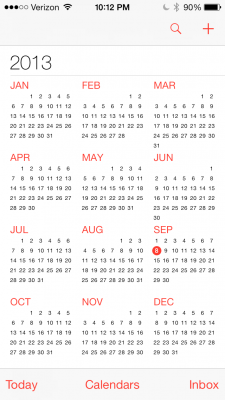
3. Press the Year at the top left to view the entire year. In this view, you won't be able to see if there's an event on a particular day, but if you select a particular month, the calendar will change to that view.
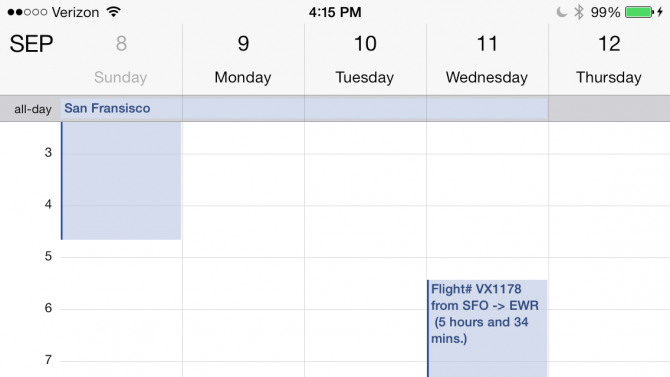
4. Rotate the screen to landscape mode to view the current week. You can switch to this mode from any of the other calendar views (Day, Week, Month and Year).
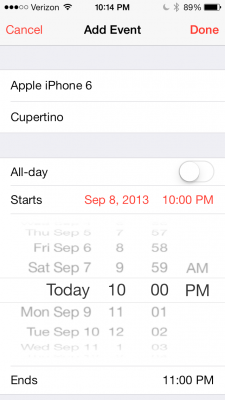
5. Press the Plus in the upper right corner to add a calendar event. Like the previous Calendar app, you'll be presented with fields for the title and location, time, whether or not the event repeats, invitees, alerts, what calendar you want to add the event to, and your availability.
Stay in the know with Laptop Mag
Get our in-depth reviews, helpful tips, great deals, and the biggest news stories delivered to your inbox.
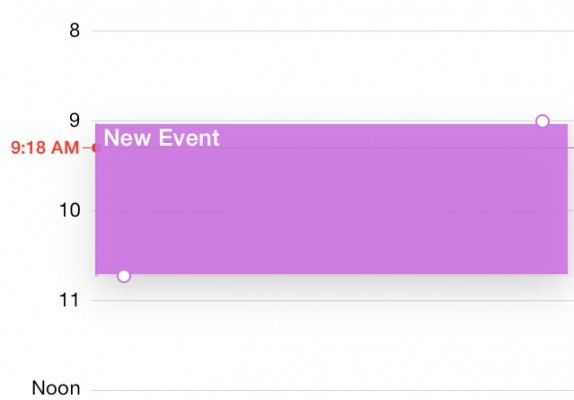
6. Change the duration of an event in the daily view by pressing and holding on an event. This will highlight the event, and two small circles will appear above and below the box; drag a circle to change the start or end time of the event.
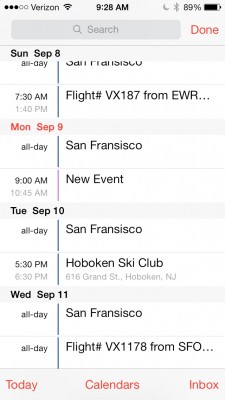
7. Press the Search button next to the Plus to search your calendar. The screen will change to show a scrollable list of all your events.
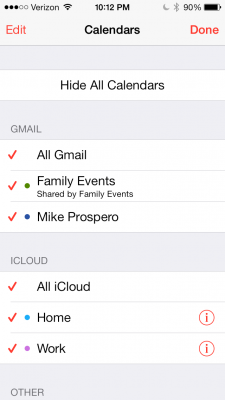
8. Press Calendars at the bottom middle of the screen to select what calendars you want to appear. Here, you can also choose whether or not to show birthdays and declined events.
Michael was the Reviews Editor at Laptop Mag. During his tenure at Laptop Mag, Michael reviewed some of the best laptops at the time, including notebooks from brands like Acer, Apple, Dell, Lenovo, and Asus. He wrote in-depth, hands-on guides about laptops that defined the world of tech, but he also stepped outside of the laptop world to talk about phones and wearables. He is now the U.S. Editor-in-Chief at our sister site Tom's Guide, where he oversees all evergreen content and the Homes, Smart Home, and Fitness/Wearables categories for the site..
