How to Use an External Camera for Skype
For most calls, chances are the webcam built into your laptop is more than adequate to get the job done. For others, you’ll need the quality that only a higher-end camera can provide. With Skype, you have the option to easily jump into a video call using your laptop's built-in microphone and camera, or you can increase the quality by upgrading to better versions of each -- for podcasts, video showcases, or just because you can.
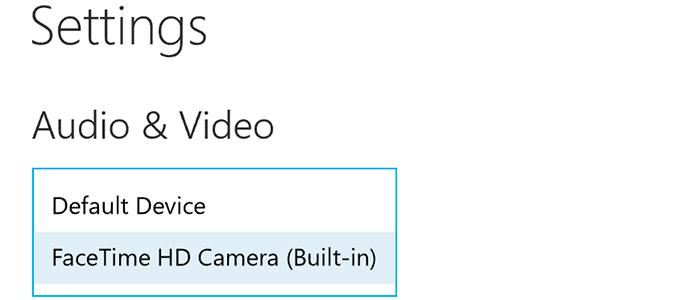
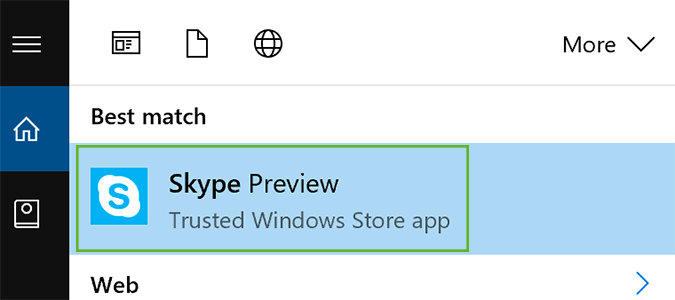
1. Open Skype on Windows. Chances are, you’re using Skype Preview if you are running Windows 10, so we’ll use that for the tutorial. If you’re using the full-version of Skype, the steps are basically the same, only you’ll need to click the appropriate tab in the settings menu to play with audio/video settings.
MORE: Best Webcams
2. Open the settings menu by clicking the icon in the left sidebar.

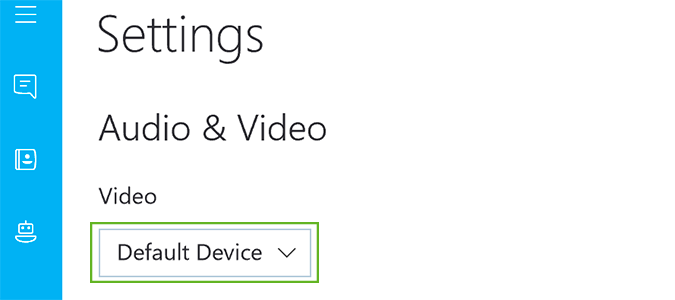
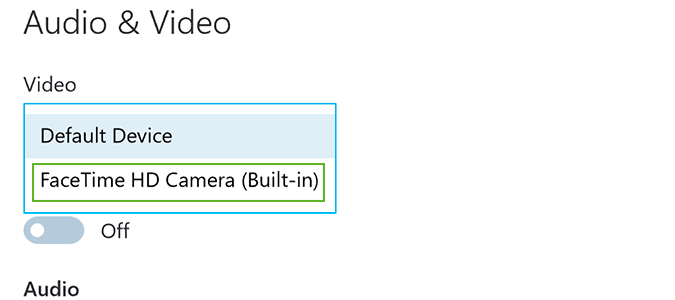
3. Under the Video setting, click the drop-down menu.
4. Select any other camera connected. If you don’t see your camera, you’ll need to ensure it’s plugged in both to the computer, and the camera itself via USB. If that doesn’t work, it may require additional drivers. You can typically find those on the manufacturer’s website.
Skype Tips
- Use an External Microphone with Skype
- Disable Skype’s Typing Indicator
- How to Make Skype Calls on a Chromebook
- Back Up Your Skype Chat History
- Clear Skype Chat History
- How to Make Skype Forward Calls to Your Landline or Mobile Phone
- Use Skype as a Remote Control Security Camera
Stay in the know with Laptop Mag
Get our in-depth reviews, helpful tips, great deals, and the biggest news stories delivered to your inbox.
Bryan covers everything you need to know about Windows, social media, and the internet at large for Laptop Mag. Thanks to his extensive knowledge of operating systems and some of the most popular software out there, Bryan has written hundreds of helpful guides, including tips related to Windows 11 drivers, upgrading to a newer version of the OS, editing in Microsoft Photos, or rearranging pages in Google Docs.
