How to Use a Photo As a Texture in Paint 3D
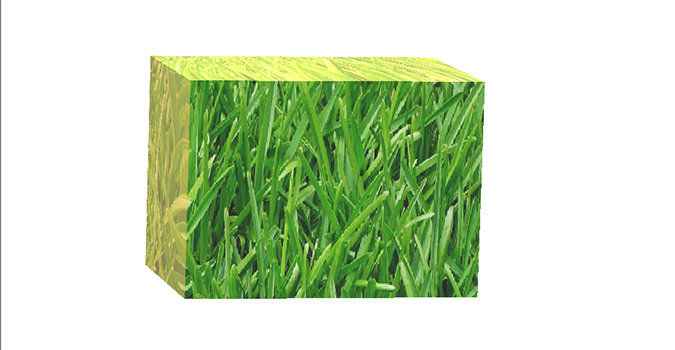
Using a photo as a texture in Microsoft’s Paint 3D is a lot like using a sticker, only a custom one. You can use any type of texture, so long as it’s highly visible in the photo -- brick, water, grass, etc. Once placed, you can maintain the texture by stretching it over your artwork, or you could paint over it and reduce the transparency to keep some elements of the texture while changing the color.

It’s a versatile tool, so long as you know how to use it.
- Open Paint 3D and click New to start a new project.
- Create a doodle, place a 3D object or add an item from the Remix 3D community.
- In the top menu, click the Stickers icon.
- From the sidebar, select the folder icon on the far right.
- Click Add sticker from the sidebar.
- Find the photo you’d like to use as a texture and click Open.
- Click Make 3D in the right sidebar.
- Choose Make sticker from the top of the sidebar.
- Stretch the sticker to fit the shape.
- How to Use Microsoft Word Like a Pro
- How to Use Google Docs Like a Pro
- How to Use Google Sheets Like a Pro
Stay in the know with Laptop Mag
Get our in-depth reviews, helpful tips, great deals, and the biggest news stories delivered to your inbox.
Bryan covers everything you need to know about Windows, social media, and the internet at large for Laptop Mag. Thanks to his extensive knowledge of operating systems and some of the most popular software out there, Bryan has written hundreds of helpful guides, including tips related to Windows 11 drivers, upgrading to a newer version of the OS, editing in Microsoft Photos, or rearranging pages in Google Docs.
