How to Move Your Mac files to a Windows PC
One of the major hurdles in switching computers that is made even more difficult for users switching from a Mac to a PC, is moving your important files over. Both platforms have folders where you're supposed to store music, movies, photos and documents, but some files are harder to find than others.

Once you've finished moving these files over, Microsoft's Groove Music app will automatically import your songs, the Photos app will recognize your images, and all of your other files will sit where they belong.
MORE: Windows 10: Full Review
Before you start, you'll need an external hard drive that works with Macs and PCs. If you don't have such a drive already, we've got instructions for formatting a drive to work with both kinds of computers.
How to Move Your Mac files to a Windows PC
1. Connect your external drive to your Mac, open the drive and select File.
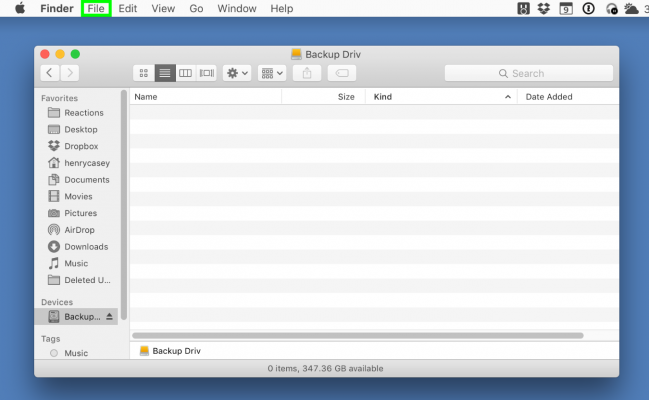
2. Select New Folder.

3. Type Exported Files" and hit Return. Skip to Step 17 if you don't use Photos.
Stay in the know with Laptop Mag
Get our in-depth reviews, helpful tips, great deals, and the biggest news stories delivered to your inbox.

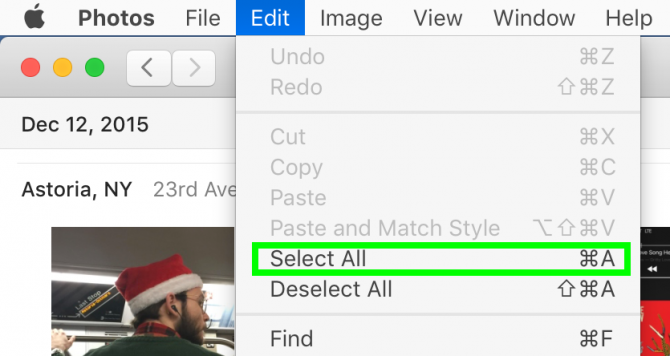
4. Open the Photos app and click Edit in the Menu bar.

5. Click Select All.
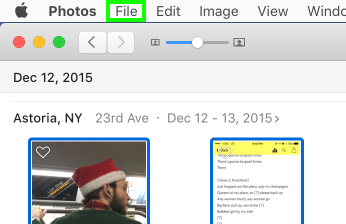
6. Click File.
7. Move your cursor to Export.
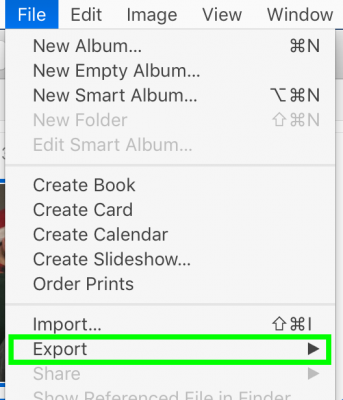
8. Select "Export Unmodified Original For ..." You can select Export Items, which gives you options for image kind and video quality, but most will want to select this option.

9. Click on the drop-down menu next to Subfolder Format.
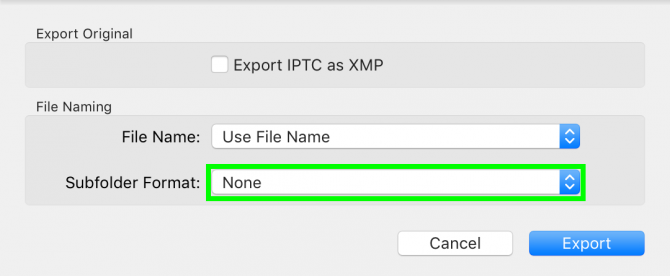
10. Select Moment Name.

11. Select Export.

12. Click on your external hard drive.
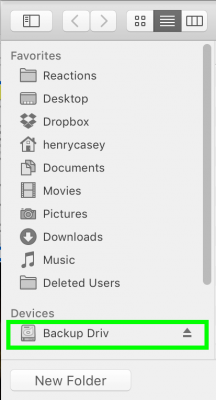
13. Double-click on the Exported Files directory.

14. Click New Folder.
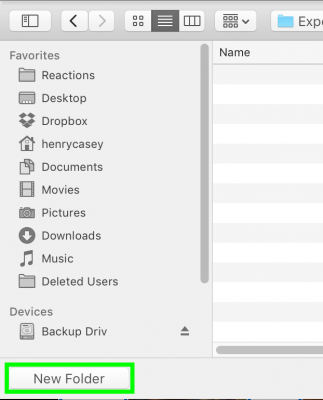
15. Type Photos and click Create.
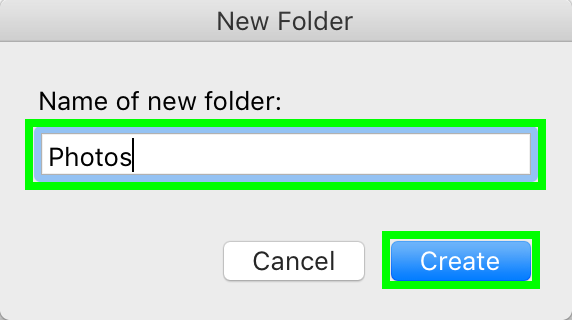
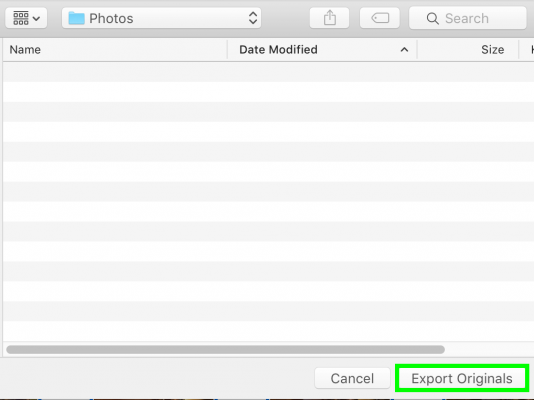
16. Click Export Originals. This may take some time to finish, depending on how many images you've amassed.
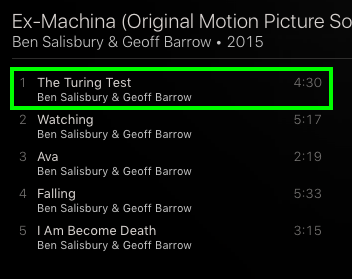
17. Open iTunes and right-click any song. If you don't use iTunes, skip to step 24.
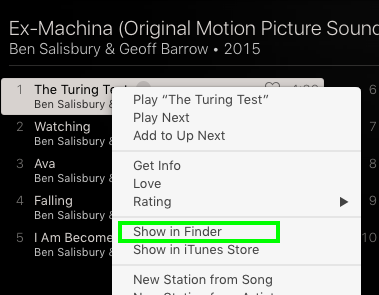
18. Select Show in Finder.
19. Press Command + Up to move up to the Artist directory.
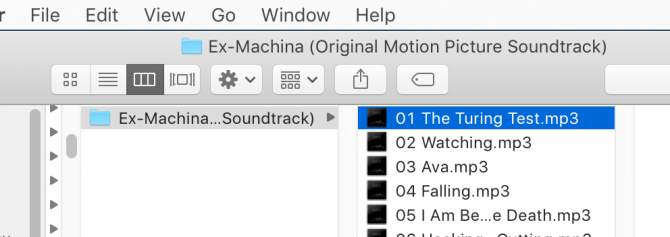
20. Press Command + Up to move up to the Music directory.
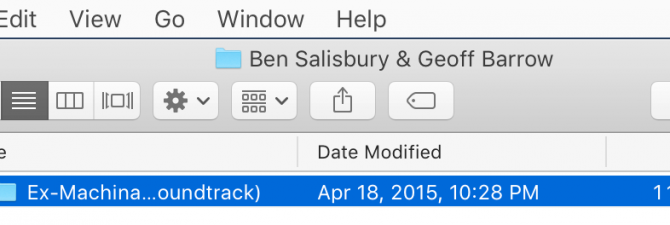
21. Press Command + Up again to navigate to the iTunes Music directory.
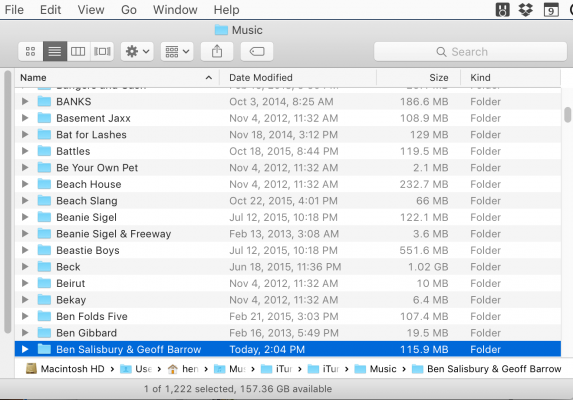
22. Click and drag the Music folder icon to your external hard drive in the side menu, and hold the mouse button down until the window shows the contents of the external hard drive.
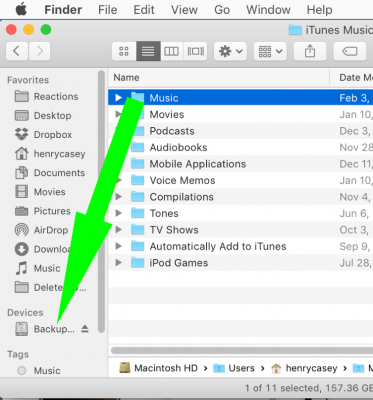
23. Move the Music folder to the Exported Files folder and release the mouse button. The files will begin to copy, and depending on the size of your library, this might take some time.

24. Click on Go in the Menu bar.

25. Select Home.

26. While holding Command, click on Desktop, Downloads, Movies and Documents. Select additional directories if you want to bring them over.
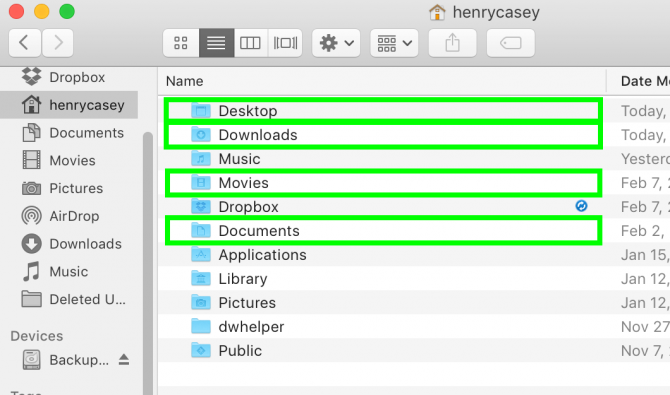
27. Drag these folders to the external hard drive in the side menu, holding down on the mouse button until the window shows the contents of the external hard drive.
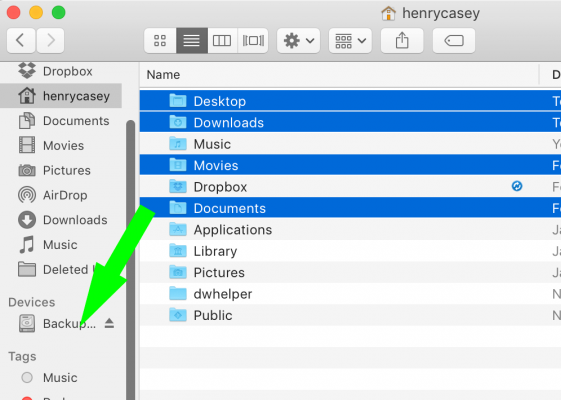
28. Move the folders to the Exported Files folder and release the mouse button.

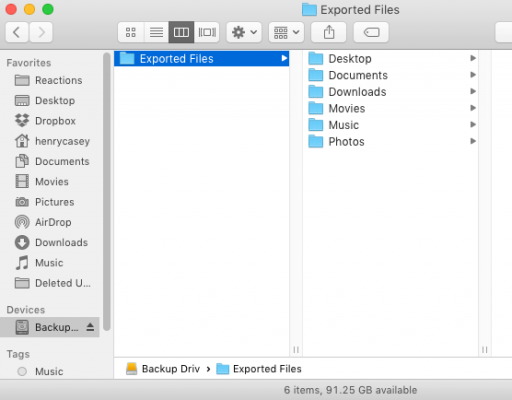
Once all of your files have finished copying, the Exported Files folder should look like this, without any progress bars.
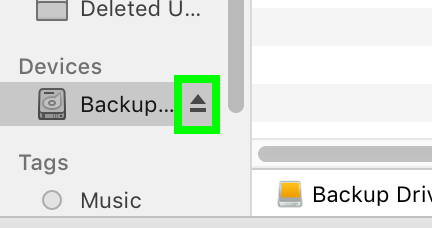
29. Click the Eject icon next to the external drive.
31. Connect the external drive to your PC and click the File Explorer icon.

32. Double-click the external drive.
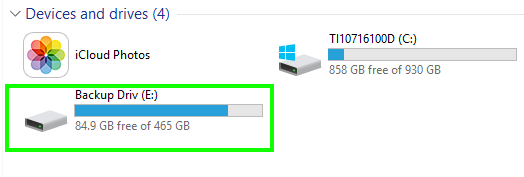
33. Double-click the Exported Files folder.

34. Double-click the Desktop folder.

35. Click Select All.

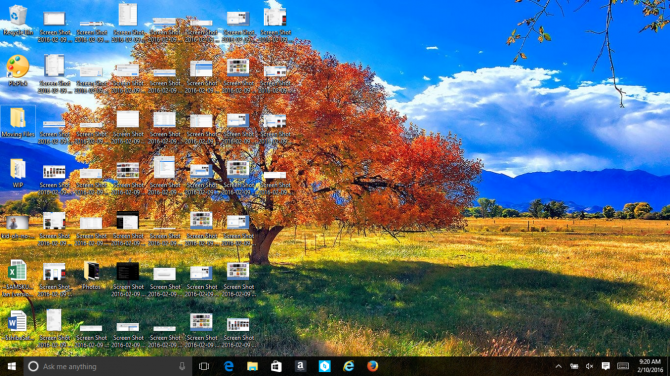
36. Drag all of the files to Desktop in the sidebar. Repeat steps 34 through 36 as necessary.

Your PC now has all of your Mac's files!
Mac to PC Guide: How to Make the Switch
- Create a Microsoft Account
- Set Up and Use iCloud on Windows
- Format a Hard Drive For Both Windows and Mac
- Convert Mac-Specific Files To Work on Windows 10
- Authorize Your New PC with Your iTunes Account
- How to Import iPhone Photos to Windows 10
- A Guide to Windows 10 Touchpad Gestures for Mac Users
- A Mac User’s Guide to Windows 10 Keyboard Shortcuts
- Sign Into Facebook and Twitter in Windows 10
- Set Up iCloud Email and Calendars on Windows 10
- How to Force Quit in Windows 10
- How to Install Apps in Windows 10
- Make Desktop Shortcuts in Windows 10
- Snap 4 Windows at Once in Windows 10
- How to Use Cortana in Windows 10: Tips and How-Tos
- Install QuickTime on Windows 10
