7 hidden MacBook features you should be using
MacOS has a ton of hidden features that can change the way you use your Mac computer
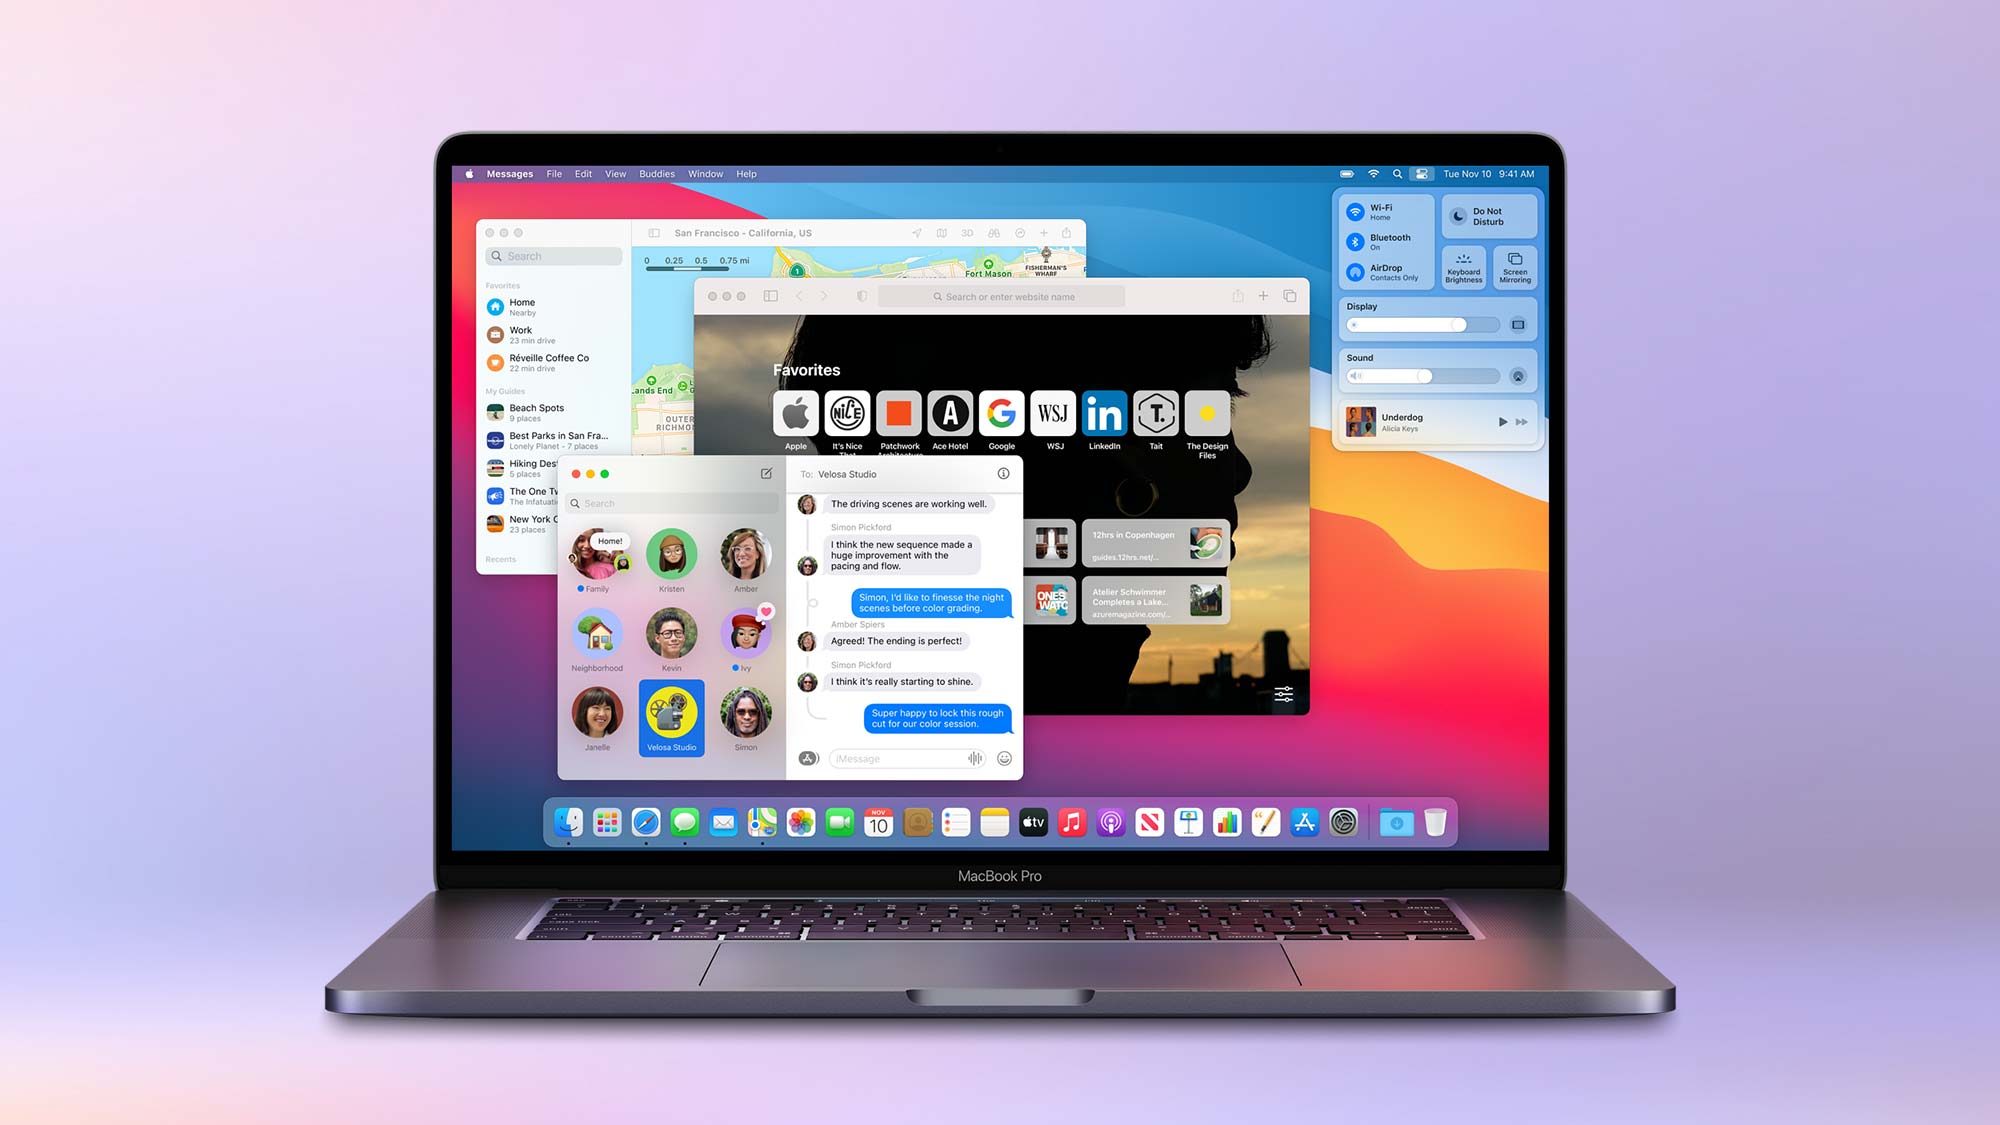
On the surface, macOS has remained unchanged throughout generations of updates. Dig deeper, however, and you’ll find a string of handy features Apple has added to its desktop operating system every year. Whether you’re new to macOS or have owned a MacBook for ages, these lesser-known features can help you save a few clicks and potentially make your workflow more productive.
Here are some of our favorite hidden features and tips on macOS you should be using.
- MacBook Air vs. MacBook Pro: Which Mac should you buy?
- How to Reset a Mac: Factory reset a MacBook Air or MacBook Pro
- Best MacBook deals in 2022
1. Pin a universal media player to the menu bar
On your Mac, you don’t need to constantly switch back and forth between what you’re doing at the moment and the audio source to control media playback.
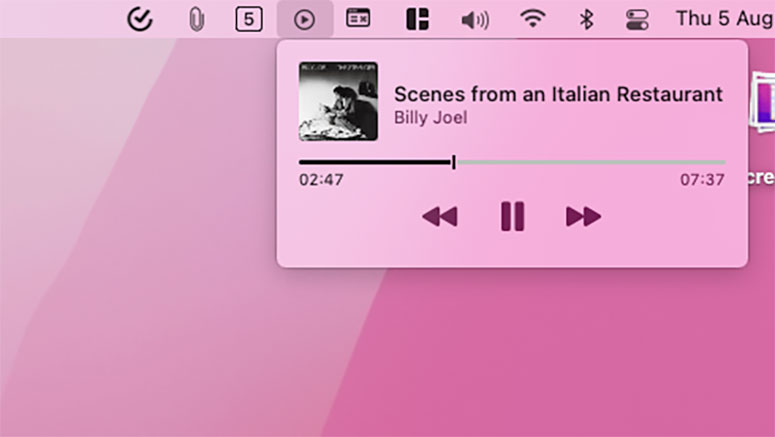
macOS allows you to pin a universal media player to the menu bar. With this widget, you can pause/play and adjust playback on just about every platform, from the Apple Music app to a YouTube video playing on a browser.
Go to System Preferences > Dock & Menu Bar > Now Playing and check the “Show in Menu Bar” box to enable the media player widget. From the dropdown underneath this option, you can choose to always have this on display or only when there’s an active playback.
2. Turn your screen’s corners into shortcuts
There are only so many keyboard shortcuts you can learn and remember. macOS, though, has a better alternative for you: hot corners.
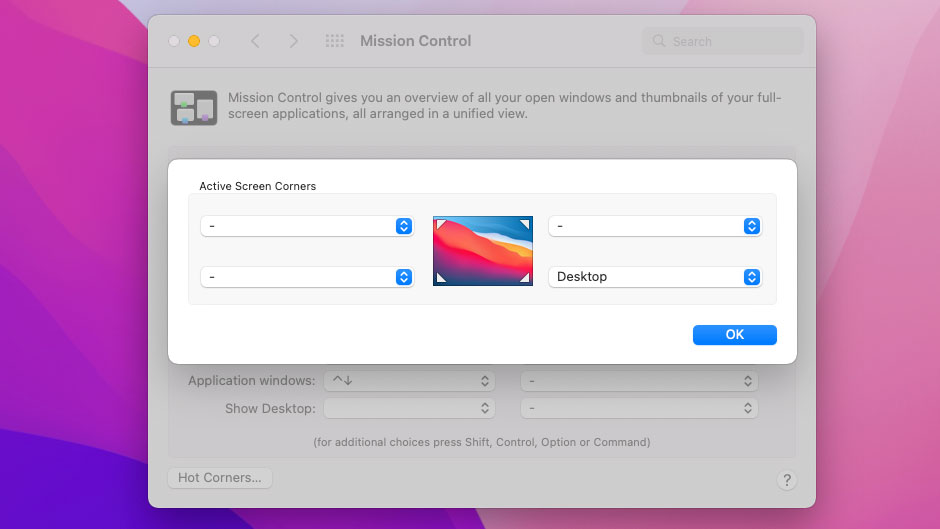
macOS lets you link a handful of actions to your screen’s four corners. When you hover your cursor over any of them, your Mac will automatically execute the shortcut you’ve set it to.
Stay in the know with Laptop Mag
Get our in-depth reviews, helpful tips, great deals, and the biggest news stories delivered to your inbox.
To set up hot corners, visit System Preferences > Mission Control and click “Hot Corners.”
Select the dropdown next to the corner you want to configure and pick what should happen when you bring your mouse pointer to it. You can take a quick note, lock your computer, pull out the notification center -- all by simply hovering over one of your desktop’s corners.
3. Pin files and folders to the dock
The strip of icons at the bottom of your Mac’s screen can hold much more than your favorite apps. You can also instantly access your files and folders from macOS’s dock.
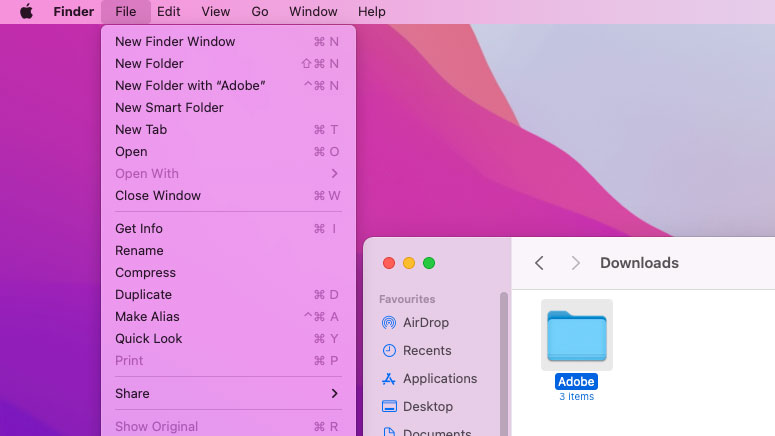
To pin a file or folder to the macOS dock, head over to its location in the Finder app. Single-click the item and open the “File” menu at the top. Hold down the Shift key on your keyboard to reveal a hidden “Add to Dock” option and click that to create a shortcut to the selected file or folder on the dock. Alternatively, you can also press the Ctrl+Cmd+Shift+T keyboard combination.
4. Use macOS’s full-fledged screenshot and recorder tool
You may be familiar with screenshotting a portion of your display or QuickPlayer’s screen recorder, but your Mac also has a separate all-in-one tool for screenshots.
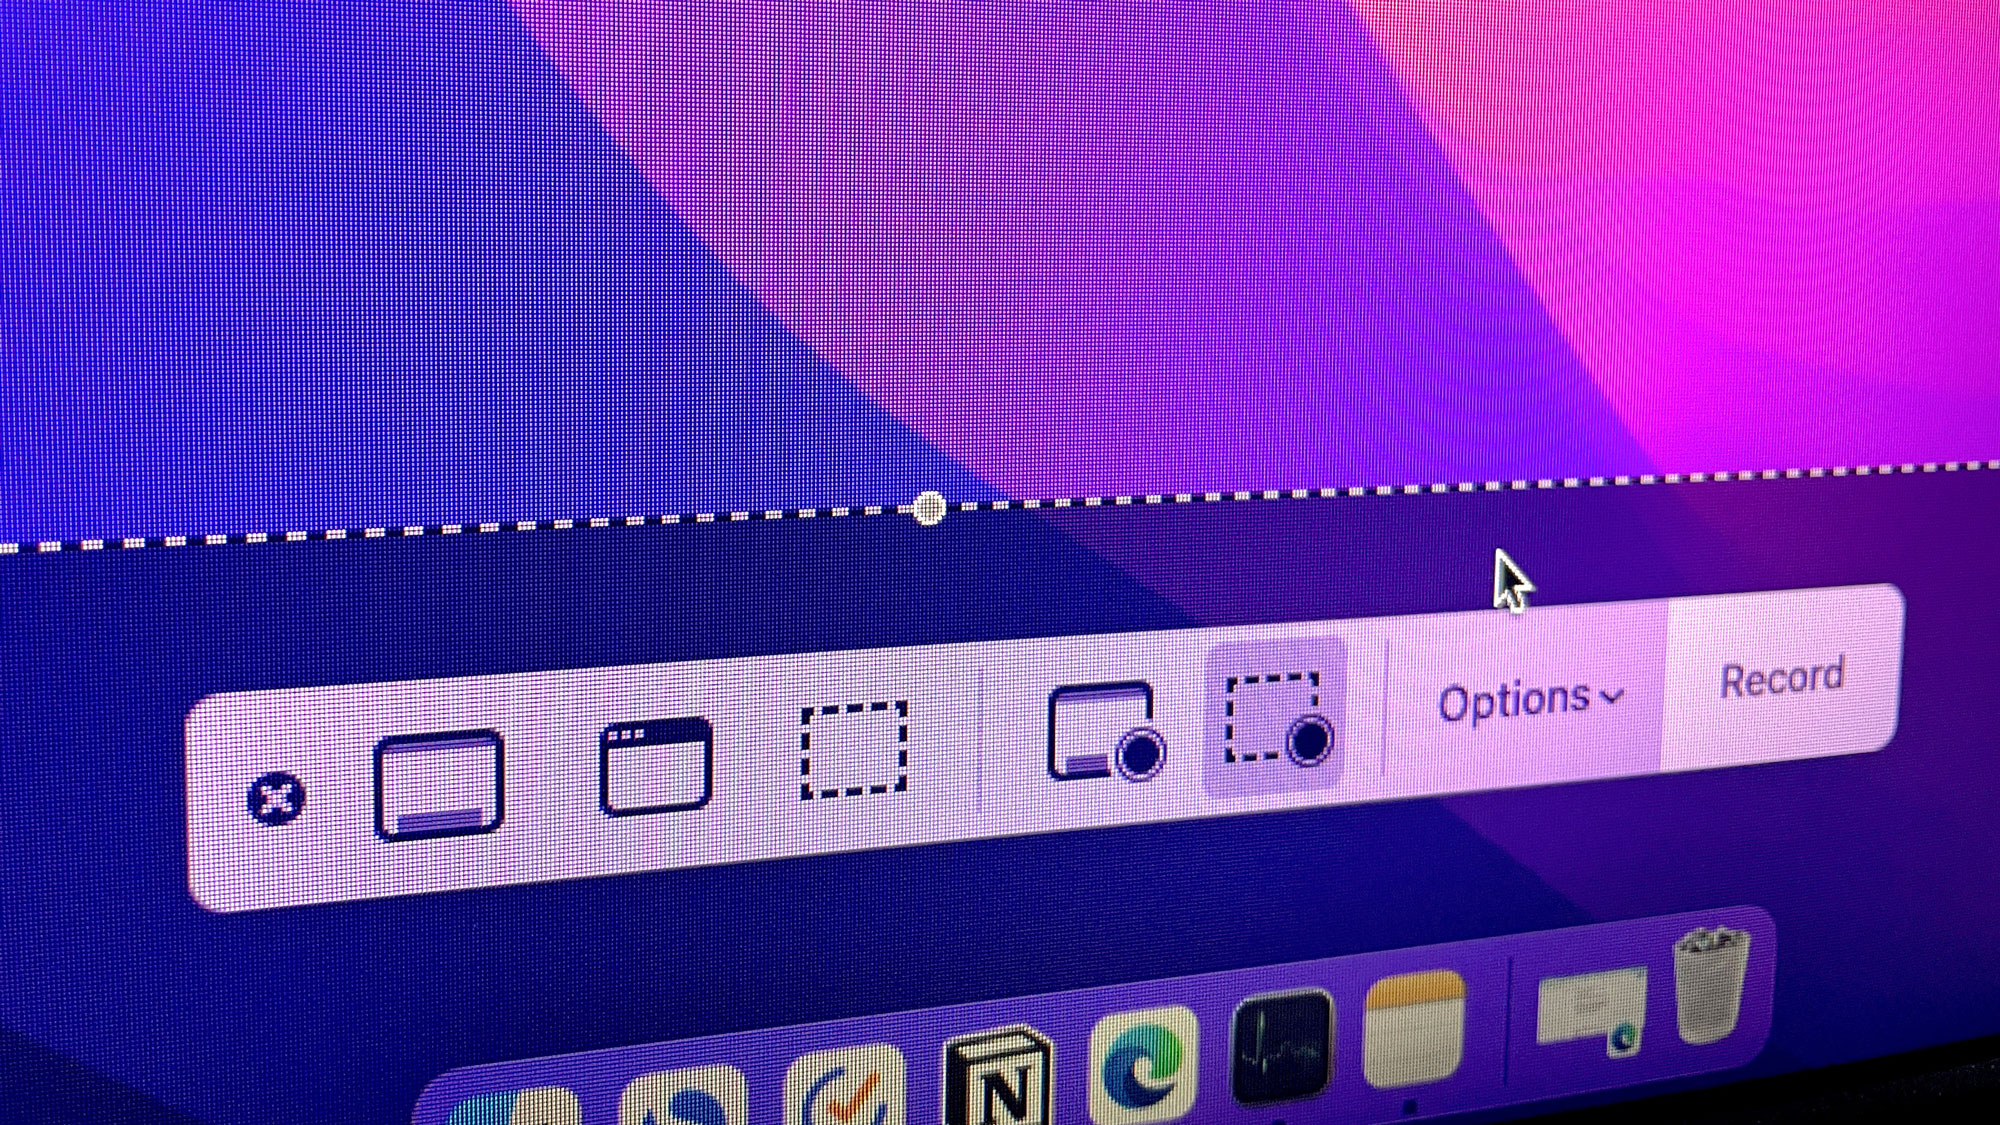
MacOS’s dedicated tool for taking screenshots and recording screen content is probably its best-kept secret. It launches a dashboard-like interface where you’ll find all the options you’d need to capture your screen in one place. You can record a particular area of your display, specify whether you want microphone input and the mouse pointer, and more.
You can access macOS’s screenshot app either from the launchpad or with the “Cmd + Shift + 5” shortcut.
5. Double-click a window to minimize it
By default, when you double-click an app’s window on macOS, it maximizes to fit the screen size. In my experience, I’ve found little use for this behavior, but thankfully, macOS lets you switch to a different action. Instead of maximizing the window, you can alternatively choose to minimize it into the dock when you double-click its title bar.
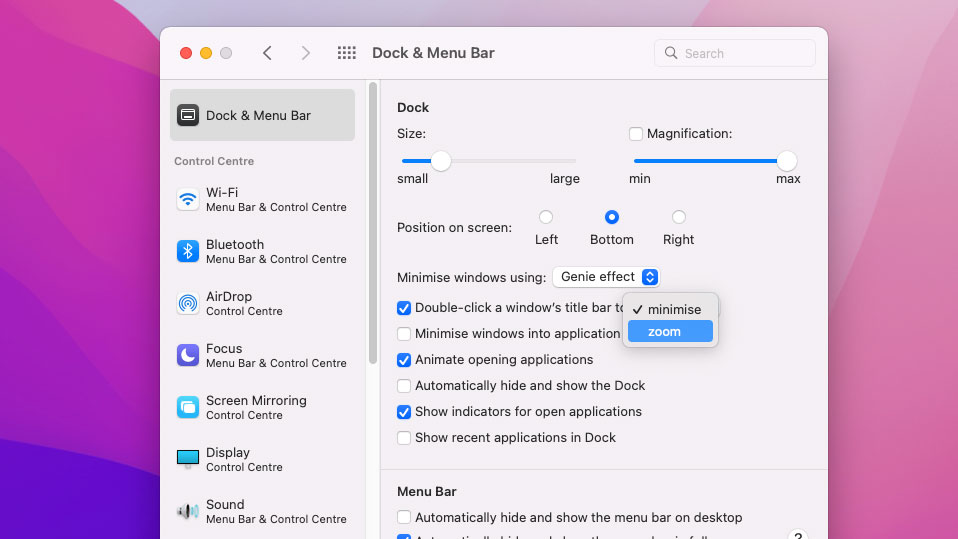
To do this, go to System Preferences > Dock & Menu Bar and select “minimize” from the “Double-click a window’s title bar to” dropdown.
6. Automatically launch programs at boot
If you often open the same set of apps as soon as your Mac boots, there’s a setting that can save you some time each morning. macOS lets you automate your startup routine and can automatically launch your favorite apps when you log into your computer.
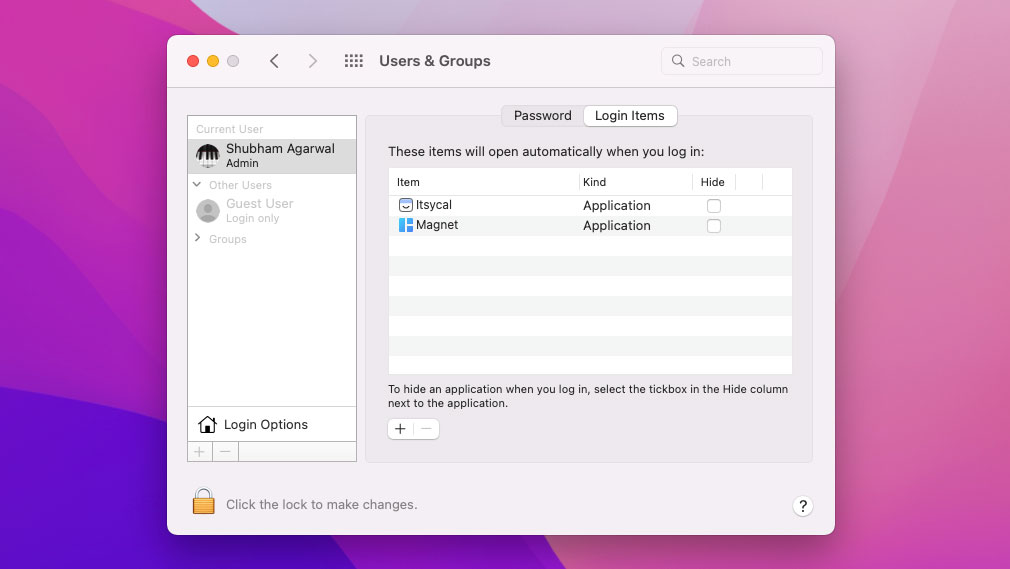
You can set up your login items from System Preferences > Users & Groups. Select your username from the left and enter the “Login Items” tab. Click the plus button at the bottom. In the pop-up, head into the “Applications” section and double-click the program you’d like to fire up when your computer boots automatically.
This utility is not restricted to just apps either. You can also use it to launch pictures, videos, and anything else from the “Finder” app at startup.
7. Pull up the emoji tray
Punching in an emoji on your computer can be a hassle, especially when the app you’re using doesn’t have a built-in option for it. You don’t have to deal with this problem on a Mac, as it comes equipped with an emoji picker.
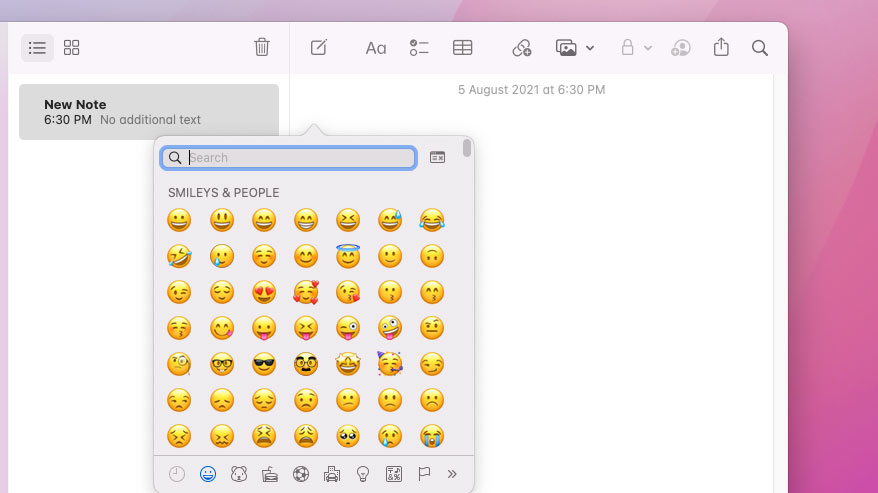
You can summon macOS’s emoji tray no matter where you’re typing and easily enter the characters you want in an instant. Also, you're able to pull up your Mac’s emoji picker either by pressing the “Cmd + Control + Space” shortcut or from the menu bar.
Visit System Preferences > Keyboard to pin the emoji tray to your Mac’s menu bar. In the “Input Sources” section, enable the “Show input menu in menu bar” checkbox. Click the new input icon on your menu bar and hit “Show Emoji & Symbols” to reveal the emojis.
Shubham Agarwal is a freelance technology journalist from Ahmedabad, India. His work has previously appeared in Business Insider, Fast Company, HuffPost, and more. You can reach out to him on Twitter.
