How to create and manage tags in Microsoft Teams
Get the most out of tags in Microsoft Teams
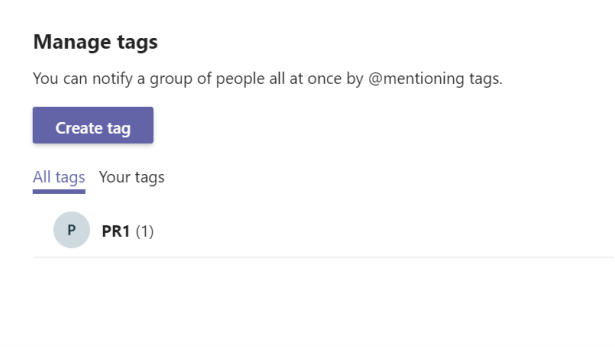
Tags in Microsoft Teams is like a collection of people, each stuffed into a folder. Tags are handy to sort groups of people by roles, projects, or even shift so that you can ensure you’re always looking in the right place to find who you need.
Once created, you can use tags to connect with the team, or people within it while using the @mention. You can easily create subgroups that range from your bosses to the core group on a project by copying a tag and tweaking its member list. Tags can also be deleted upon the conclusion of a project.
Microsoft Teams is also rolling out tags for different shifts. These specialized tags could be used to separate day shift from night shift, for example, though the launch hasn’t happened just yet.
Create tags
1) Click the 3 dot icon in front of any channel in your team.
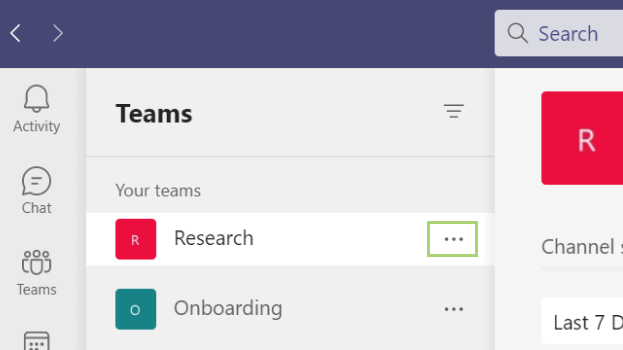
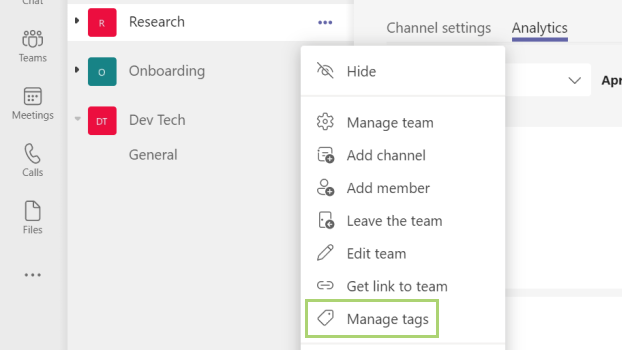
2) In the menu that opens, click Manage tags.
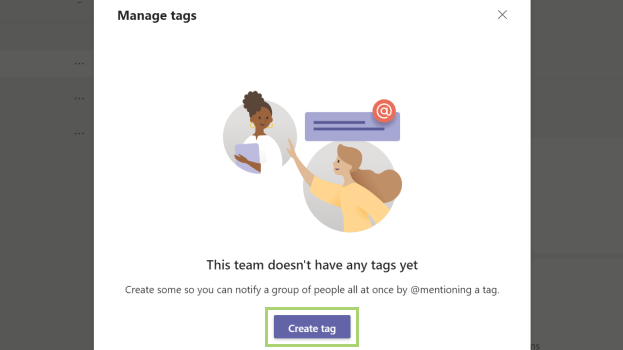
3) Click Create tag to start adding tags.
4) Type a name for the tag and press enter.
Stay in the know with Laptop Mag
Get our in-depth reviews, helpful tips, great deals, and the biggest news stories delivered to your inbox.

5) Start typing a name in the search box to find a team member you want to add.
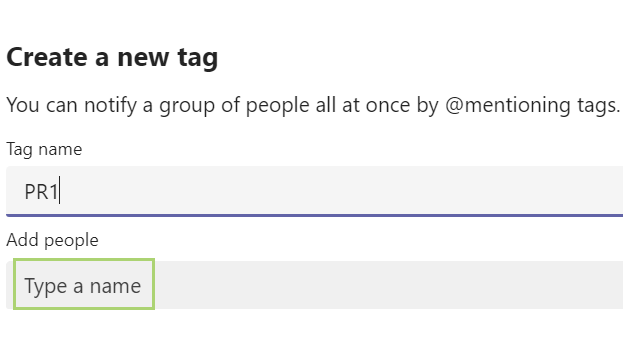
6) Select the name and press enter to add.
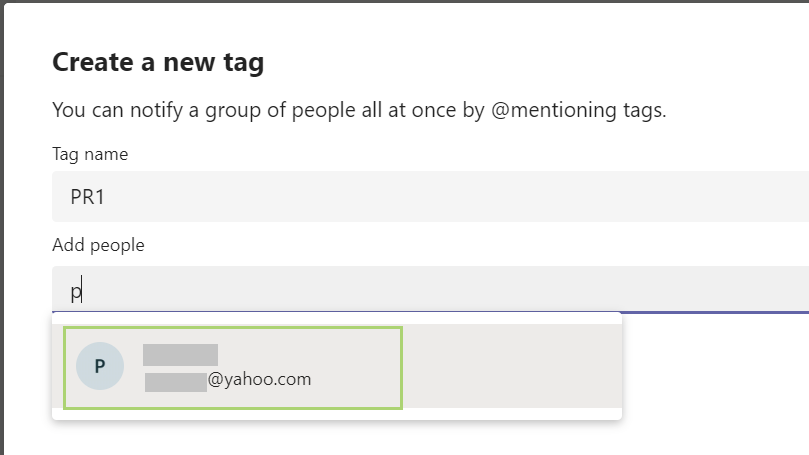
Note: You can repeat the process to add up to 100 names to the tag.
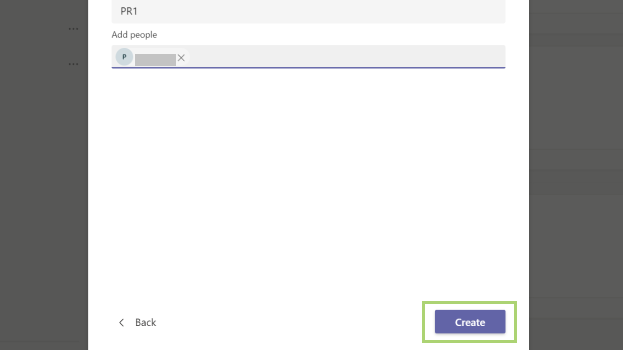
7) Click Create tag to create the tag with the team members added so far.
Use a tag
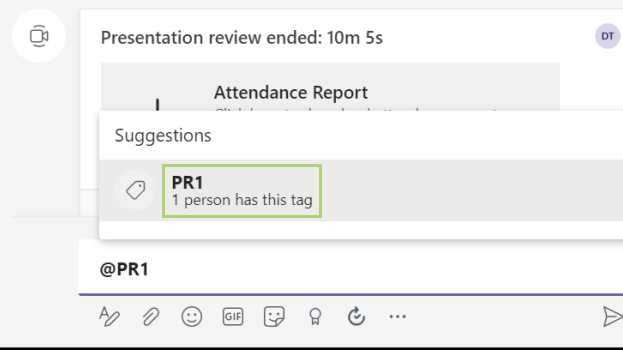
1) In the message box type @ with a tag name.
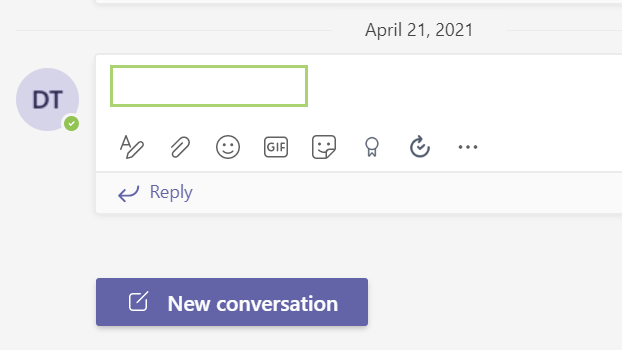
2) Select the tag from the suggested list of tags.
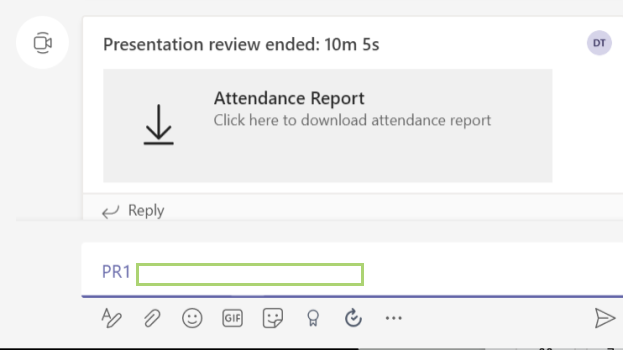
3) Add the message you want to send to this particular group.
Manage tags
1) Click the 3 dot icon in front of any channel in your team.

2) In the menu that opens, click Manage tags.

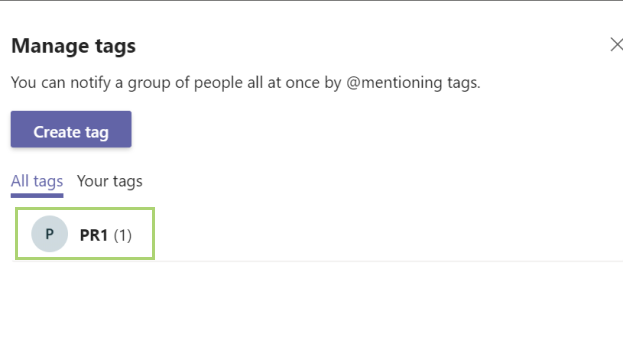
3) Click on the tag to open the team members attached to it.
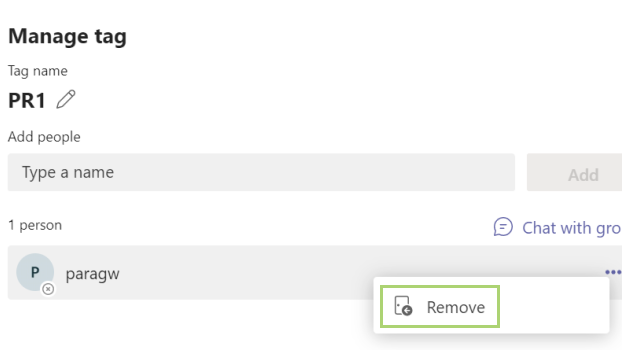
4) Click the 3 dots in front of a person's name to open the available menu.
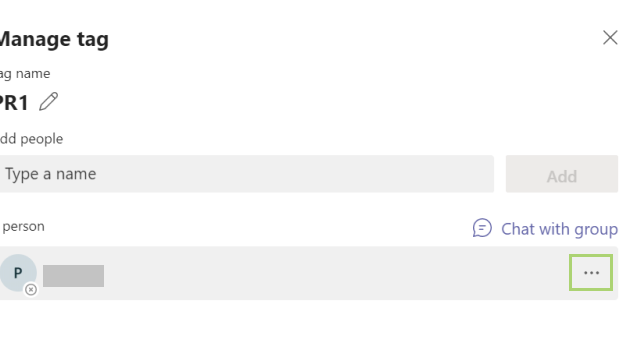
5) Click Remove to remove the team member from the tag.
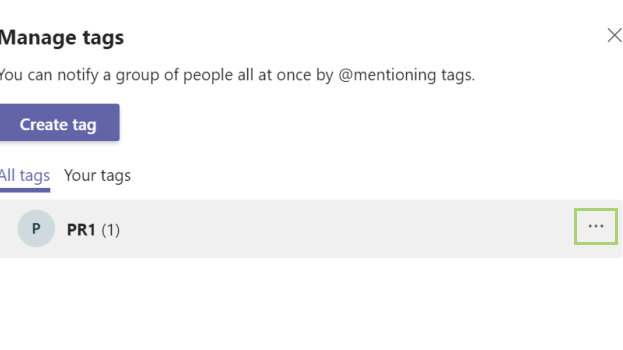
6) Click the 3 dots in front of the tag to open the available menu options.
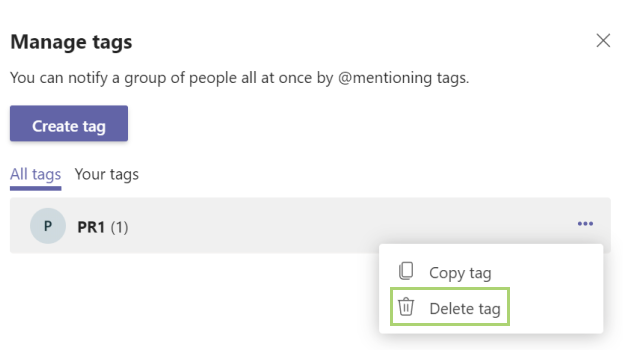
7) Click delete to remove the tag with all its team members.
Bryan covers everything you need to know about Windows, social media, and the internet at large for Laptop Mag. Thanks to his extensive knowledge of operating systems and some of the most popular software out there, Bryan has written hundreds of helpful guides, including tips related to Windows 11 drivers, upgrading to a newer version of the OS, editing in Microsoft Photos, or rearranging pages in Google Docs.
