How to Edit Google Docs Margins
Make a professional-looking document with the correct margins
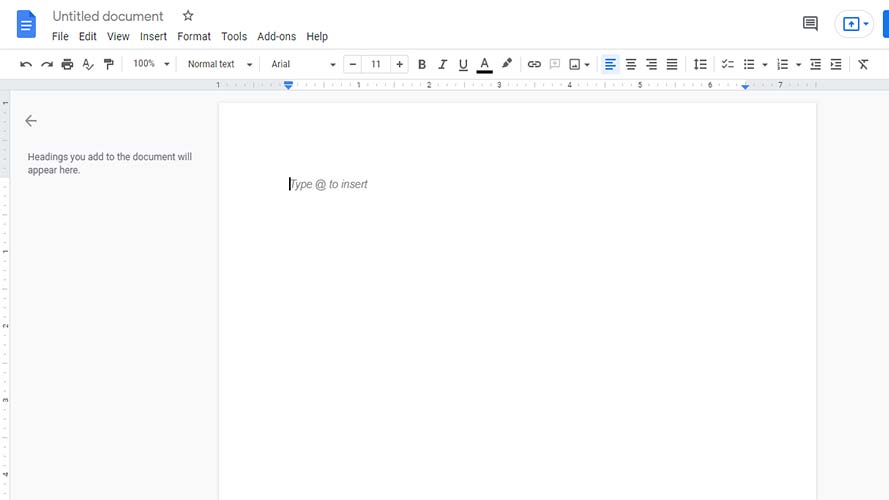
Google Docs offer several features to help you customize your document. One of the most-used features is edit margins. However, many people don’t understand how to use it properly. Here we’ll discuss the different ways you can use it to edit margins in Google Docs.
Margins help your readers know where the contents of your document start and end. It also gives your document a less-crowded look, making it easier to read. Its effect on your paper's readability is so significant that various organizations, such as the APA (American Psychological Association) and MLA (Modern Language Association), took it upon themselves to set standards on the proper margins to use for academic purposes.
For example, both the MLA and APA agree that 1-inch margins on all sides of a document are optimal. These standards are why the default margin for many document programs (i.e., Google Docs, Microsoft Word, etc.) is 1-inch on all sides.
Setting the Margins of Your Google Docs
Using the Google Docs’ Ruler
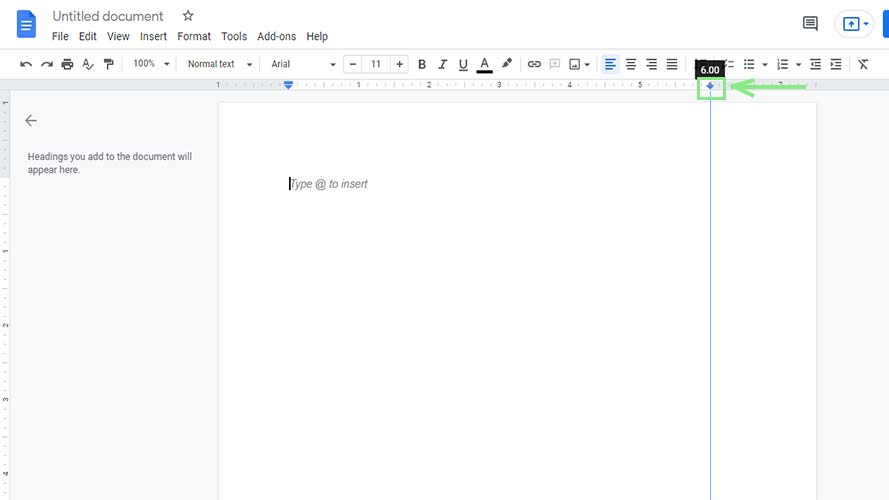
1. Google Docs shows your current margin as a gray area on your ruler located at the top of your document. First, long-click the tip of the gray area of the margin that you wish to adjust.
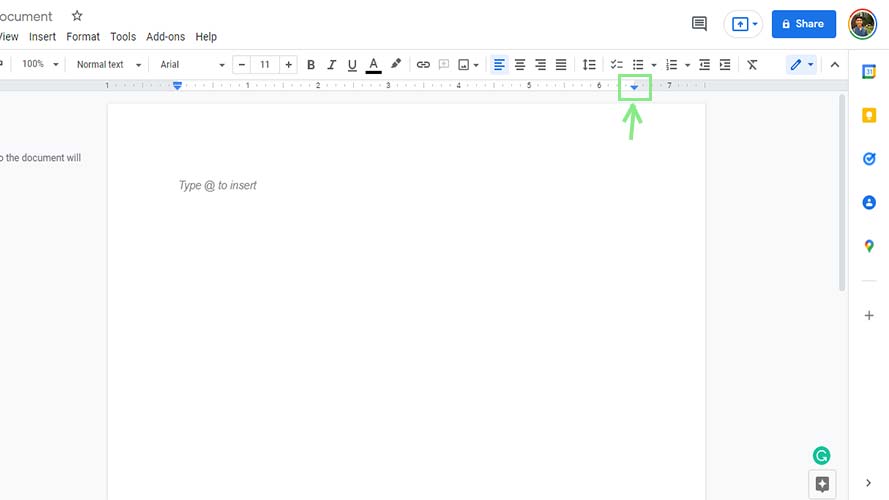
2. Drag your margin to your desired length, then release your mouse click.
Using Page Setup
Stay in the know with Laptop Mag
Get our in-depth reviews, helpful tips, great deals, and the biggest news stories delivered to your inbox.
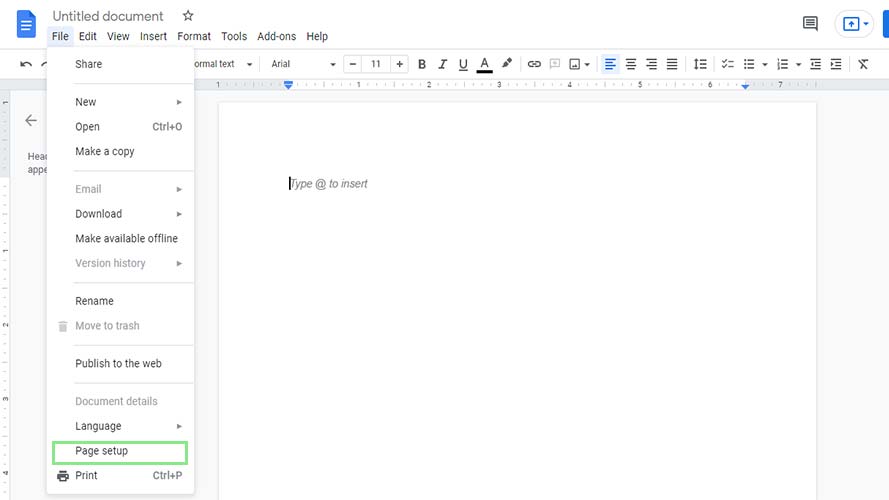
1. To open the Page Setup window, click on File > Page Setup on the header menu of Google Docs.
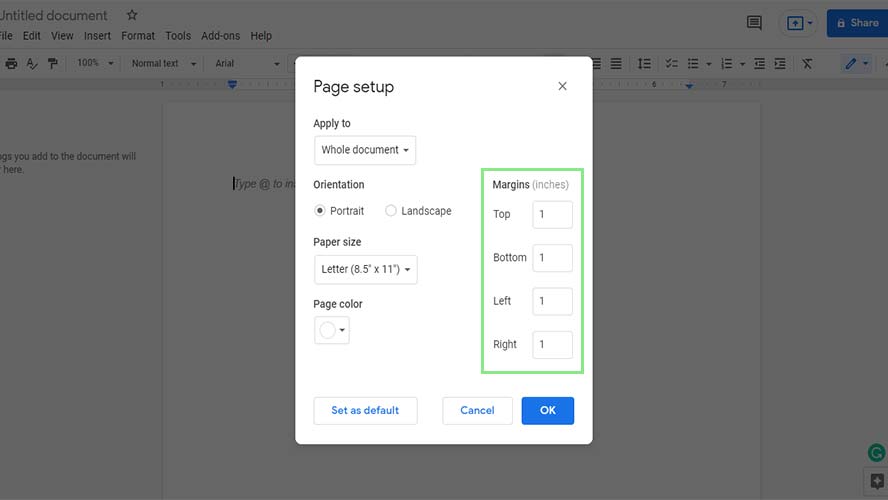
2. Enter your desired margin dimensions on the Margins section of the window shown. Note that the values needed are in inches by default.
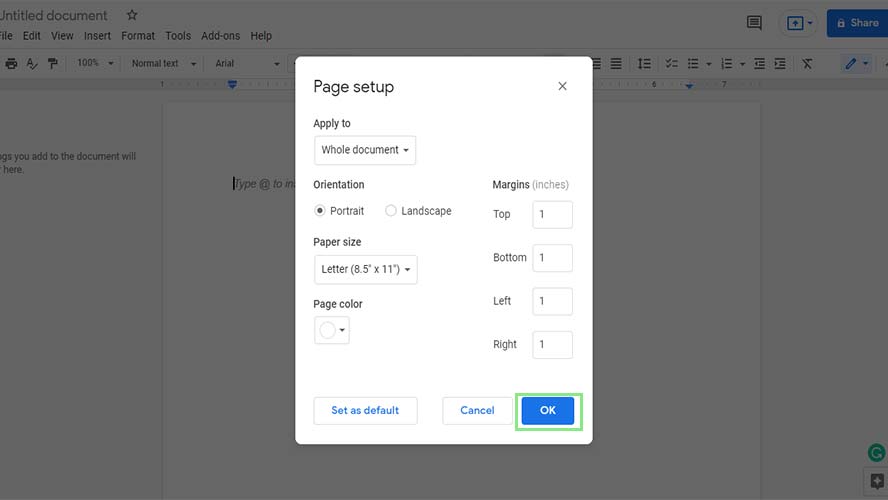
3. Lastly, click the OK button at the bottom of the window.
Bryan covers everything you need to know about Windows, social media, and the internet at large for Laptop Mag. Thanks to his extensive knowledge of operating systems and some of the most popular software out there, Bryan has written hundreds of helpful guides, including tips related to Windows 11 drivers, upgrading to a newer version of the OS, editing in Microsoft Photos, or rearranging pages in Google Docs.
