How to highlight the mouse cursor on macOS
Make your cursor stand out with these useful tools
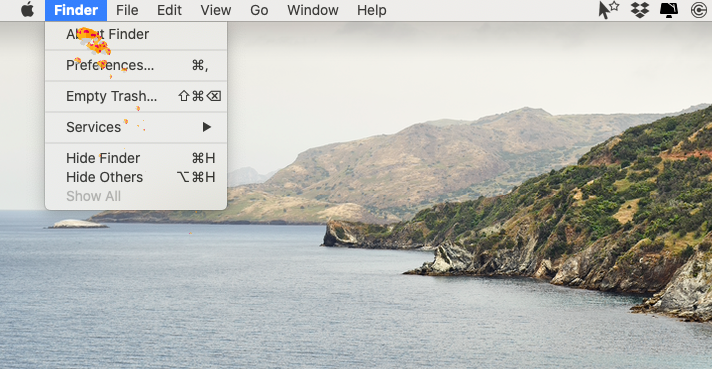
Mac users have a few options to customize the mouse cursor. If presenting on a larger screen, for example, you can enlarge the cursor to make it easier to see. That’s a simple fix; just go to the Apple menu > System Preferences > Accessibility > Display > Zoom to make the change. But if you’re looking for even more visibility, or perhaps a bit of a highlight in a video presentation, you’ll need a third-party application.
I really like Cursor Effects, as it’s free and easily found in Apple’s App Store. It’s a breeze to set up and use, and you can enable and disable it with a keyboard shortcut.
Aside from that, the only other way to customize mouse settings on a Mac is through terminal shortcuts, though these changes are risky for anyone who doesn’t know their way around Terminal, and it’s not all that straightforward to change it back if you end up disliking it. My preference is to let the application do the heavy lifting.
- 7 hidden MacBook features you should be using
- How to improve your Mac's security and privacy
- How to create Focus profiles on your Mac, iPad, and iPhone
How to highlight the mouse cursor on macOS
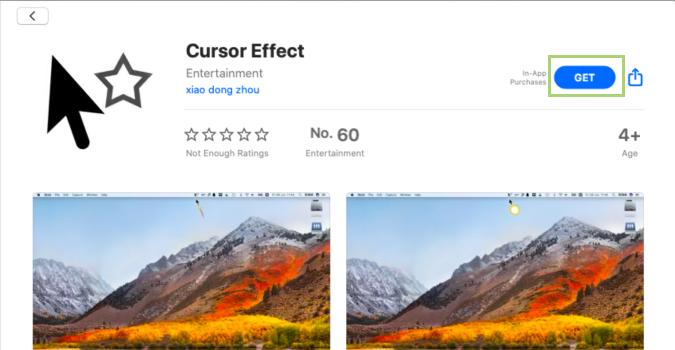
1) In the Mac app store, search Cursor Effects.

2) Click Get to download the app.
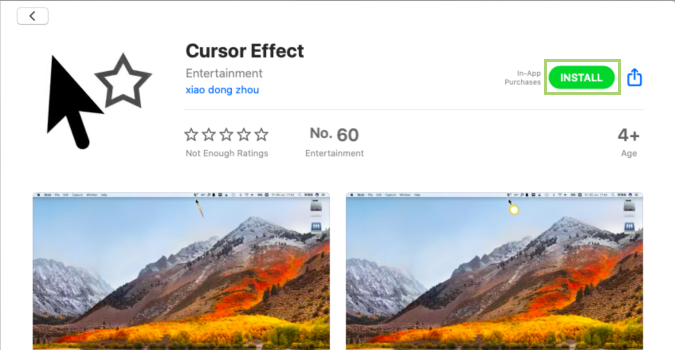
3) Click Install to install the app.
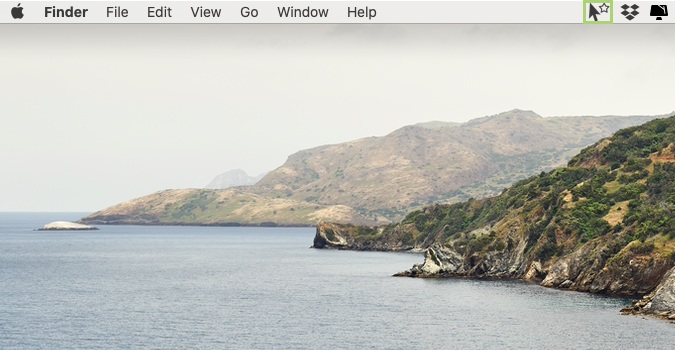
4) Click on the Cursor Effects icon added to the menu bar.
Stay in the know with Laptop Mag
Get our in-depth reviews, helpful tips, great deals, and the biggest news stories delivered to your inbox.
5) Click Apply to select one of the cursor options available for free.
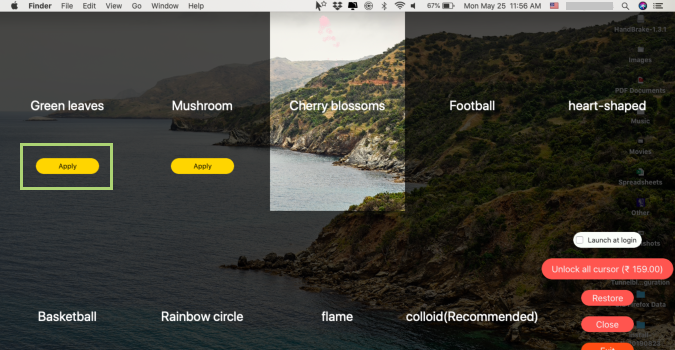
6) Click close when done with the selection or click exit to quit the app.
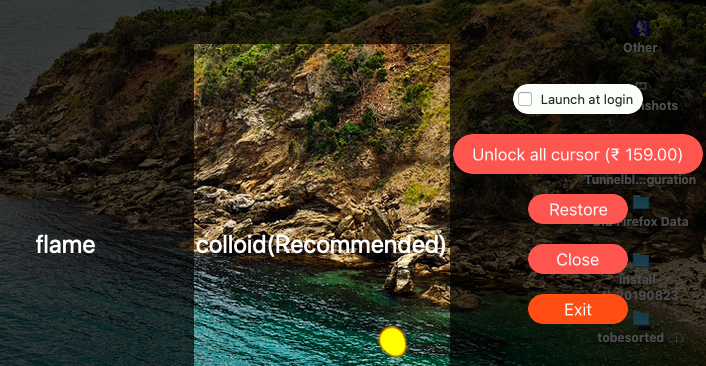
7) You can select Launch at login so that you can find it on the menu bar anytime you need it.
