How to install Homebrew on macOS
Start enjoying Hombrew with these simple steps
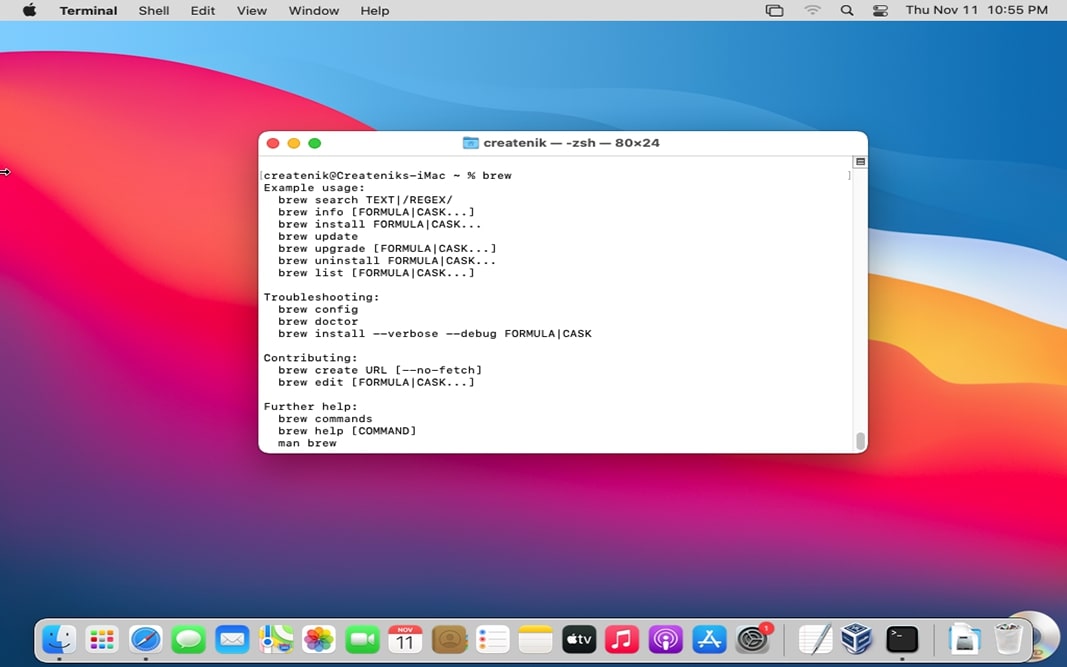
Homebrew is loved by many macOS and Linux users as an awesome open-source software package management app that makes software installation a cinch. In fact, macOS users prefer it to the standard process of downloading and installing software.
Installing Homebrew on your macOS allows you to organize all your libraries and packages in one single directory. It also enables thousands of command-line-based tools that are not provided by default in macOS. As a bonus, Homebrew also lets you create a safe testing environment while developing software.
To install Homebrew, your computer must have macOS Mojave (10.14) or later. It should also have Apple Silicon or a 64-bit Intel CPU, and an installed Command Line Tool (CLT) for Xcode. You will also need an internet connection and admin access for your computer. Now that you have all the requirements, let’s dive deep into how to install Homebrew on macOS.
- This is how to Reset a MacBook
- Check out our MacBook Air 2021 rumor page
- MacBook Air vs. MacBook Pro: Which Mac Should You Buy?
Installing Homebrew to Your macOS Computer
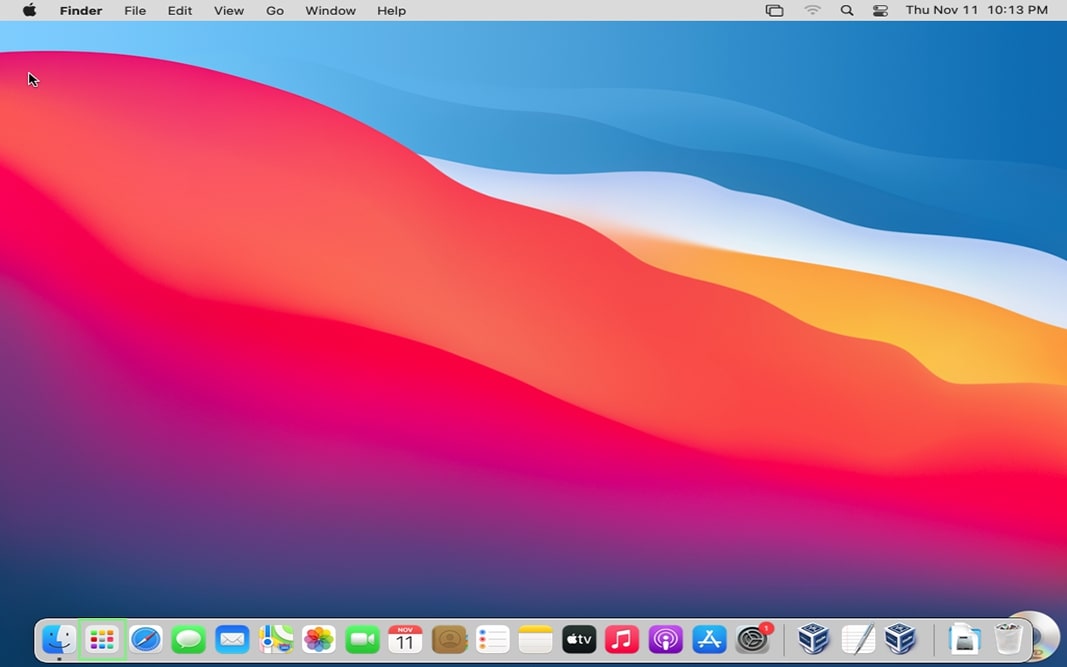
1) Click on your Mac’s Launchpad icon. This action shows you the different applications available on your computer.
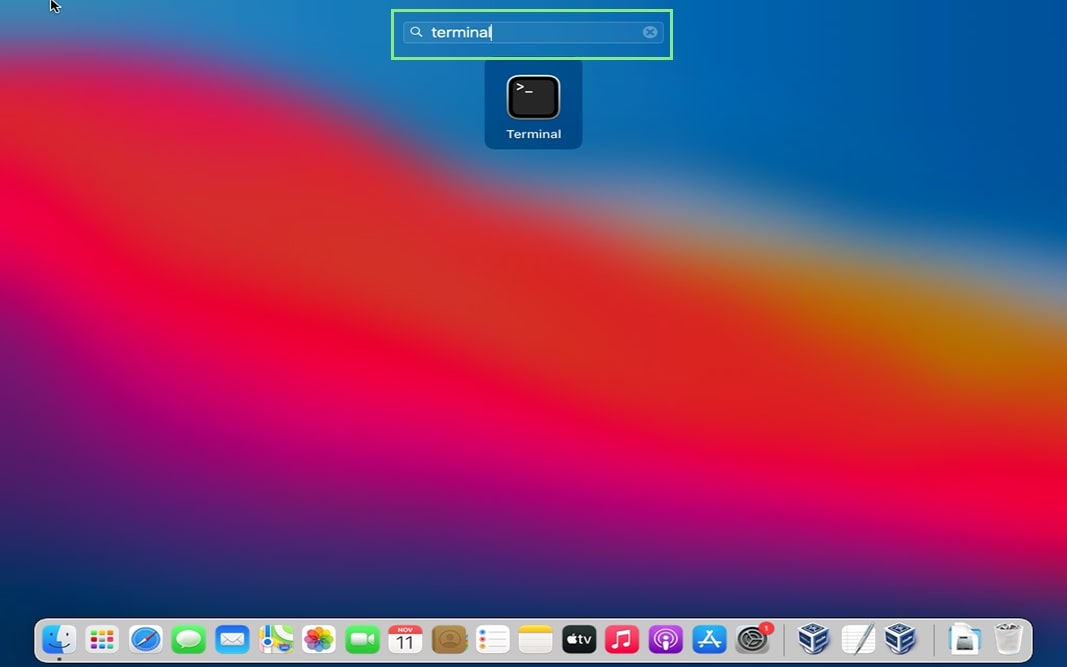
2) Scroll down to or search for “Terminal” using the search field.
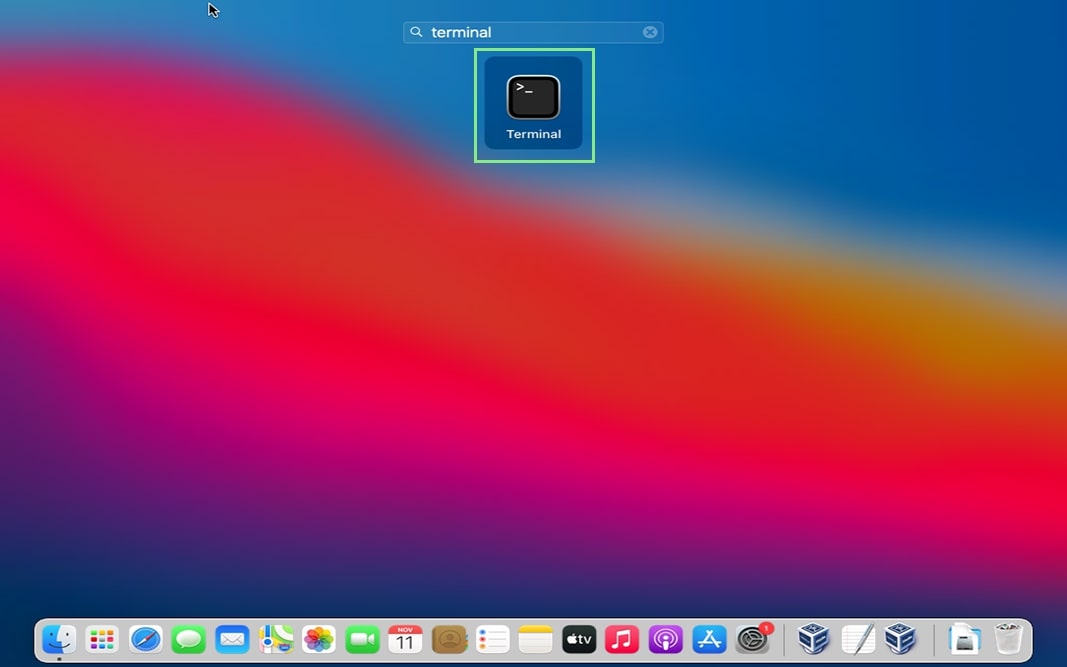
3) Click on the Terminal icon. A window for the macOS Terminal should open.
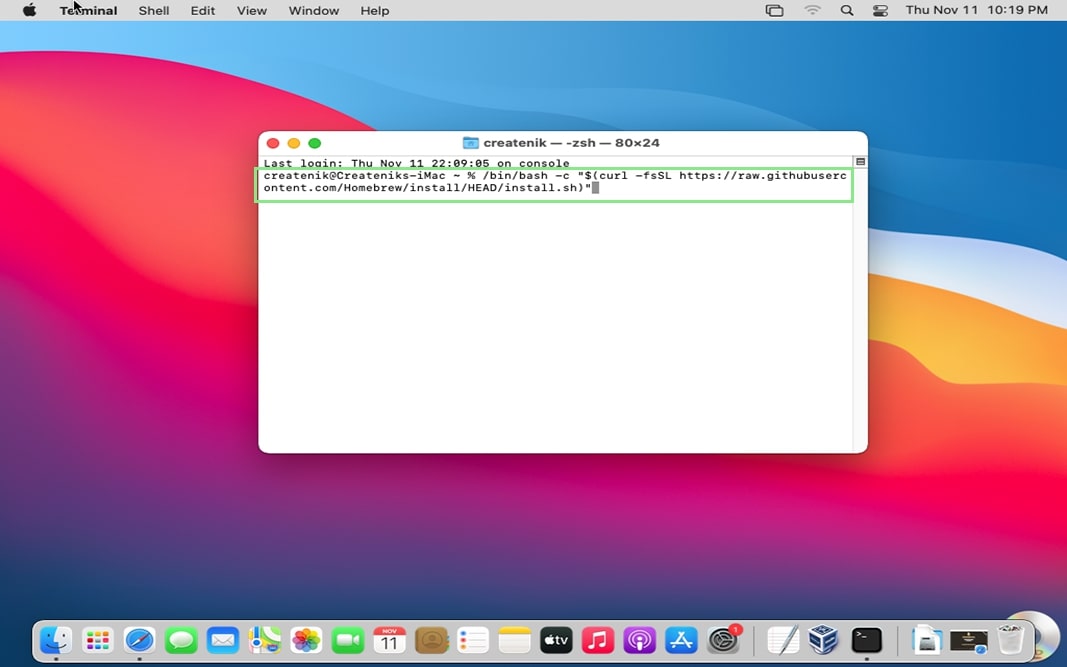
4) In Terminal, paste the code below and press Return on your keyboard.
Sign up to receive The Snapshot, a free special dispatch from Laptop Mag, in your inbox.
/bin/bash -c "$(curl -fsSL https://raw.githubusercontent.com/Homebrew/install/HEAD/install.sh)"
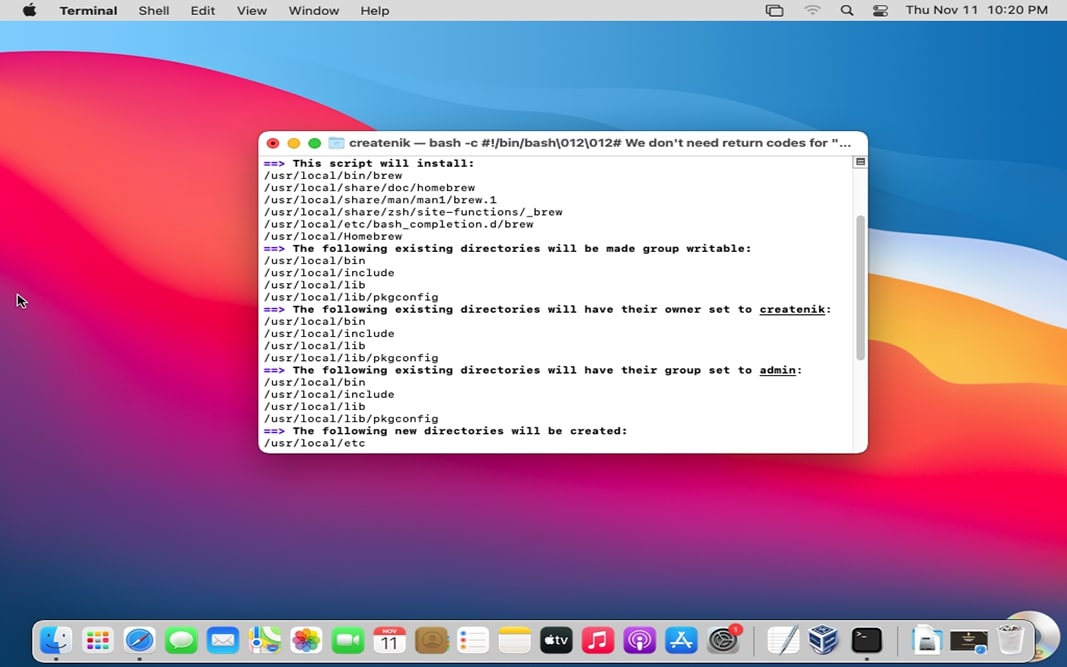
5) A description of what the script above should appear and you’ll be asked whether you wish to continue. Press Return on your keyboard to continue.
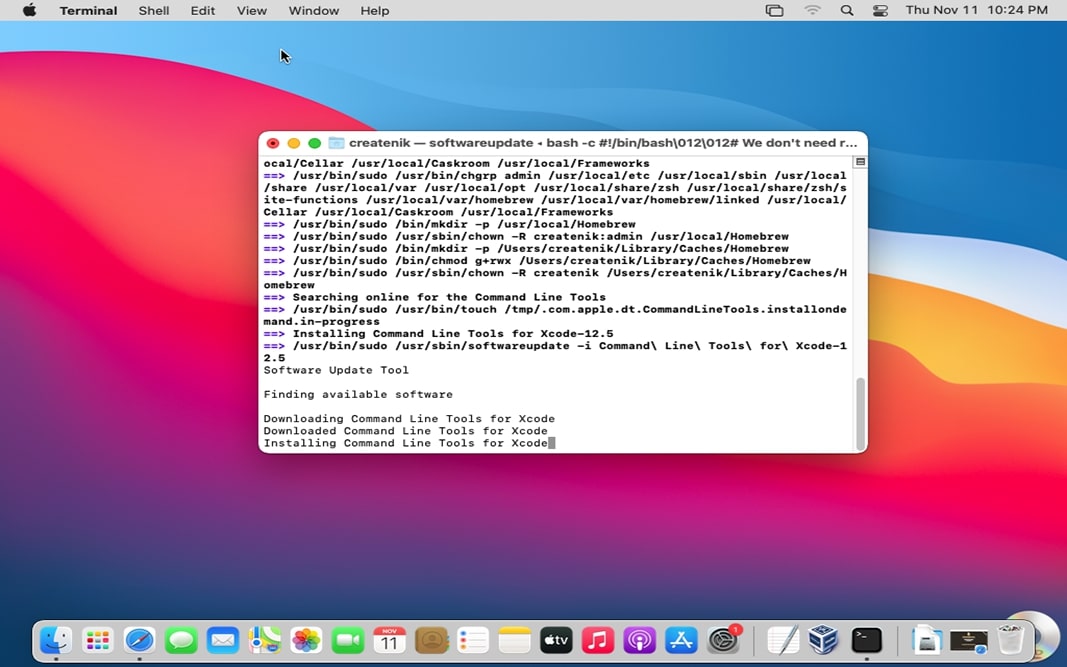
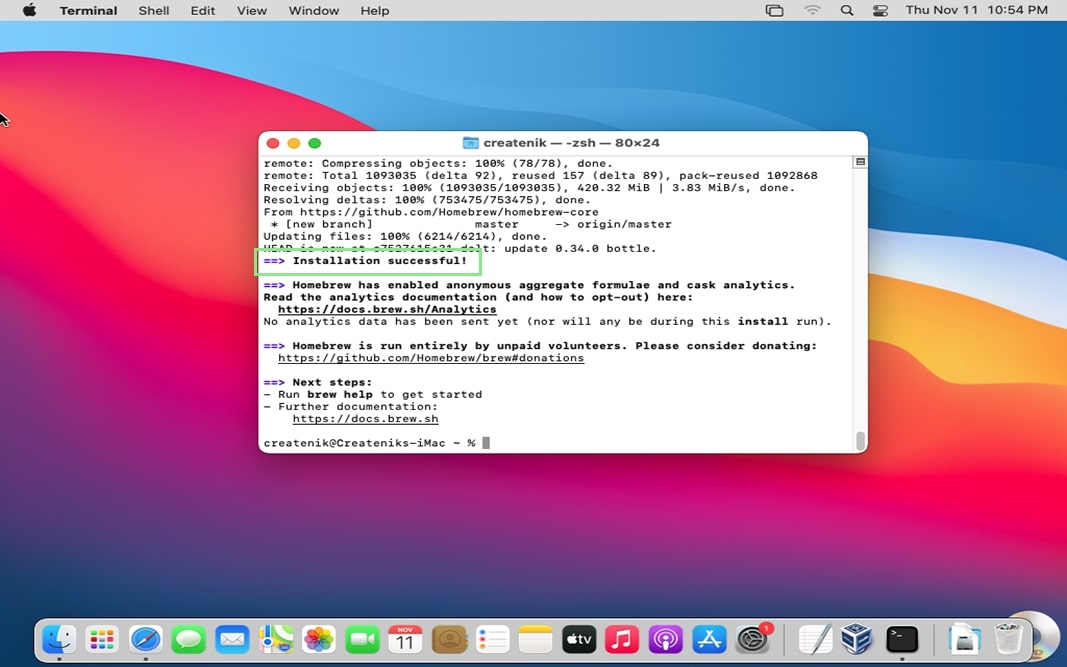
6) Wait for a few seconds for the installation to finish. Afterward, your Terminal will display a message stating that the installation is a success.
Bryan covers everything you need to know about Windows, social media, and the internet at large for Laptop Mag. Thanks to his extensive knowledge of operating systems and some of the most popular software out there, Bryan has written hundreds of helpful guides, including tips related to Windows 11 drivers, upgrading to a newer version of the OS, editing in Microsoft Photos, or rearranging pages in Google Docs.
