How to prepare a Chromebook for your child with family link controls
Make your new Chromebook kid-friendly
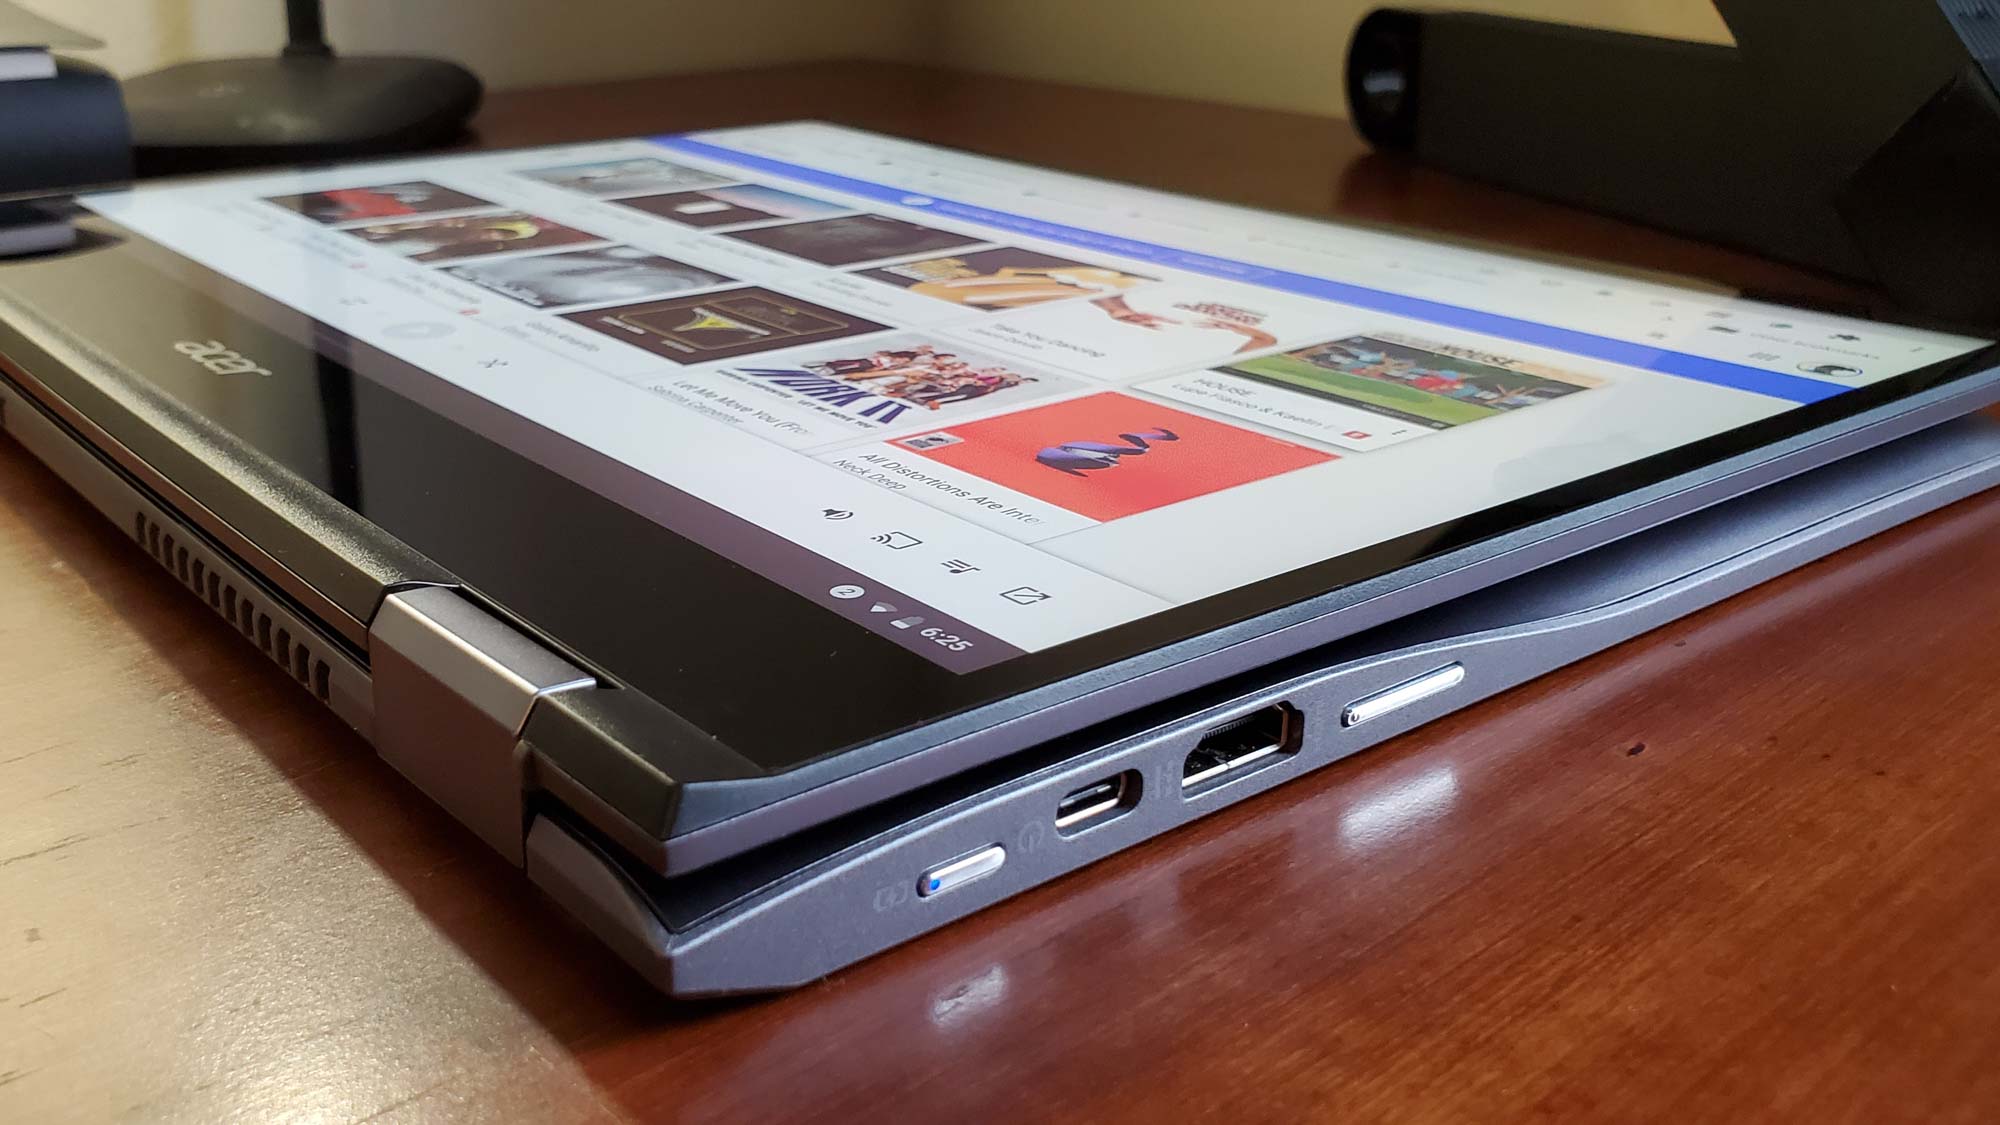
Chromebooks are ideal starter computers for kids. They’re easy to set up, affordable, durable enough to survive messy use, and the no-frills web experience means there’s no learning curve whether your kid wants to watch YouTube videos or do schoolwork.
More importantly, Chrome OS’s parental controls allow you to precisely manage what your kid does on their computer, for how long they do it, and monitor their activities remotely. If you’ve just bought a Chromebook or already have one, here’s how to prepare it for your child.
Set Up Parental Controls on a Chromebook
If your kid already has a dedicated profile on a Chromebook, visit the Settings > People section and click the “Set Up” button next to “Parental controls.” Follow the on-screen instructions to configure parental controls for your child’s Google account. Here, you will be asked to enter your (the parent’s) email address for supervision access. Once you’re through this process, the Chromebook will restart, and when your child logs back in, parental controls will be active.
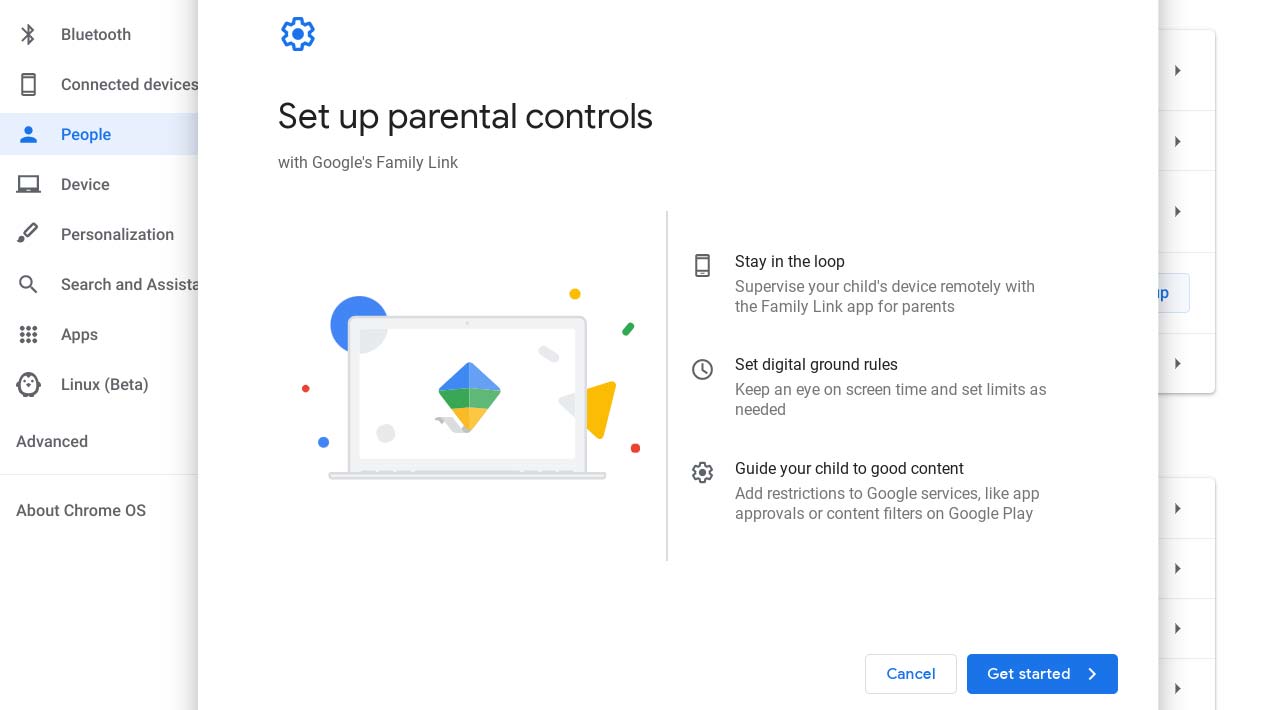
In case you haven’t configured your kid’s profile yet, go ahead and add a new person to the Chromebook from the login screen. Pick the “Child” option on the next page and enter the required details to set parental controls in motion.
Personalize and Monitor Your Child’s Chromebook Access
Now that your child’s Chromebook account is under supervision, your next step is to personalize and monitor their experience with Google’s Family Link app. It’s available for both Android and iOS devices. Since it’s compatible with Android, you can install it on your Chromebook as well.
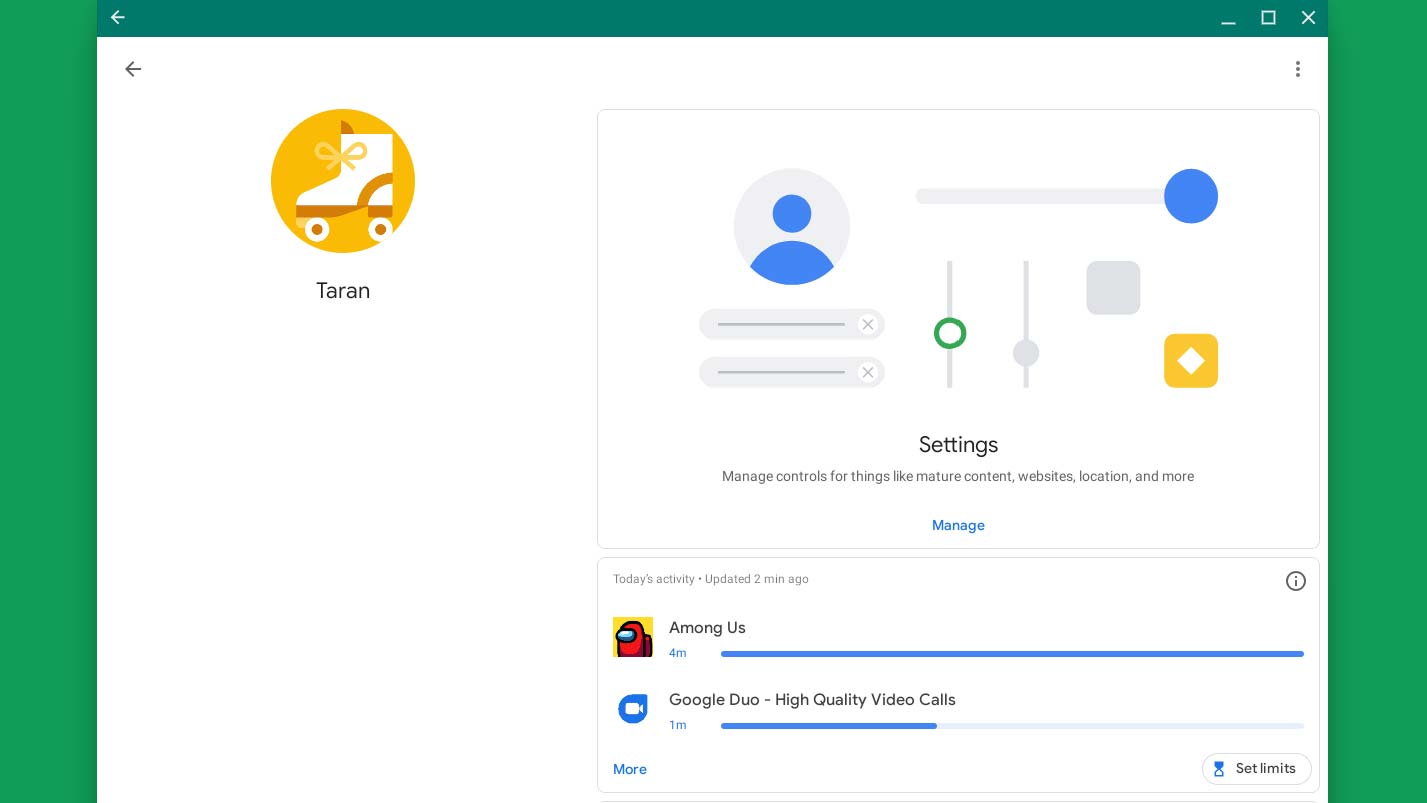
Think of the Family Link app as a dashboard for managing all your child’s activities on their Chromebook. From here, you can approve or reject any new app install requests your kid sends, monitor for how long they’ve been on an app, and more.
Censor the Content Your Kid Can Browse on a Chromebook
Family Link’s highlight is the series of controls it lets you apply remotely on your child’s Chromebook account. This includes the ability to censor what they can search and view on the Chrome browser.
Stay in the know with Laptop Mag
Get our in-depth reviews, helpful tips, great deals, and the biggest news stories delivered to your inbox.
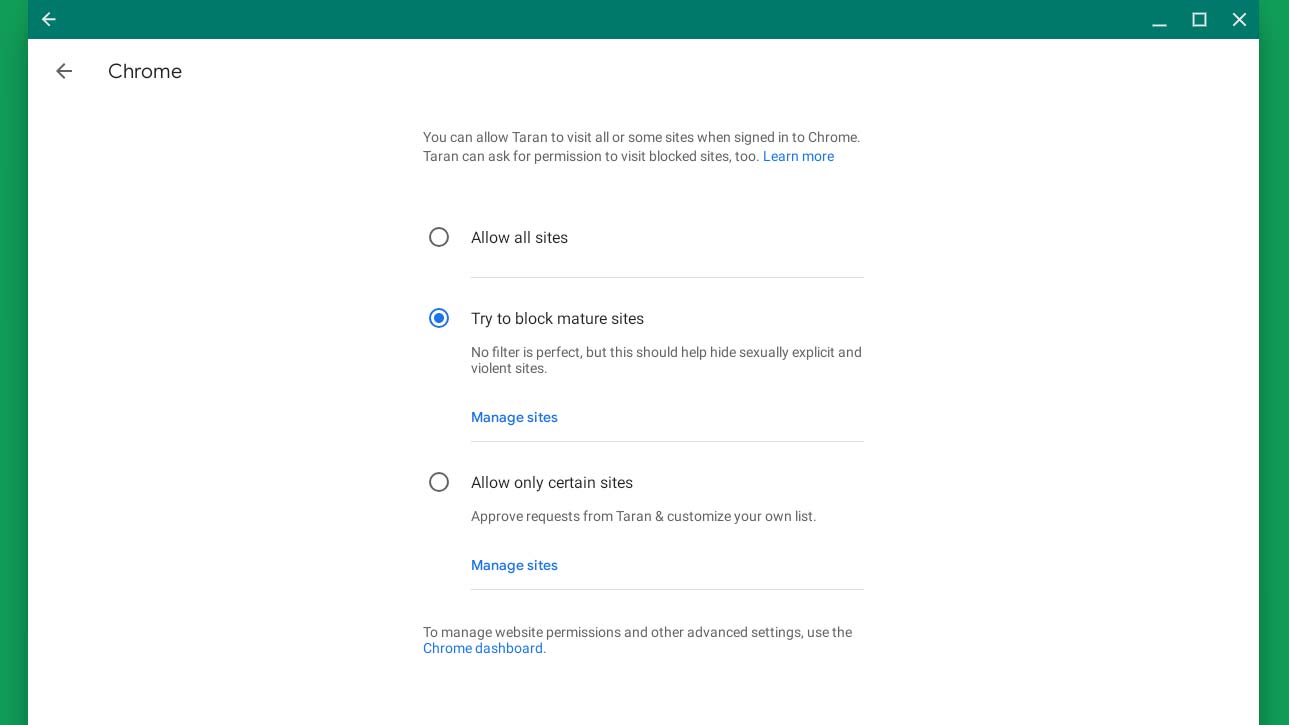
At the top of this app, you’ll find a section called “Settings.” Tap the “Manage” button underneath it. With these preferences, you can restrict the content your kid sees on services like the Google Play Store, YouTube, Google Chrome, and more.
For instance, under “Filters on Google Chrome,” you can either allow your child to visit all sites, only a handful of web addresses you have pre-approved, or leave it up to Google’s algorithms to block mature content. Alternatively, you can maintain separate “Allowed” and “Blocked” lists by selecting “Manage sites.”
Similarly, “Controls for Google Play” lets you decide whether your child’s Google Play transfers, like downloading a new game, would need your approval. Plus, you can edit content restrictions for other Google Play items, like movies, books, music, and more. Furthermore, Family Link allows you to regulate your child’s YouTube and Google searches.
Limit Your Child’s Screen Time on Their Chromebook
In addition, Family Link enables you to restrict how much time your child can spend on an individual app or on their Chromebook in general. You even have the option to define a bedtime, at which point your kid will be automatically locked out of their computer.
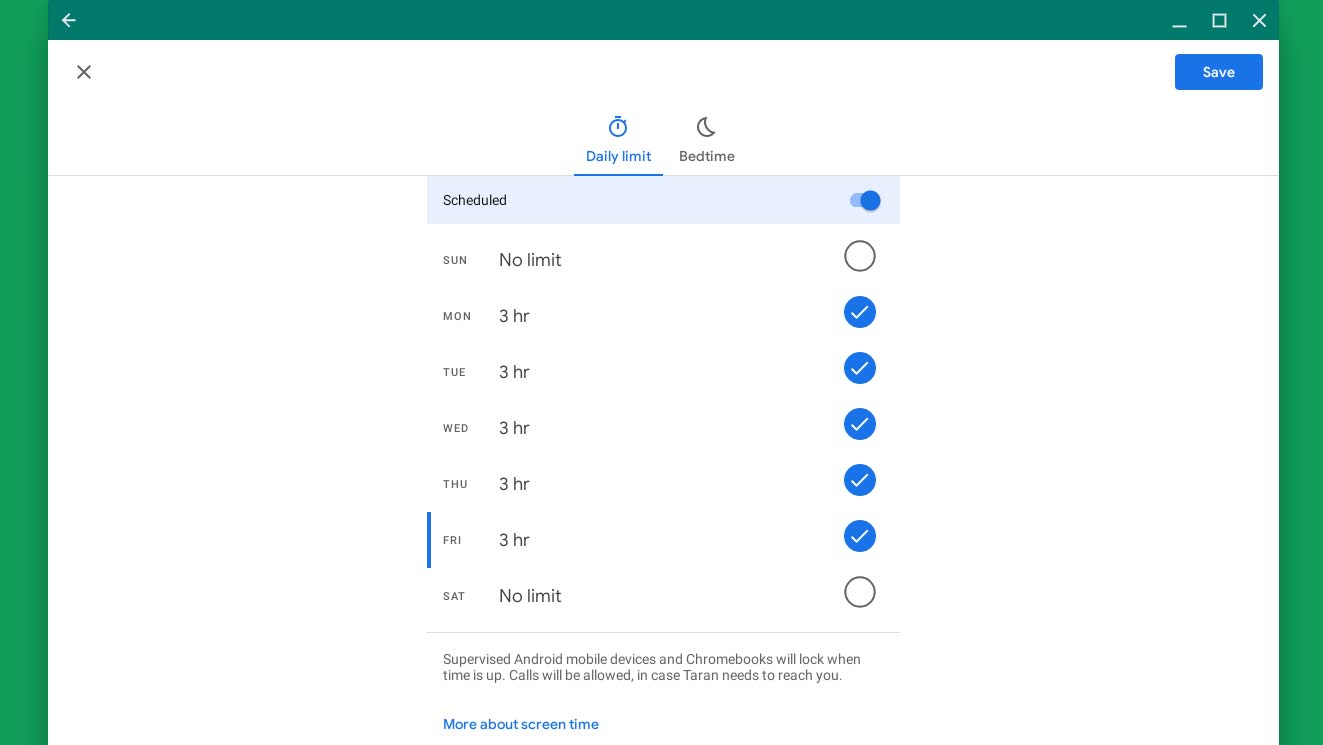
Below the content filters, you’ll have an option to set up screen time limits. Inside, you can schedule daily limits from the first tab and set up a bedtime routine from the other section. Hit the “Save” button on the top-right corner once you’re done.
For app limits, you will visit the “Manage Settings” page again and navigate to “Android apps.” Tap the hourglass icon beside any app to restrict or block its access. You can also check each app’s activity in up to the last 30 days.
Choose Which App Permissions Your Child Needs Approval For
Family Link lets you pick which app permissions your child can grant on their own and for which ones they need your approval. This can come handy to ensure your child doesn’t accidentally grant a suspicious app access to sensitive data like their computer’s camera or microphone.
You can adjust these preferences from the Settings button below the Chromebook’s model name on Family Link. When you tap “app permissions,” you’ll get a list of all the permissions you can take control of.
How to Stop Supervising Your Child’s Chromebook Account
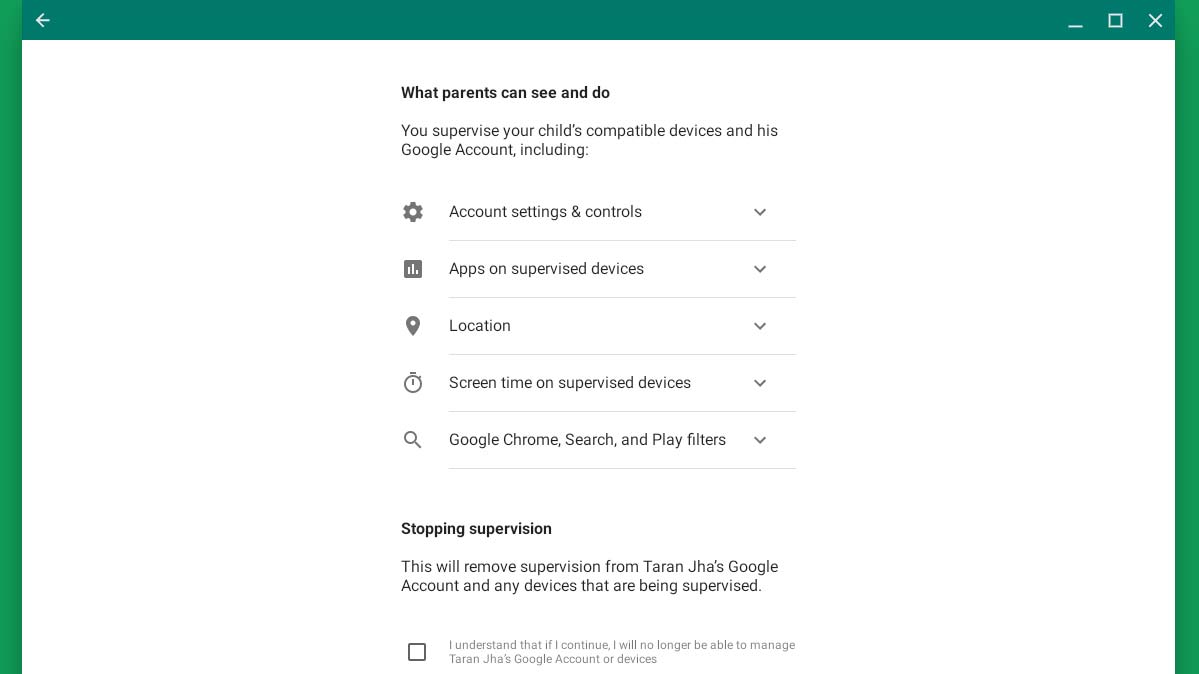
If your child reaches a certain age or you no longer feel it’s necessary to supervise their activities, you can easily pause parental controls from the Family Link app. All you need to do is tap the three-dots button at the top right corner and touch “Account Supervision.” Check the box below “Stopping supervision” and then tap the “Stop supervision” button.
Tip: Disable the Guest Mode on Your Child’s Chromebook
One of the loopholes of Chrome OS’s parental controls is the guest mode. Despite restrictions, your child can still easily go to the login page, add a new person, and browse without any supervision.
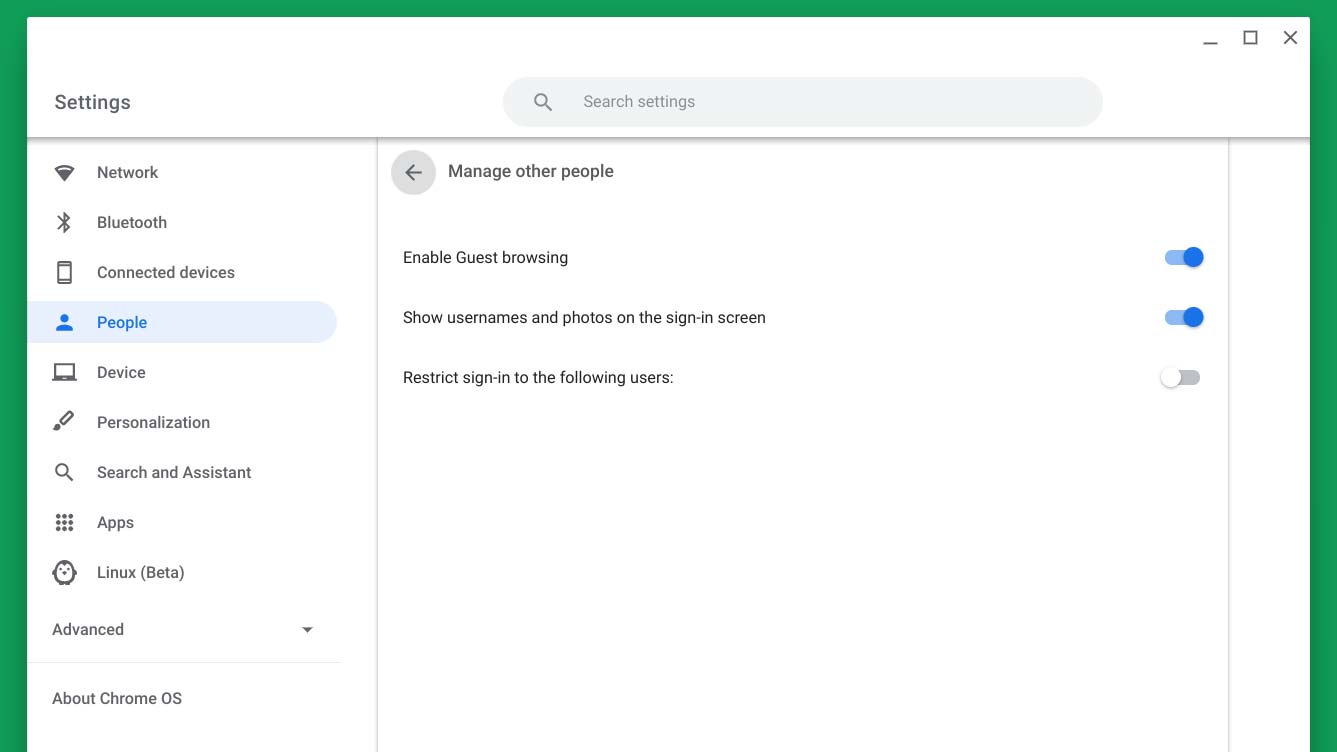
Therefore, before you hand the Chromebook over to your kid, make sure to switch off the guest mode. Head over to Settings > People > Manage Other People and toggle the “Enable guest browsing” option.
Shubham Agarwal is a freelance technology journalist from Ahmedabad, India. His work has previously appeared in Business Insider, Fast Company, HuffPost, and more. You can reach out to him on Twitter.
