How to print in color with Microsoft Word
Make your prints come to life with a flash flood of color

Printing in color has always been the preferred way to print pictures and documents with Microsoft Word. If colored ink were just as cheap as black ink, you would probably choose it every time.
With printing in color being a luxury these days, it’s good to see most manufactures start to drop their ink prices. It’s undeniable certain files just look better in color – anything featuring images or charts, for example.
So, with that in mind, if you have a color printer, we have you covered. One consideration though is just how much color you need. Take special care to keep your DPI as low as possible to achieve the desired results, without wasting a lot of ink or saturating cheaper paper. Print quality and DPI go a long way in conserving that special resource that is printer ink.
Printing with color in Microsoft Word
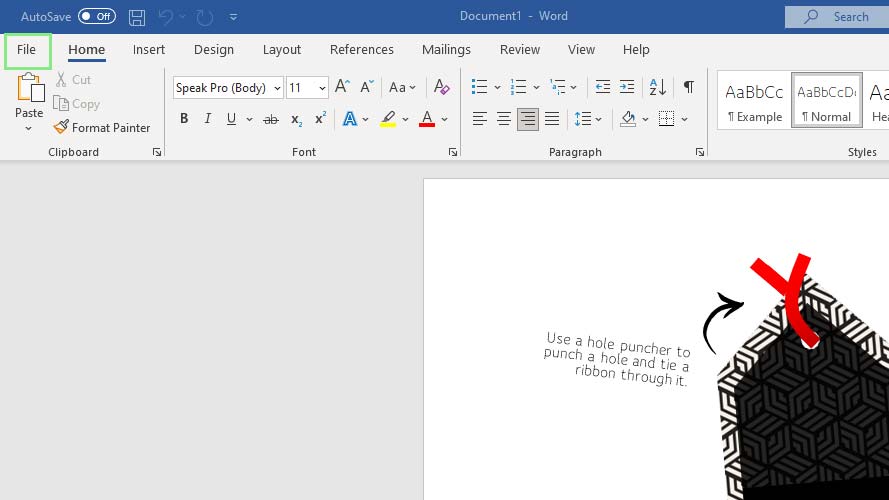
1. To print in color, first, open the Word document that you are planning to print. Then, click the File Tab at the top of Microsoft Word.
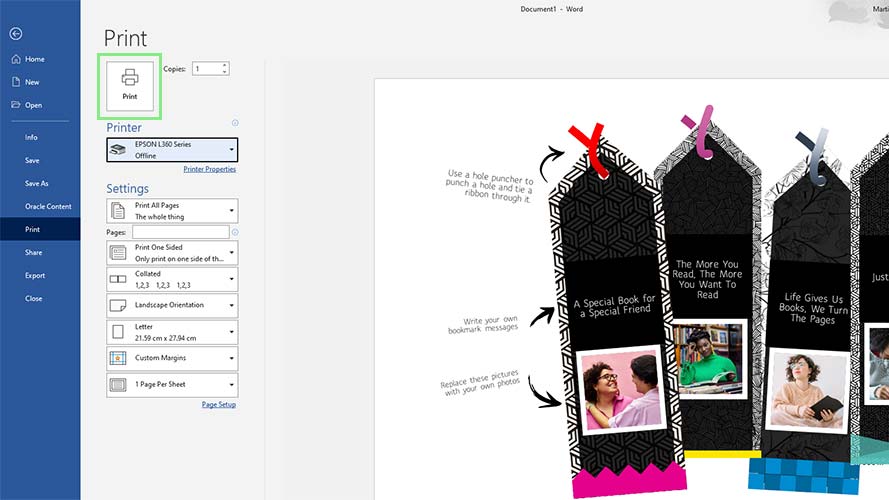
2. On the side navigation bar, select Print. You should see a preview of how your document will look once printed.
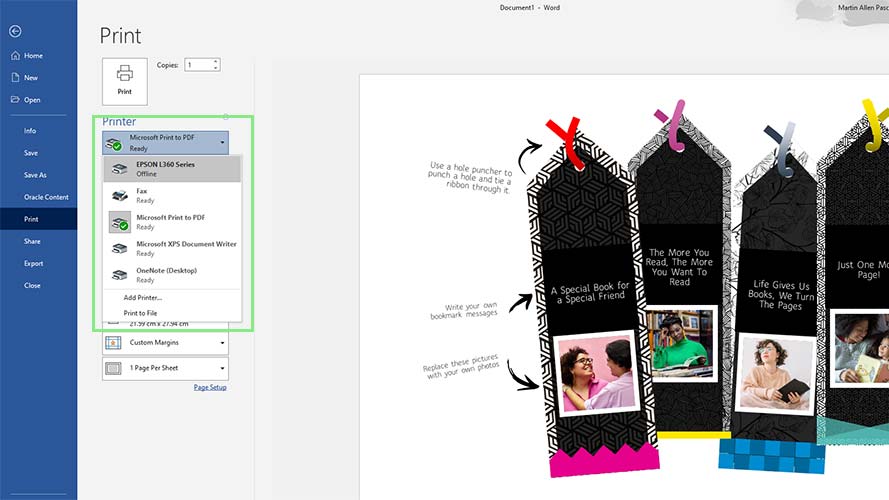
3. Under Printer, select the printer that you will use. Make sure to select a printer that has color printing capabilities.
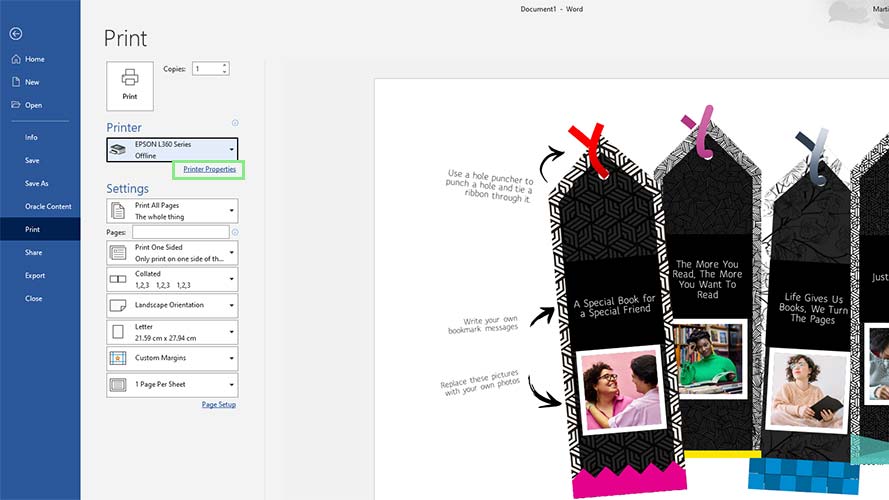
4. Then, click on the Printer Properties link under Printer. This step will open a window that shows your printer's available settings. From here on out, the steps will vary depending on the printer that you are using.
Stay in the know with Laptop Mag
Get our in-depth reviews, helpful tips, great deals, and the biggest news stories delivered to your inbox.
5. You can select between Color and Grayscale from the Color menu with most printers.
6. After selecting color printing, close the Printing Preferences window and click Print.
