How to take a timed or delayed screenshot in macOS
For those times you’d really like to complete an action before snapping the screen grab
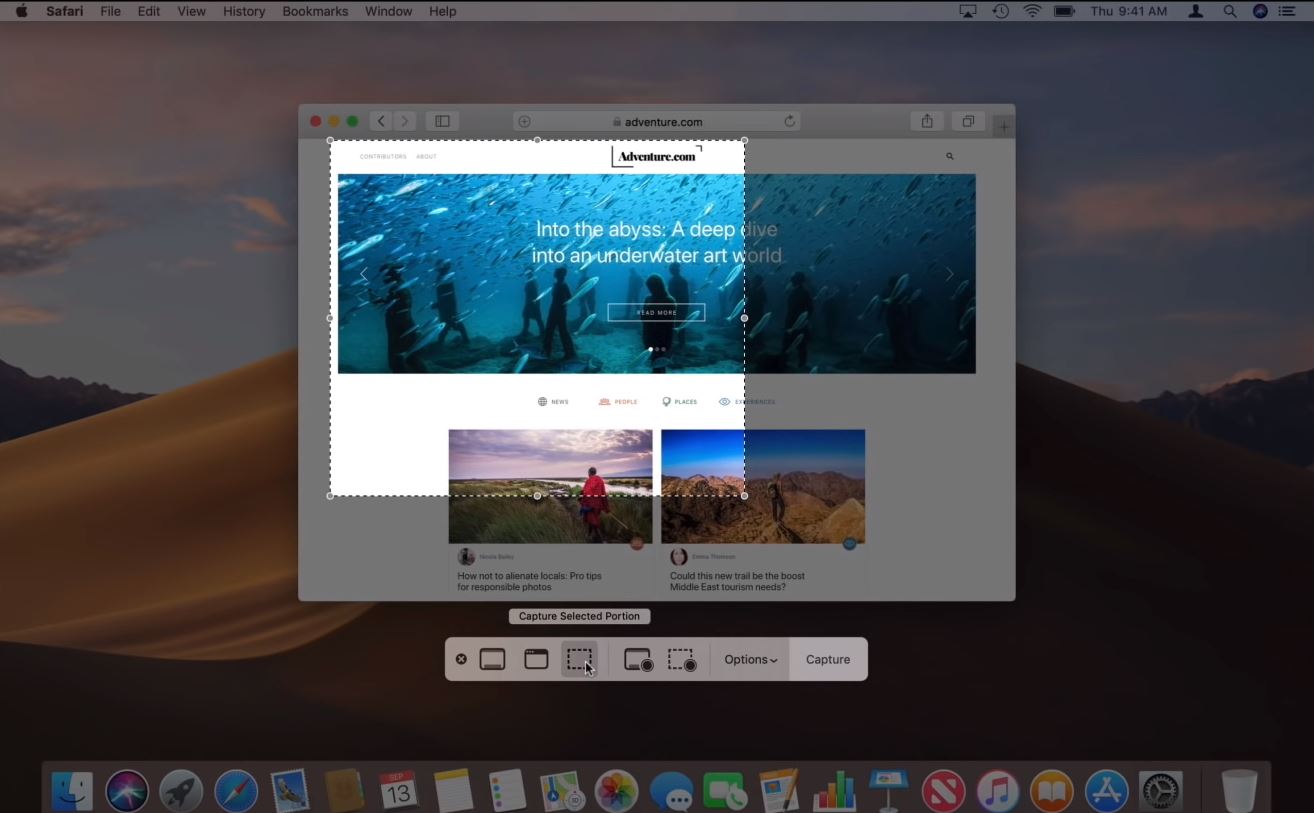
Taking a screenshot in macOS really couldn’t be simpler. What you can’t do, at least by default, is take a screenshot on delay -- for those times you’d really like to complete an action (like hitting a play button, for example) before snapping the screen grab.
Though not accessible by default -- aside from using Quicktime to create a screen recording video and then taking a still image from it -- you can achieve what you’re looking for with a Terminal command. This command, when executed, allows you to screenshot anything with a five or 10 second delay.
To achieve what you’re looking for, just tweak the time (T15=15 seconds), the file name, and location to your liking.
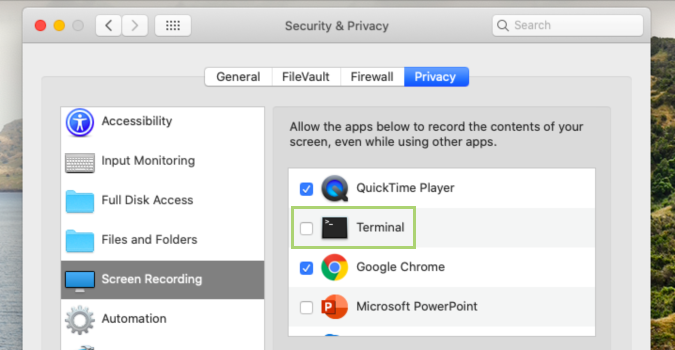
Allow access to record screen
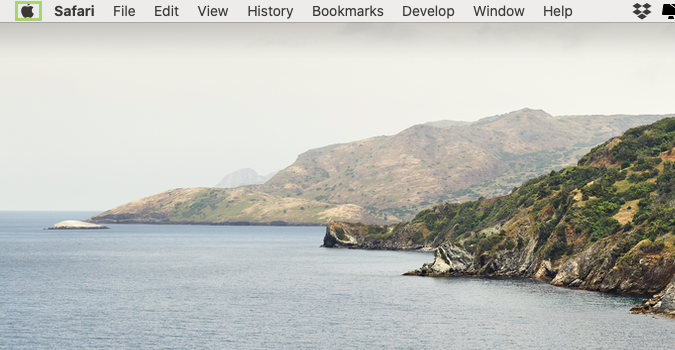
1) Click the apple icon to open the menu.
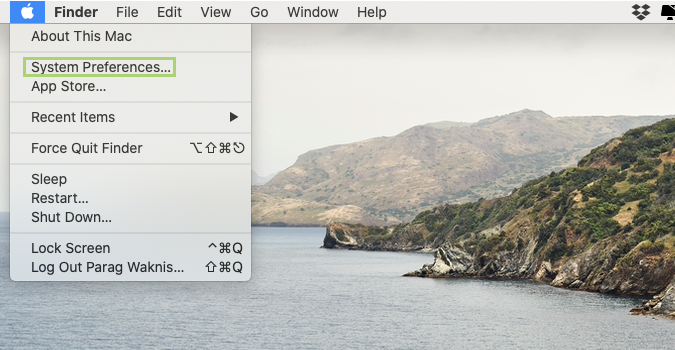
2) In the menu, select System Preferences.
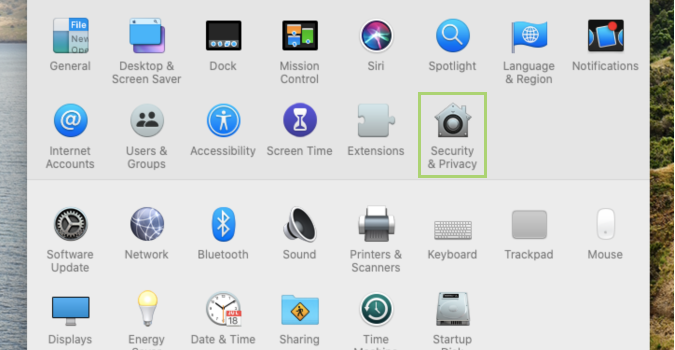
3) In the System Preferences, select Security & Privacy.
4) In the left pane, scroll down to find Screen Recording.
Stay in the know with Laptop Mag
Get our in-depth reviews, helpful tips, great deals, and the biggest news stories delivered to your inbox.
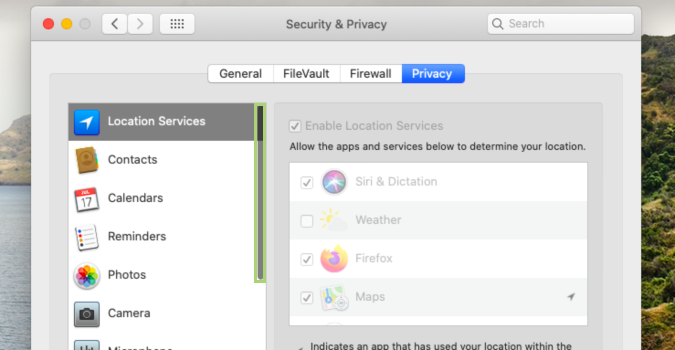
5) In the Privacy tab, select Terminal.
Run the command to record screen
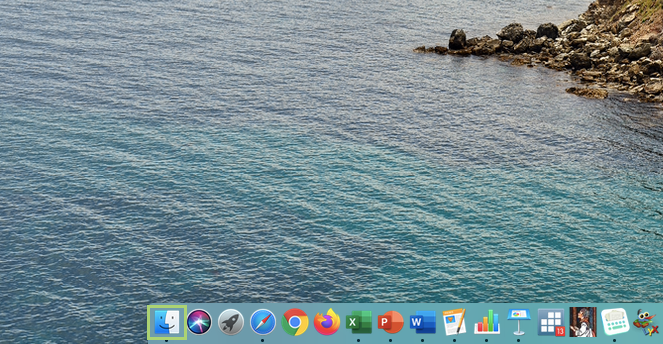
1) Click the Finder icon to open a Finder window.
2) In Applications, search Terminal.
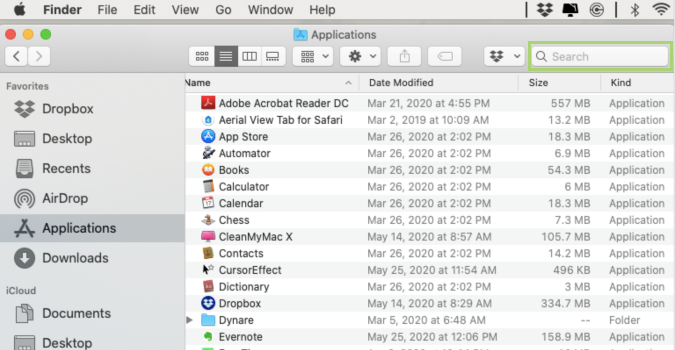
3) In the search results, select Terminal.
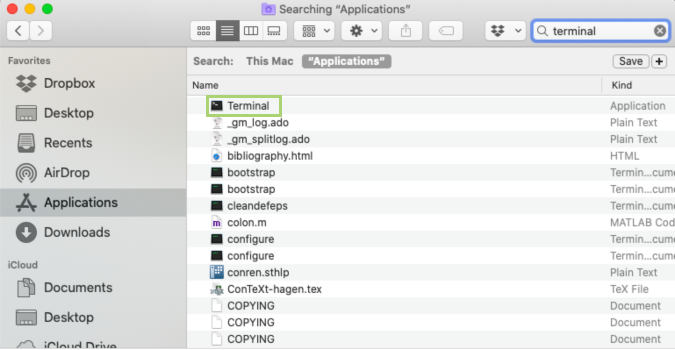
4) In the Terminal window, type screencapture -C -T15 Desktop/ScreenCap.png.
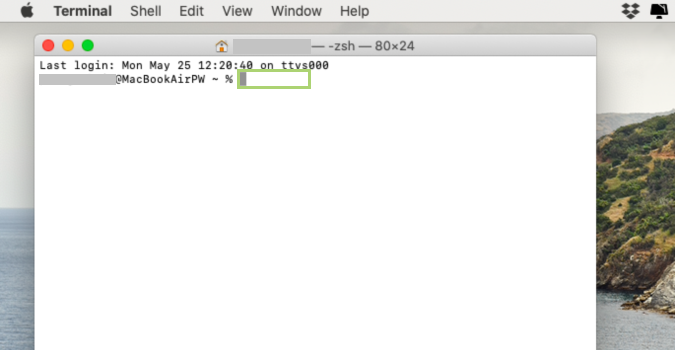
5) Press Enter to run the command.
Note: Minimize the Terminal window so that the screenshot does not capture it.
Bryan covers everything you need to know about Windows, social media, and the internet at large for Laptop Mag. Thanks to his extensive knowledge of operating systems and some of the most popular software out there, Bryan has written hundreds of helpful guides, including tips related to Windows 11 drivers, upgrading to a newer version of the OS, editing in Microsoft Photos, or rearranging pages in Google Docs.
