I tried 6 cheap and easy mechanical keyboard mods – here’s what happened
Fix that rattling spacebar with… a band-aid?
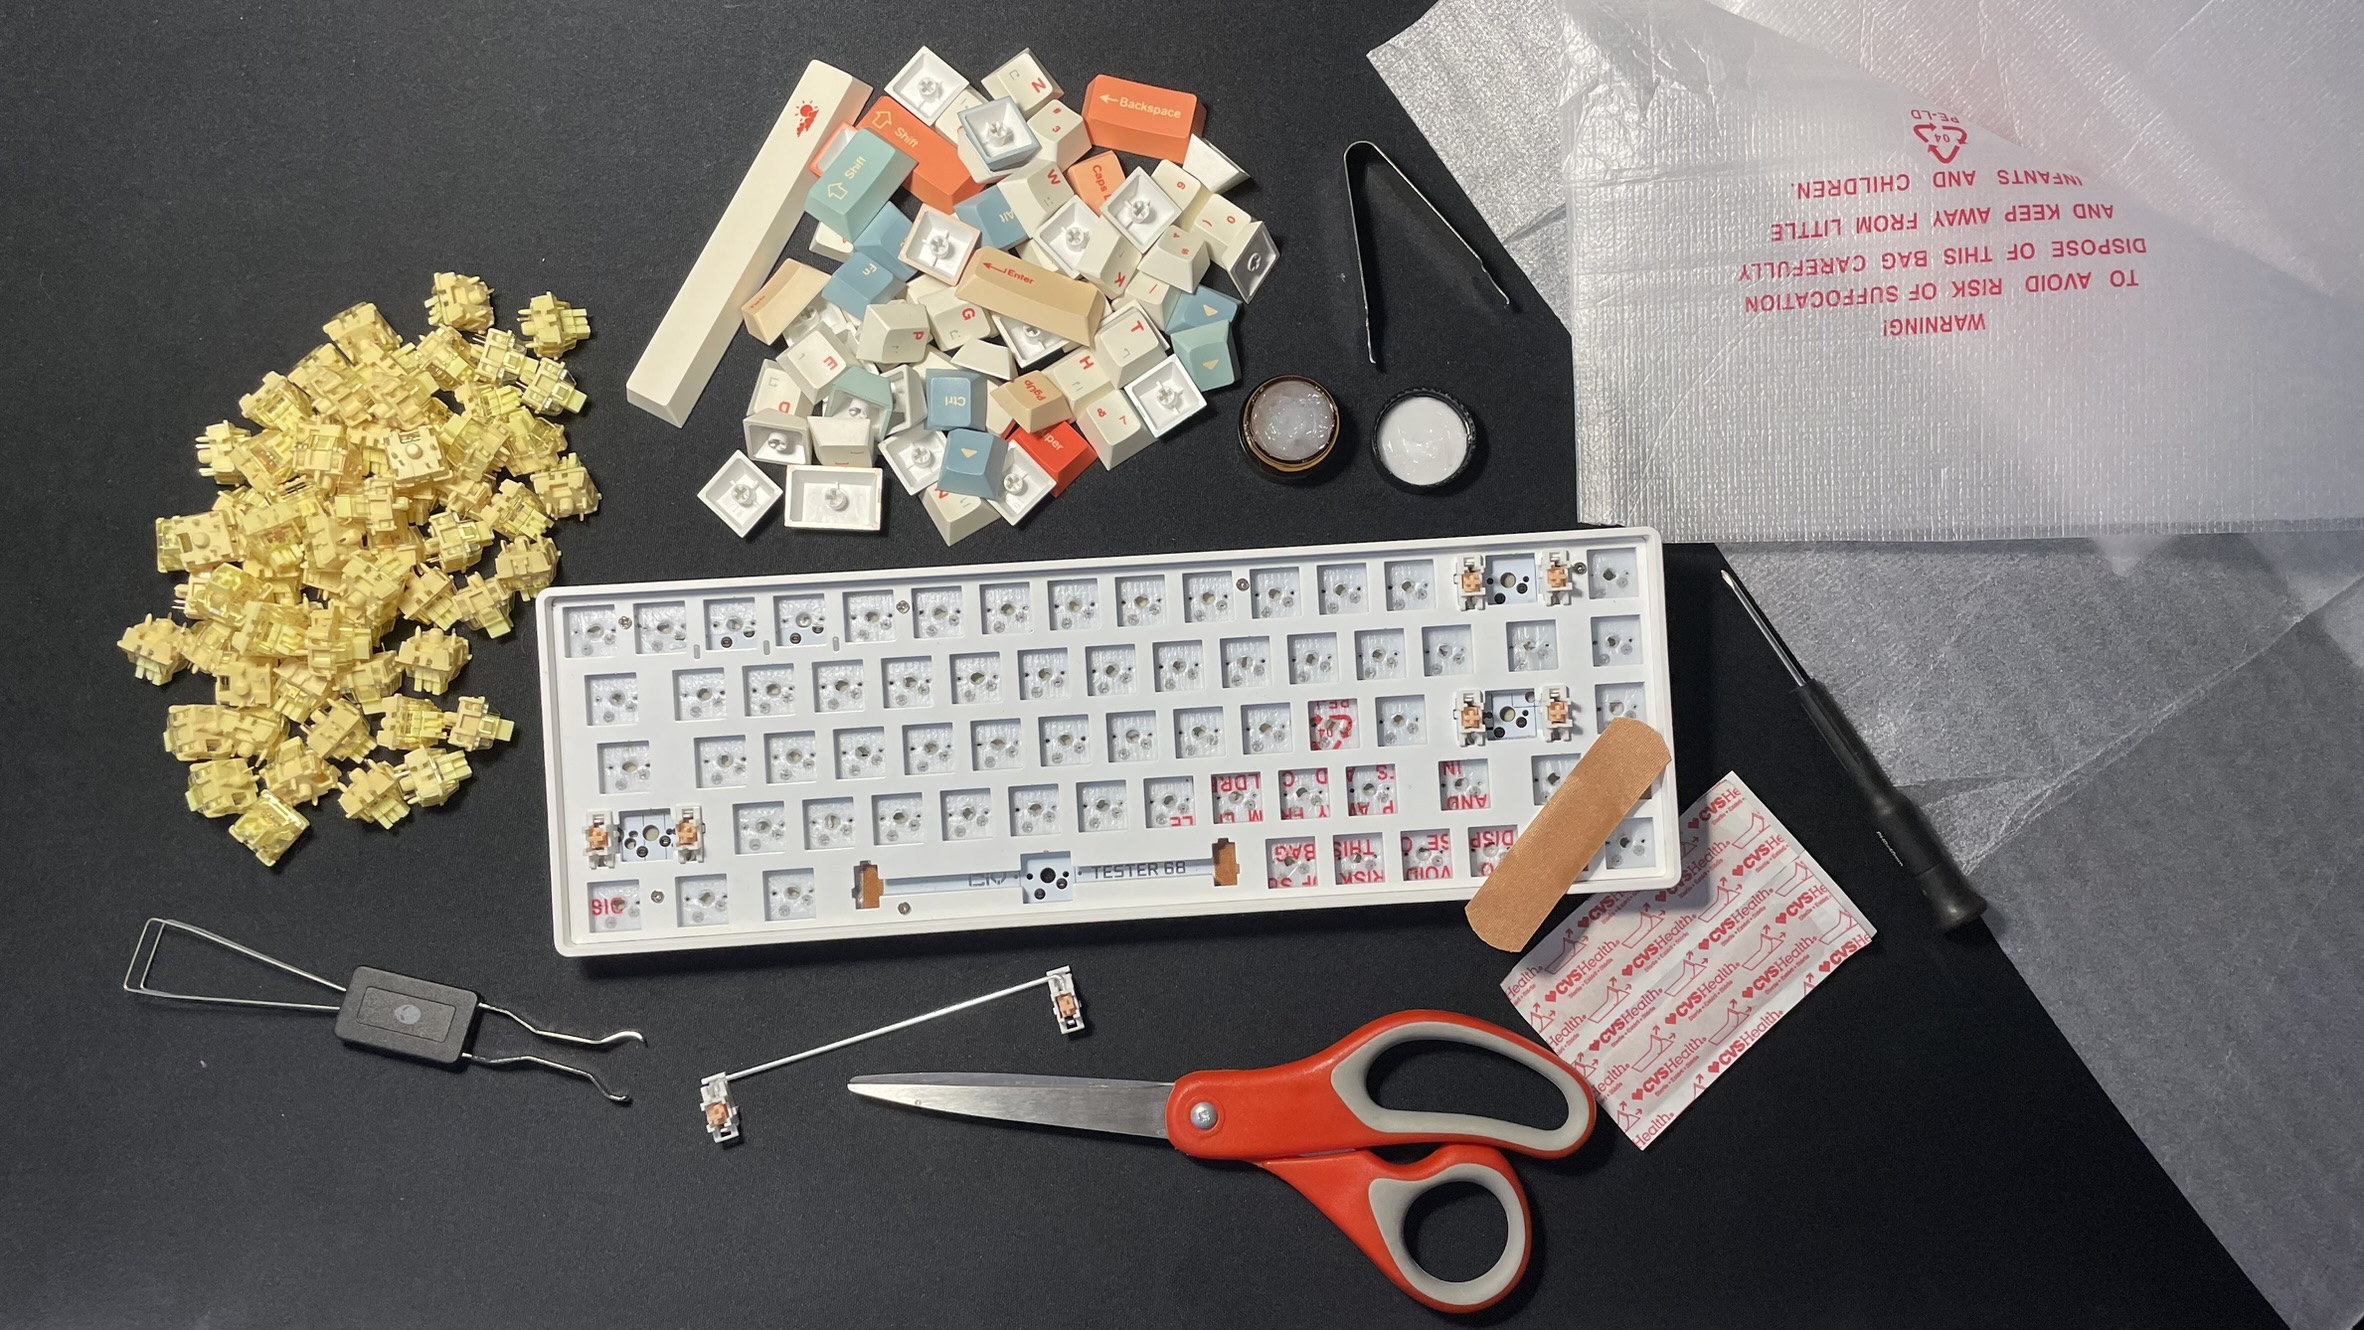
Whether you’re completely new to mechanical keyboards or you’ve built a dozen custom boards, you’ve probably heard of countless cheap and easy mechanical keyboard mods. These range from sticking band-aids on your PCB to pouring kinetic sand into your case. Many of these hacks are clearly not good ideas, but do some of them actually improve the way your keyboard sounds and feels?
I went on a mission to find out. In a previous build guide, I built a budget-friendly keyboard with the CIY Tester 68. This board is designed to be a low-cost entry-level build, but the sound quality on it could be better. So, I tried out six of the most hyped-up cheap and easy mechanical keyboard mods to see if they work.
Here’s what happened.
1. Switch and stabilizer lubrication
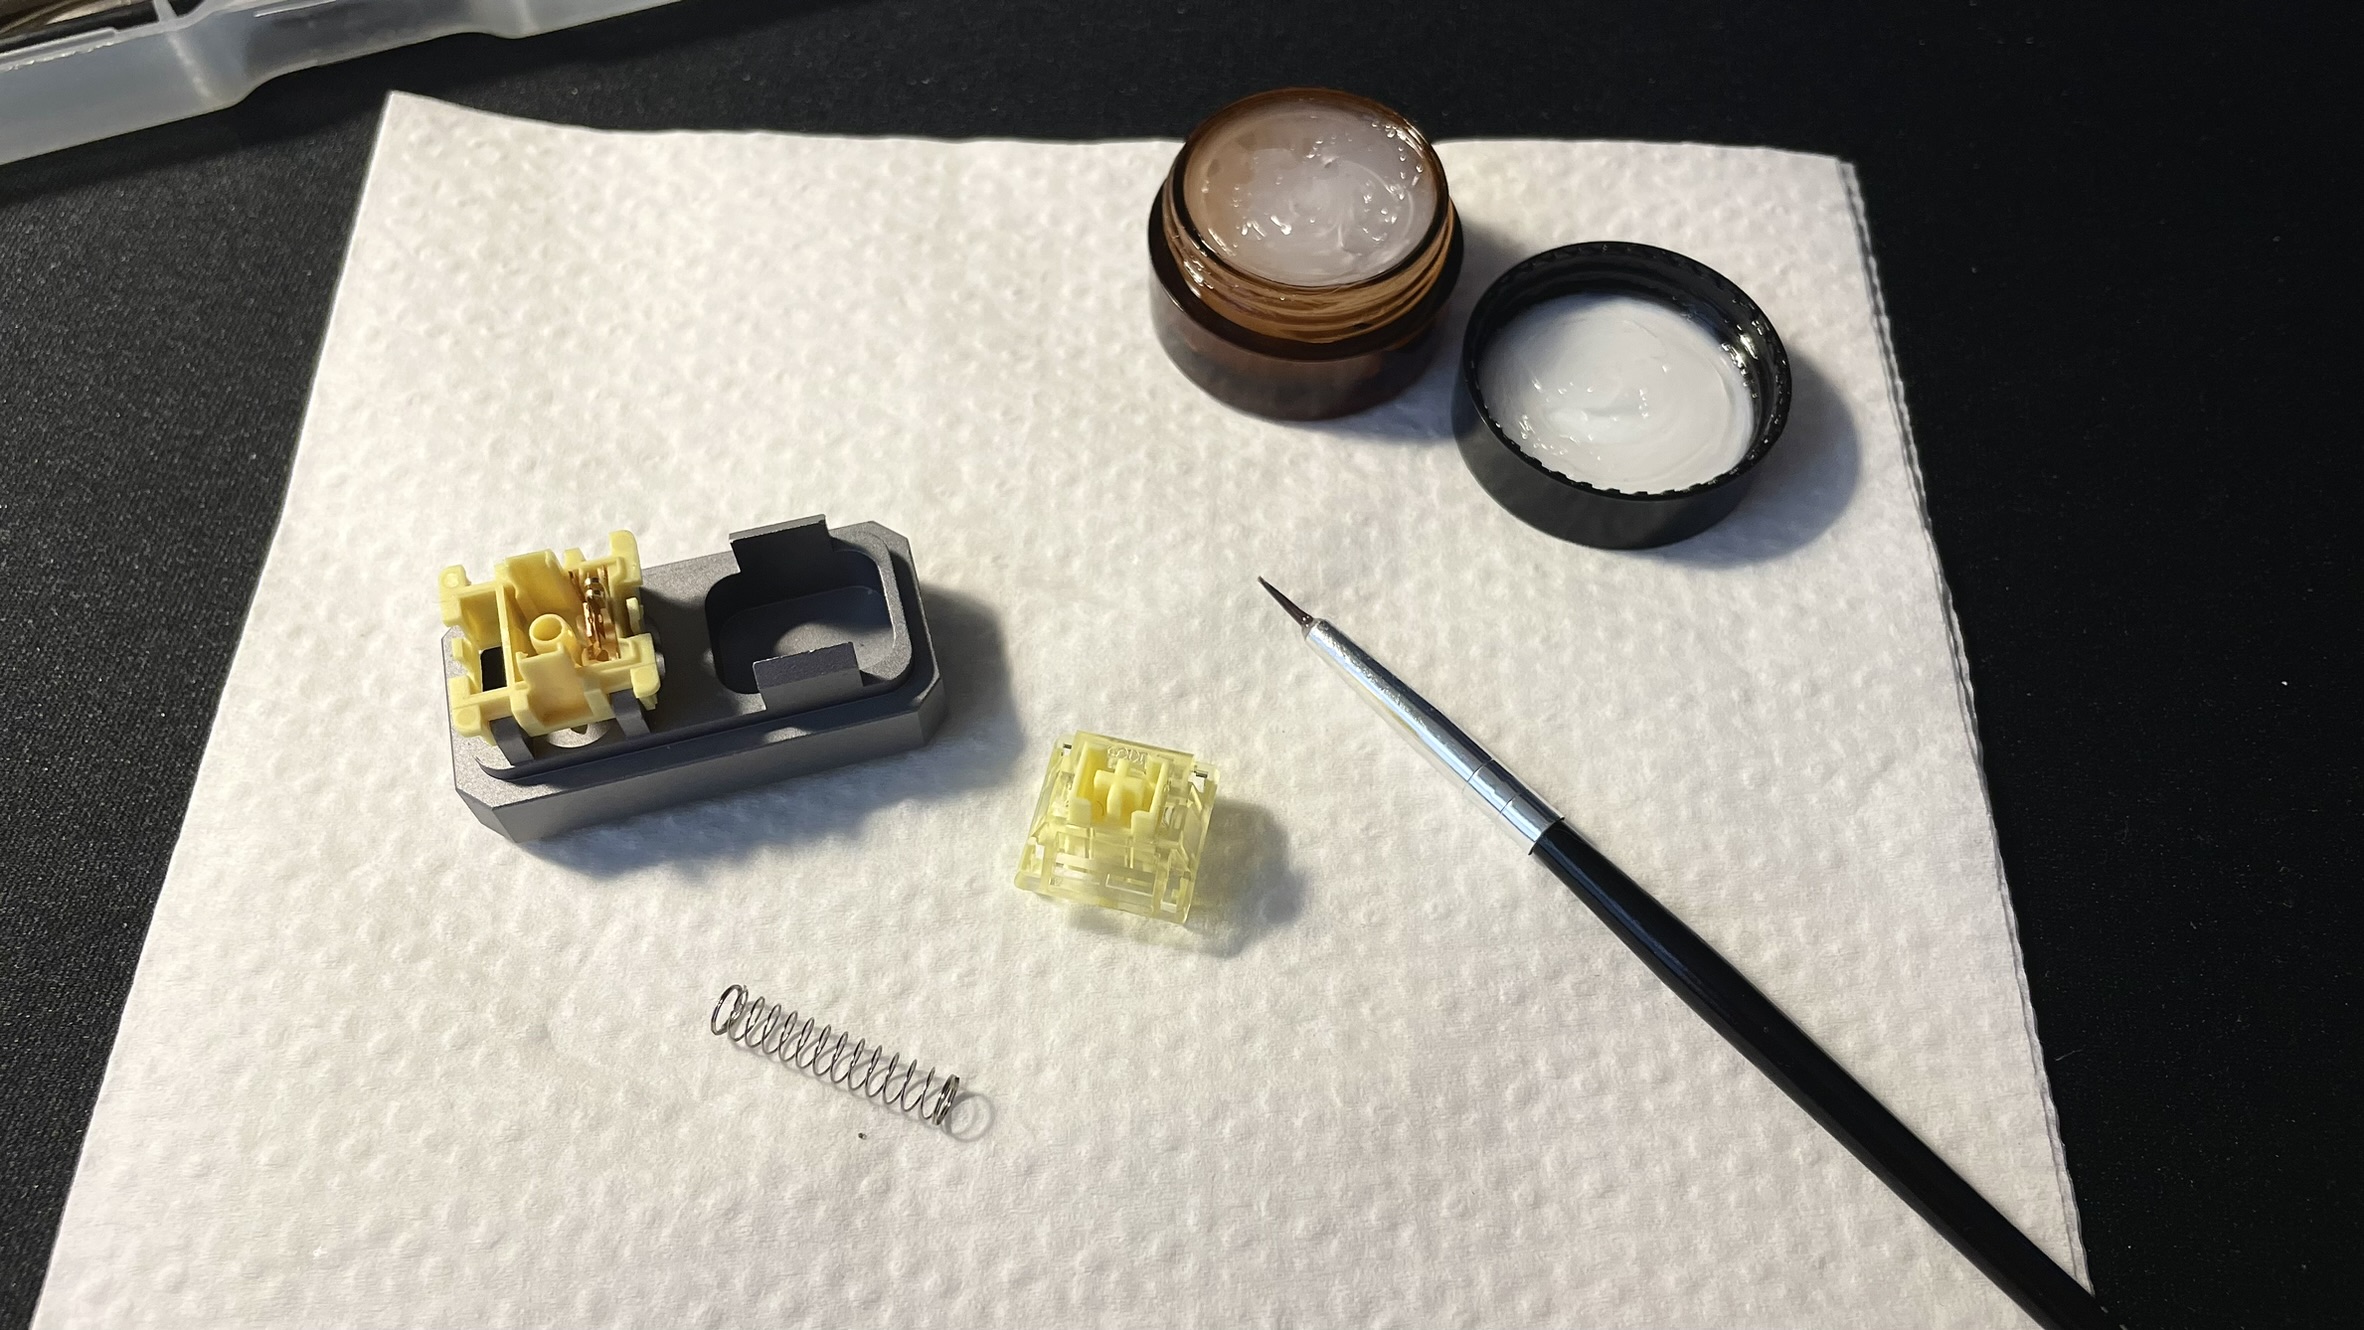
Lubricating your keyboard’s switches and stabilizers is a great beginner mod. You’ll need a switch puller, a tool for opening your switches, a small paint brush, and a container of switch lube. You can get a kit with all of this for about $15 on Amazon.
Switch lubing was the first real keyboard mod I ever tried back when I was working on my first custom build. It might seem a bit intimidating at first to disassemble your keyboard’s switches, but it’s a very easy process, albeit a little tedious. Lubing is one of the easiest ways to fix loud, scratchy, or rattling switches.
All you have to do is remove a switch from your keyboard, pop the top housing of the switch off, and remove the spring inside. Gently apply some lube to the inside of the switch where the spring normally sits, the inside of the stem in the top housing, and the spring. Afterward, put the spring back inside the switch and snap the top housing back on.
This mod has always worked well on my keyboards. It made a noticeable difference for the stock stabilizers on the CIY Tester 68. Overall, this mod definitely works. The only caveat here is that lubing is best for linear switches. If you try to lube tactile or clicky switches, you have to be careful not to put lube on the little notch inside the switch that creates the tactile bump.
Stay in the know with Laptop Mag
Get our in-depth reviews, helpful tips, great deals, and the biggest news stories delivered to your inbox.
2. O-ring mod
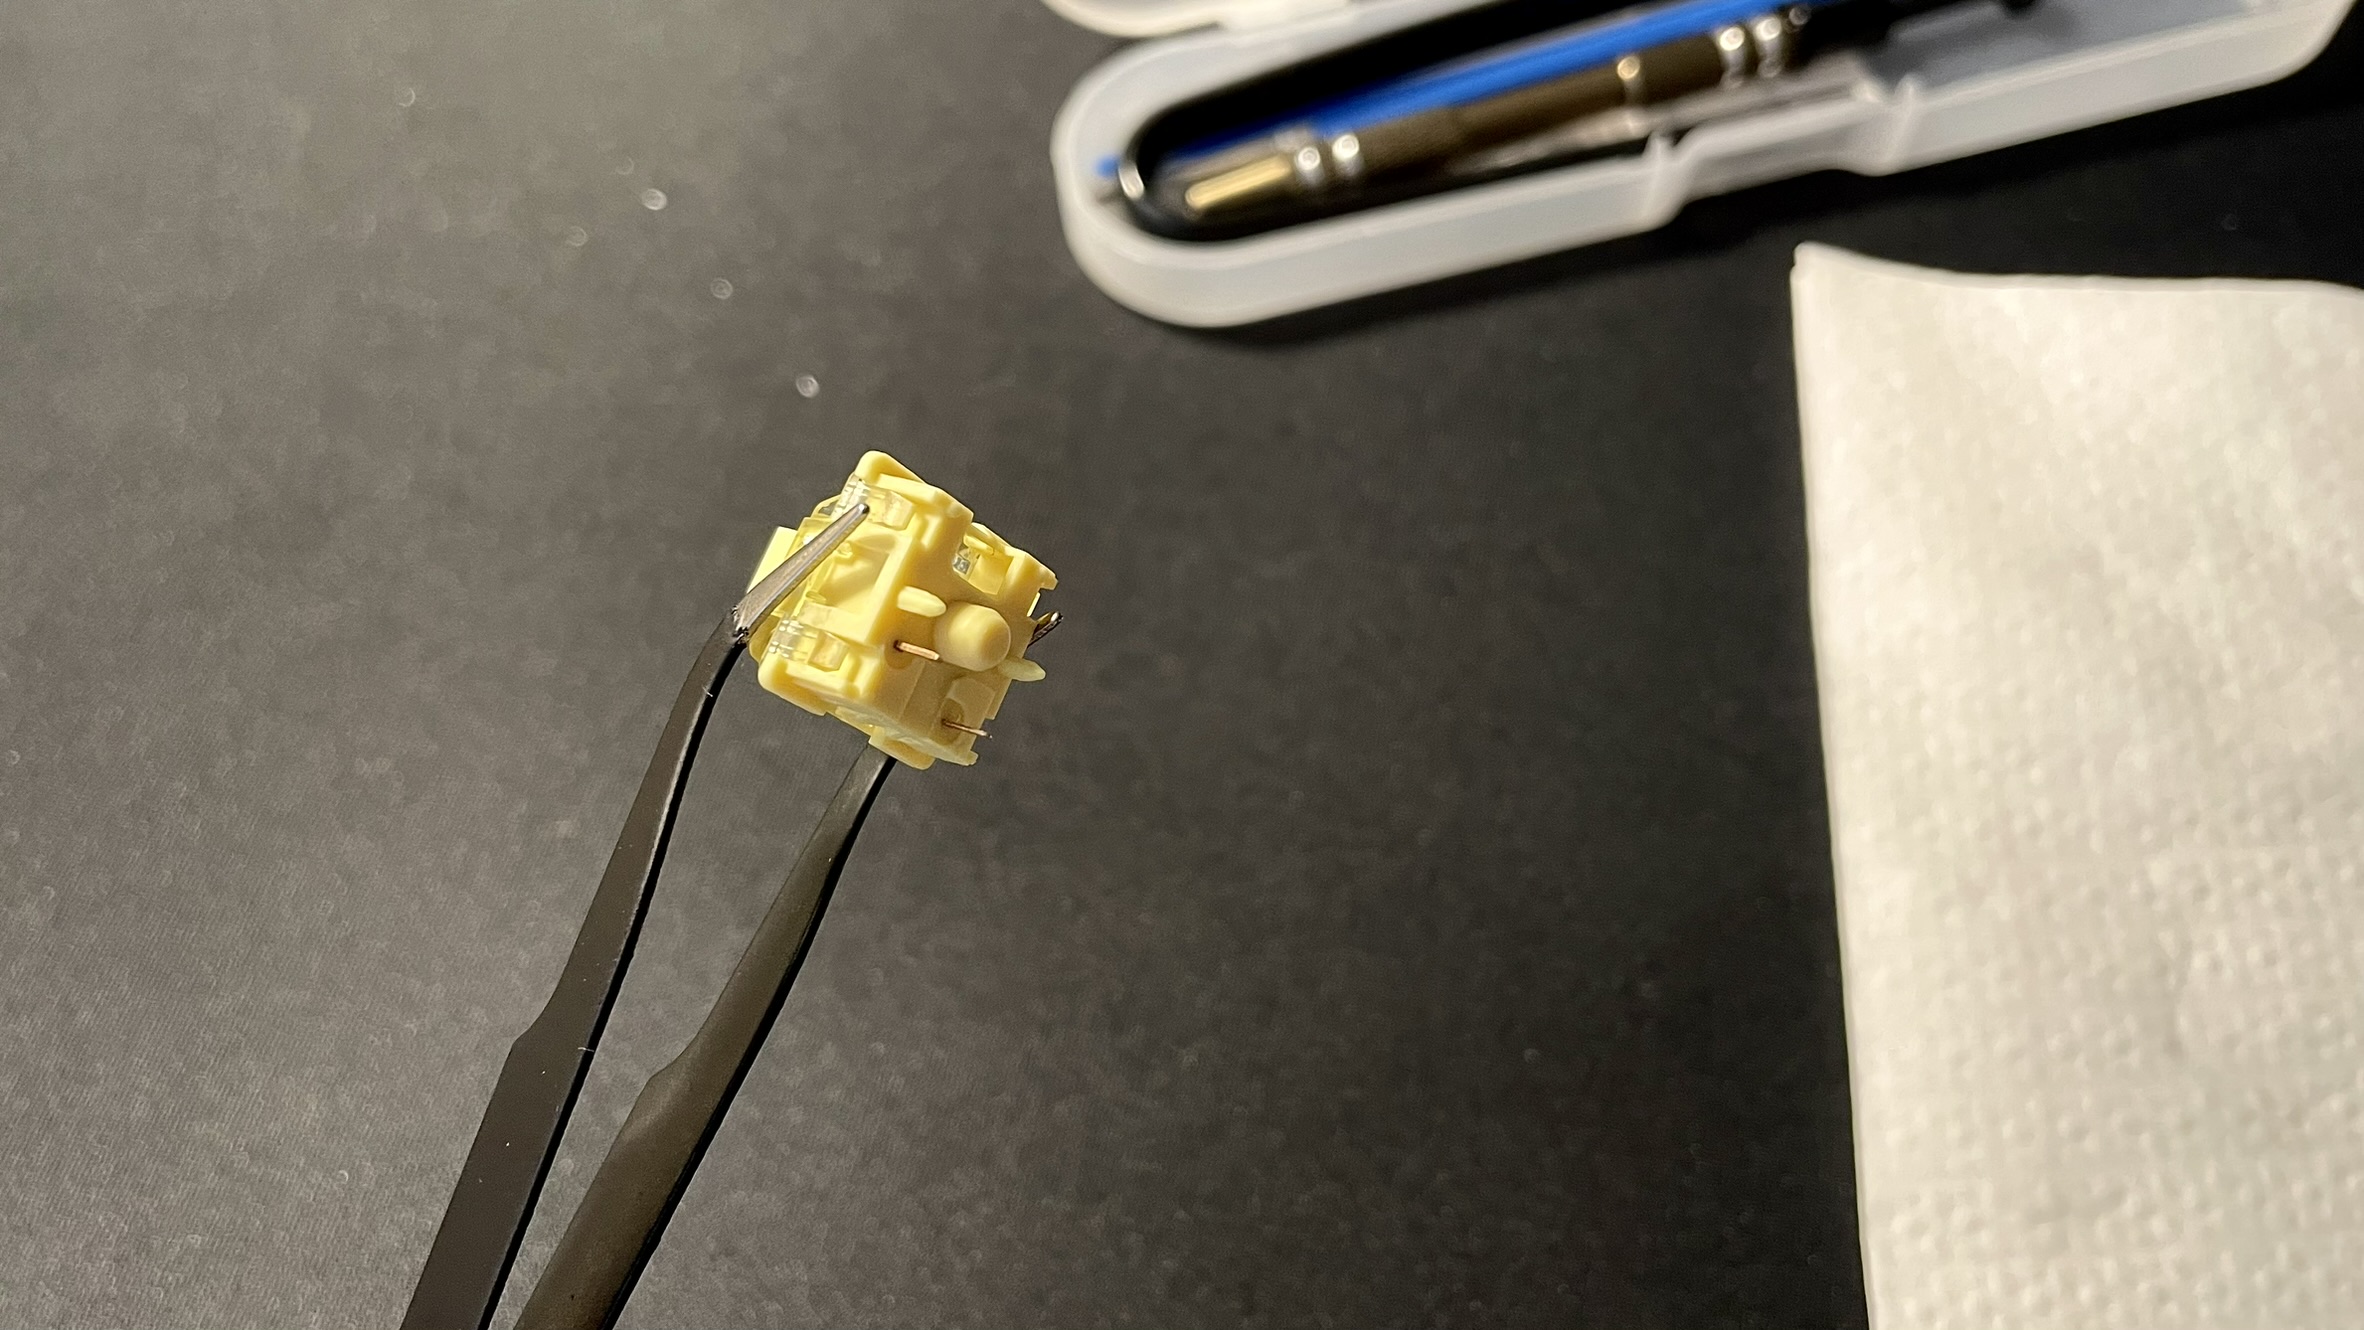
Ever try using your mechanical keyboard at the office or late at night only to get complaints that it’s too loud? The O-ring mod is an easy fix. This mod doesn’t even require removing your switches. All you need is a pack of rubber keyboard O-rings, which you can pick up for about $6 on Amazon.
The O-ring mod adds a bit of cushioning inside your keycaps so they aren’t as loud when they bottom out. You can do this mod on any mechanical keyboard, even if it isn’t hot-swappable. Simply remove your keycaps and install a rubber O-ring around the post inside each keycap then put them back on your board.
I don’t use O-rings on most of my keyboards, but I tend to stick with linear switches which are typically quiet by default. O-rings do help reduce noise, but they’re not going to completely change the sound of your keystrokes. If you like the feel of tactiles but find them a little too loud, this is one of the best cheap and easy mechanical keyboard mods to fix that. If you’re using clicky switches, though, they’ll unfortunately still be pretty loud even with this mod.
3. PE foam mod
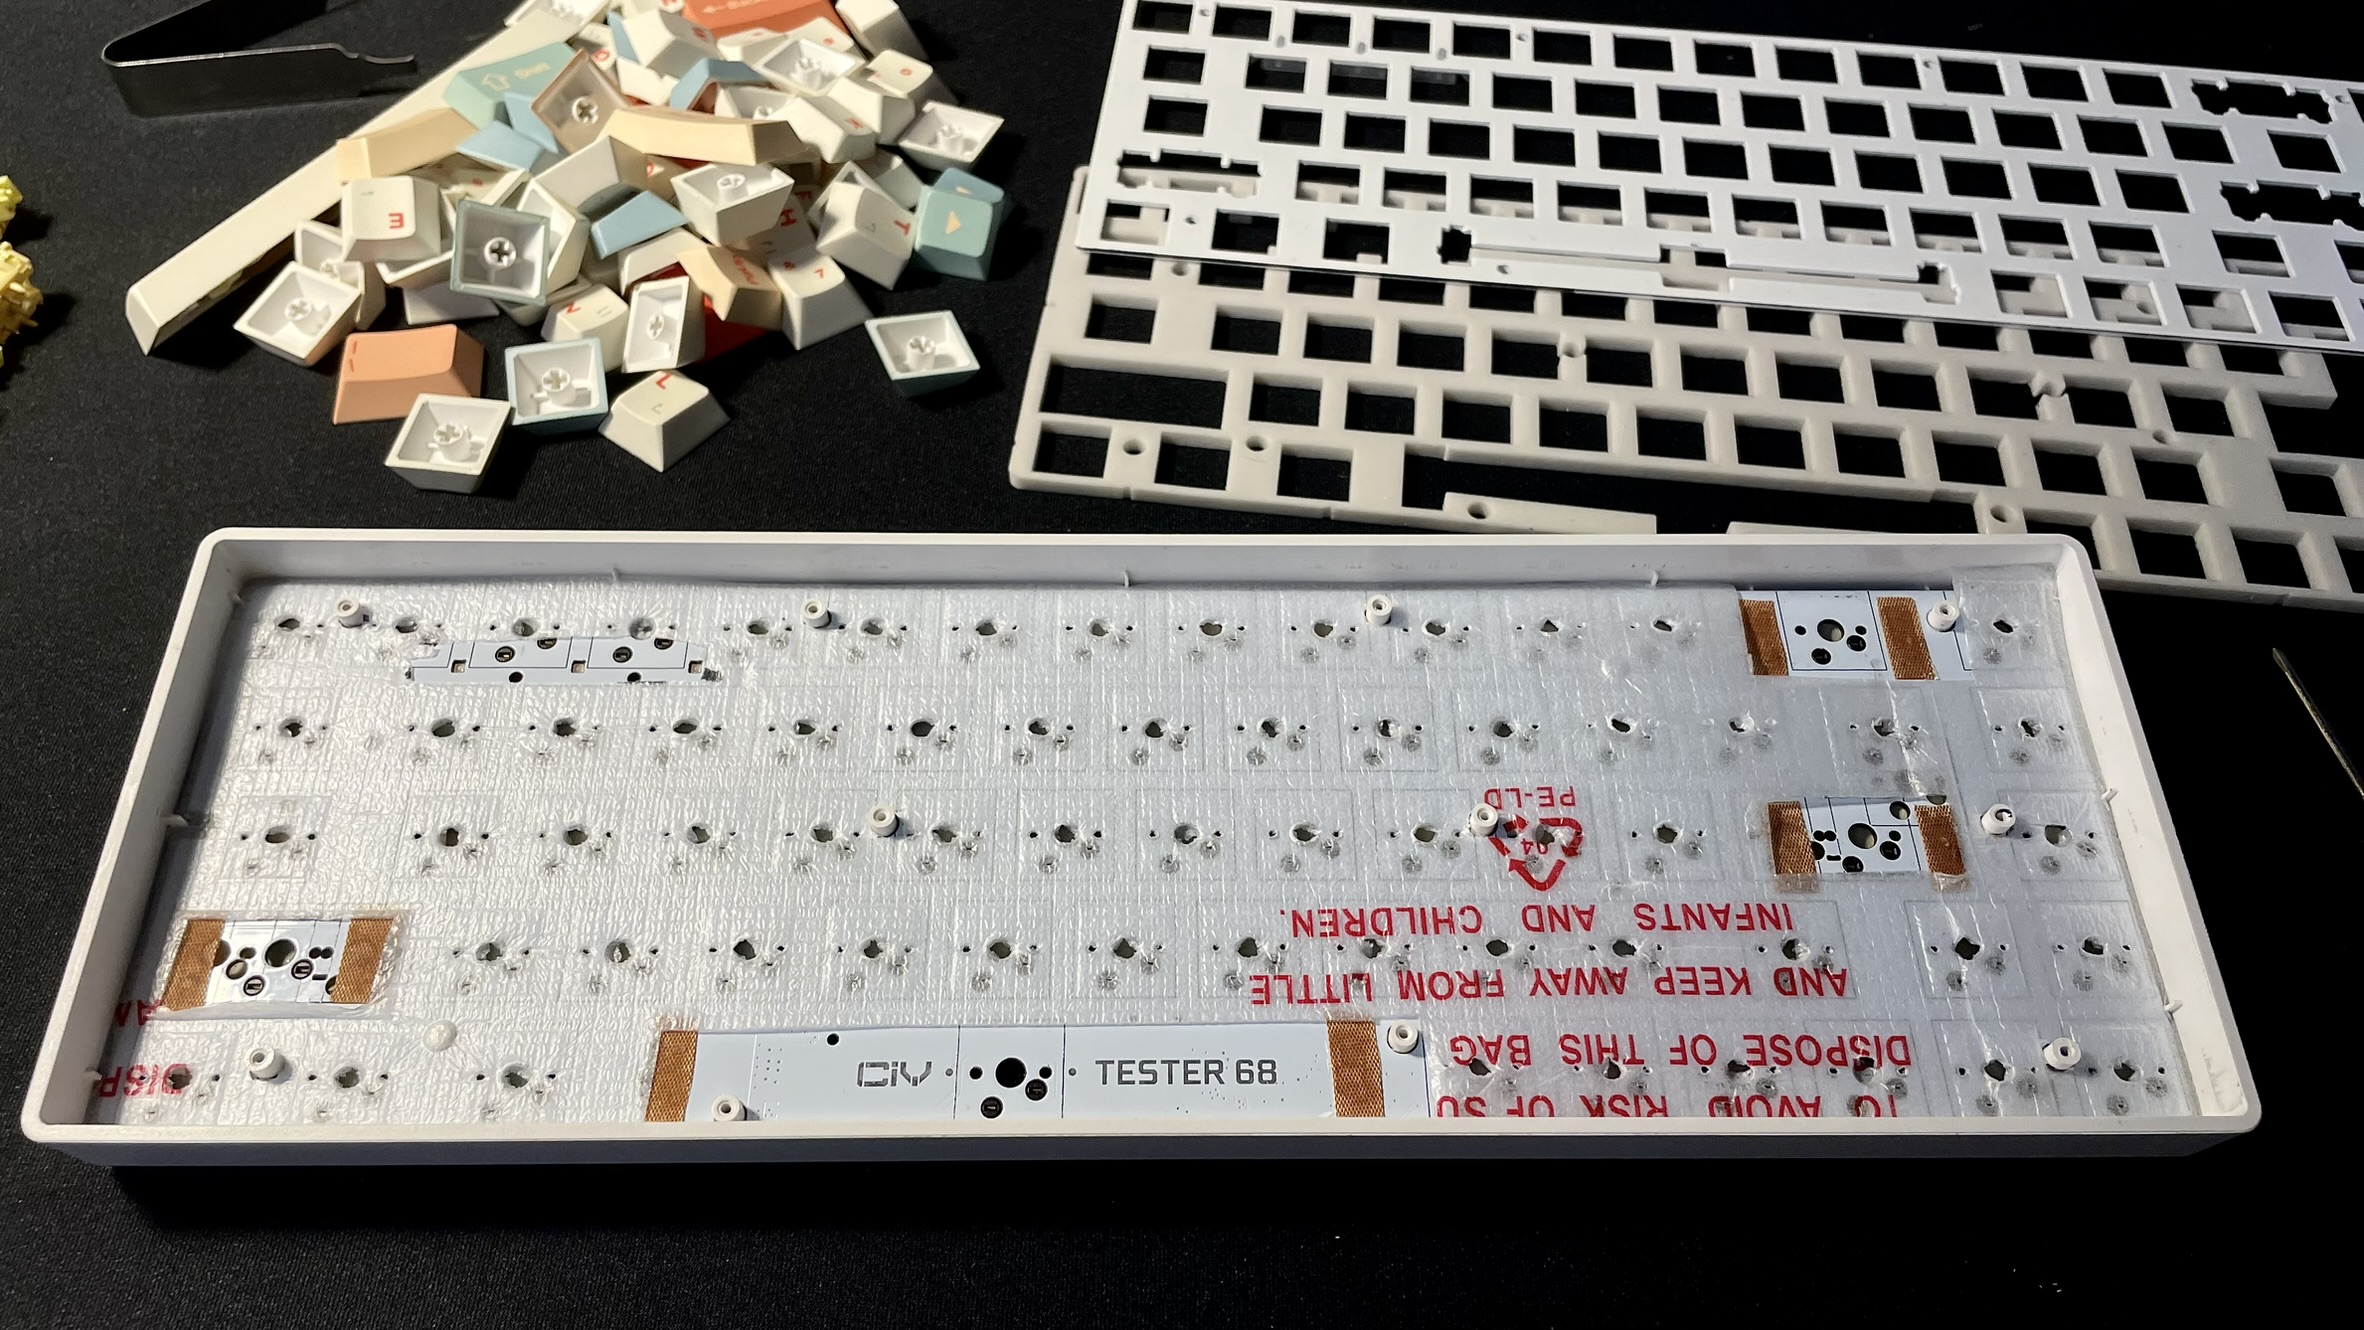
The PE foam mod is one of my favorite keyboard mods, especially when paired with the tape mod (see below). All you need for this one is a bit of thin PE packing foam, which you often get in packages (but you can also buy some on Amazon). You want a flat sheet of it, about half a millimeter thick or less so it can fit inside the case of your keyboard.
You will need to disassemble your keyboard for this mod, so it may not be an option for some pre-built, non-hot-swappable boards. Remove your keycaps, switches, and stabilizers then unscrew your top plate and remove it and any layers of foam or padding underneath.
That should bring you to the PCB. Unscrew it from your case and set it on the sheet of PE foam. Trace the PCB on the foam then set the PCB aside. Cut out the shape on the foam and lay it on top of the PCB. Carefully trace out the holes in the PCB where your stabilizers go then cut them out and poke out the holes for the switch posts and any screw posts.
When you’re done, reassemble your keyboard with the layer of PE foam between the PCB and the plate. Now your switches should sound smoother with more distinct, “poppy” keystrokes.
This mod did improve the sound quality of my CIY Tester 68, although it didn’t completely transform the way my switches sound. The only area where I noticed a major improvement was my spacebar, backspace key, and enter key. All of these sounded noticeably less hollow, especially my spacebar. So, overall, I would say that this mod works well.
4. Tape mod
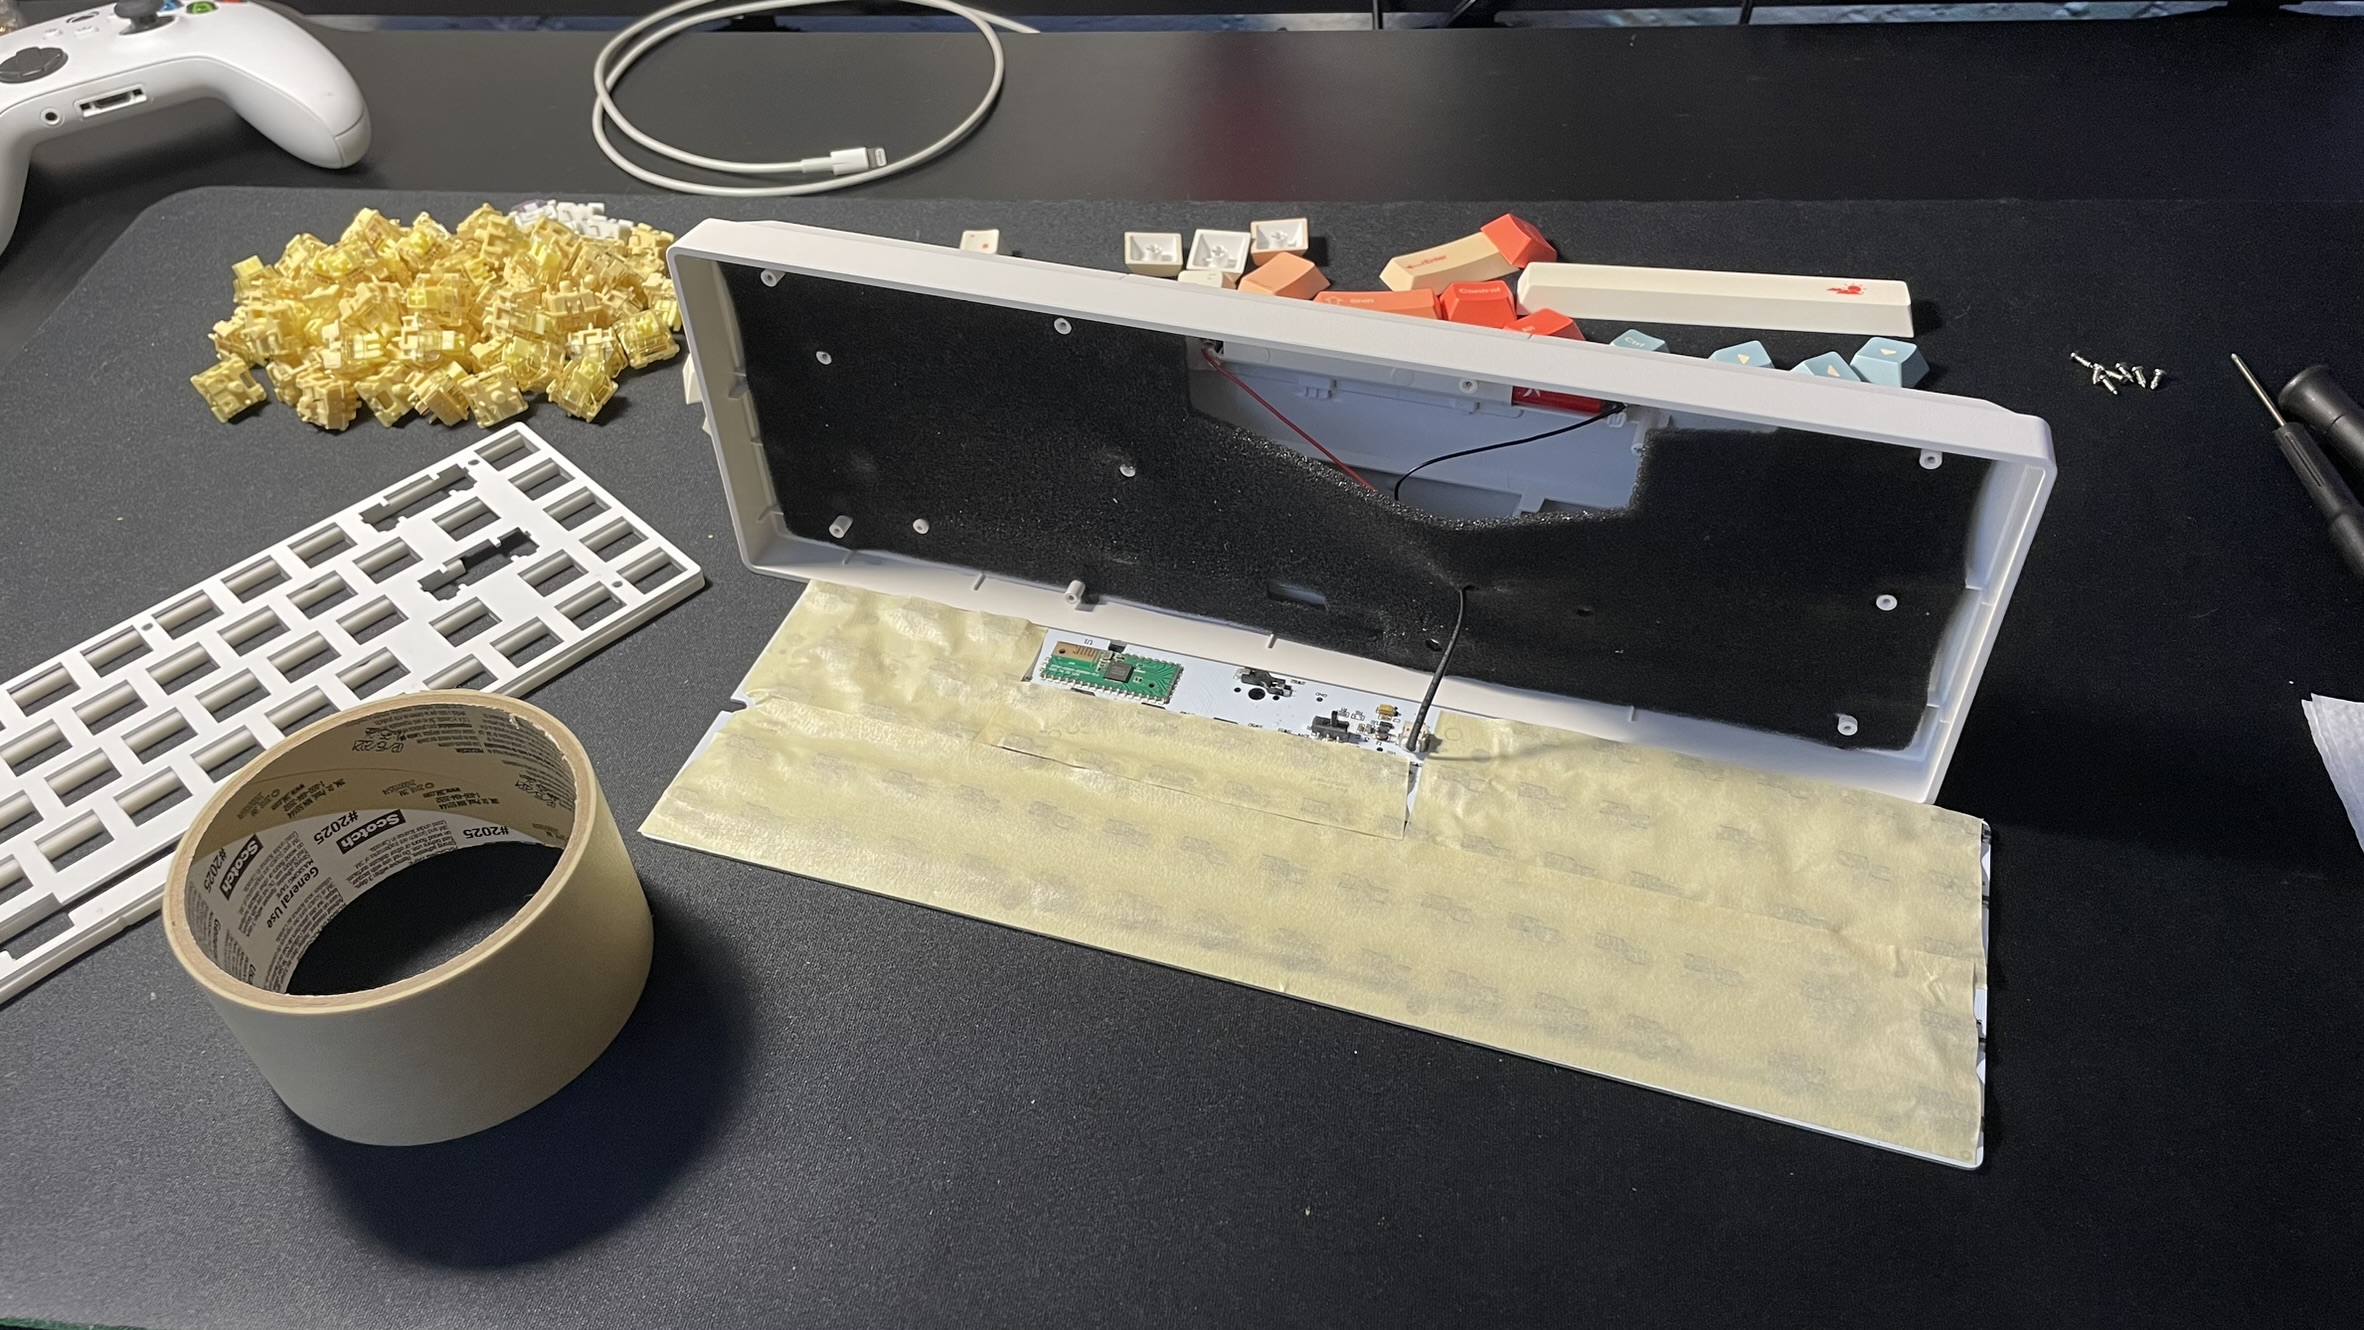
The tape mod is one of the most popular mods in the mechanical keyboard community and for good reason. It’s quick, easy, cheap and often noticeably improves the sound quality of your keyboard. All you need is some masking tape.
The simplest way to do this mod is to pop open your keyboard from the back. That isn’t possible with all keyboards, though (like with my CIY Tester 68). So, you may need to fully disassemble your board.
Either way, you will need to access the back of your PCB. Lay it out flat on your desk and gently apply strips of masking tape. I used 2-inch strips so I only needed a couple pieces. Once the back of the PCB is covered in an even layer of masking tape, reassemble your keyboard.
This mod is supposed to create a deeper, more defined sound profile. I did notice an improvement in my CIY Tester 68. My keystrokes sounded more “poppy” and clear, although the pitch didn’t change. How much the pitch of your keystrokes changes depends heavily on the exact switch you’re using, though, so I would still say that this mod works. Plus, it’s about as cheap and easy as keyboard mods get, so why not try it?
5. Band-aid mod
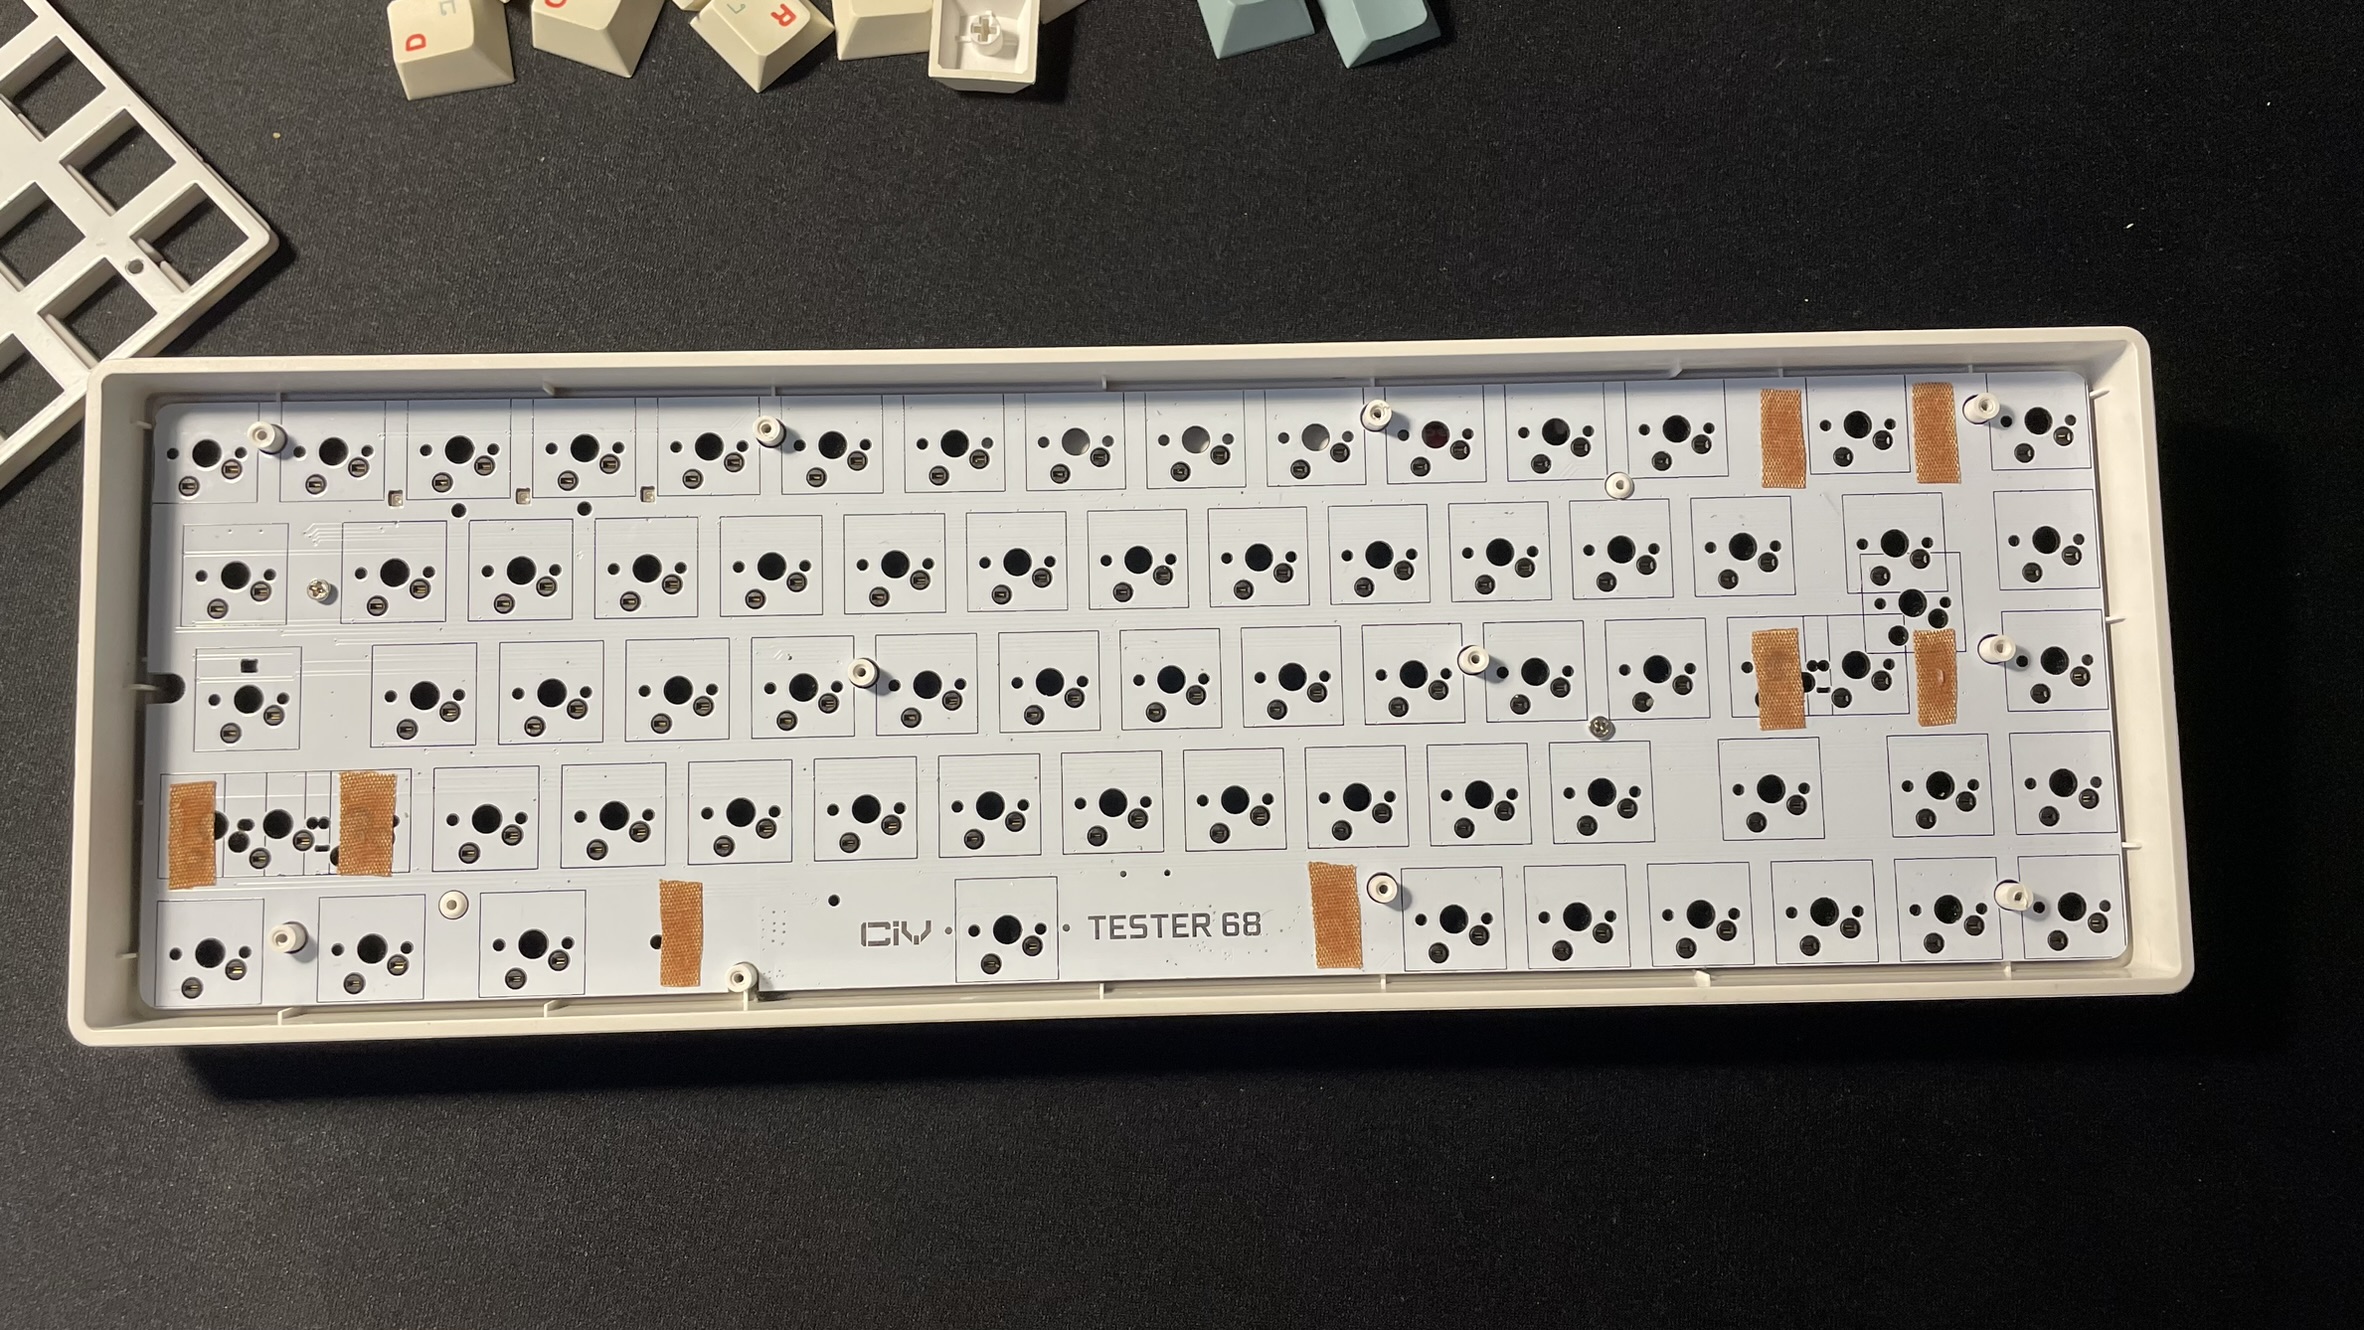
One of the most frustrating issues with any mechanical keyboard is rattling, scratchy stabilizers. The sound of your spacebar in particular can make or break a build. Luckily, it’s possible to fix those rattling stabilizers and all you need is some dielectric grease, keyboard lube, and a fabric band-aid (yes, seriously).
Start by removing your keycaps, stabilizers, switches, plate, and any foam underneath. Set everything aside for now and lay out the stabilizers on a paper towel. Carefully disassemble them and take a look at the inner stabilizer housing. Some stabilizers have little plastic feet that you may need to trim for this mod to work. The stabs on my CIY Tester 68 were pre-trimmed, so double-check before clipping anything off.
Apply some dielectric grease to the ends of the stabilizer rod where it slides into the plastic housing. Also, apply grease to the plastic interior of the housing anywhere plastic touches plastic. The idea here is to minimize friction in the stabilizers to get rid of scratchiness. If you don’t have dielectric grease, you can also use keyboard lube for similar results.
After greasing or lubing the pieces of each stabilizer, put them back together and grab your keyboard’s PCB. This is where the band-aid comes in. It must be a fabric band-aid. Cut small pieces of the sticky fabric part and stick them to the PCB in the gaps where your stabilizers sit. Apply a bit of keyboard lube to each piece then put your keyboard back together.
I noticed a big difference in my stabilizer sound quality after completing this mod. It was a night and day difference for my rattling spacebar and left all of my stabilizers sounding smoother and deeper. It works, so I recommend trying this cheap and easy mechanical keyboard mod.
6. “Holee” mod
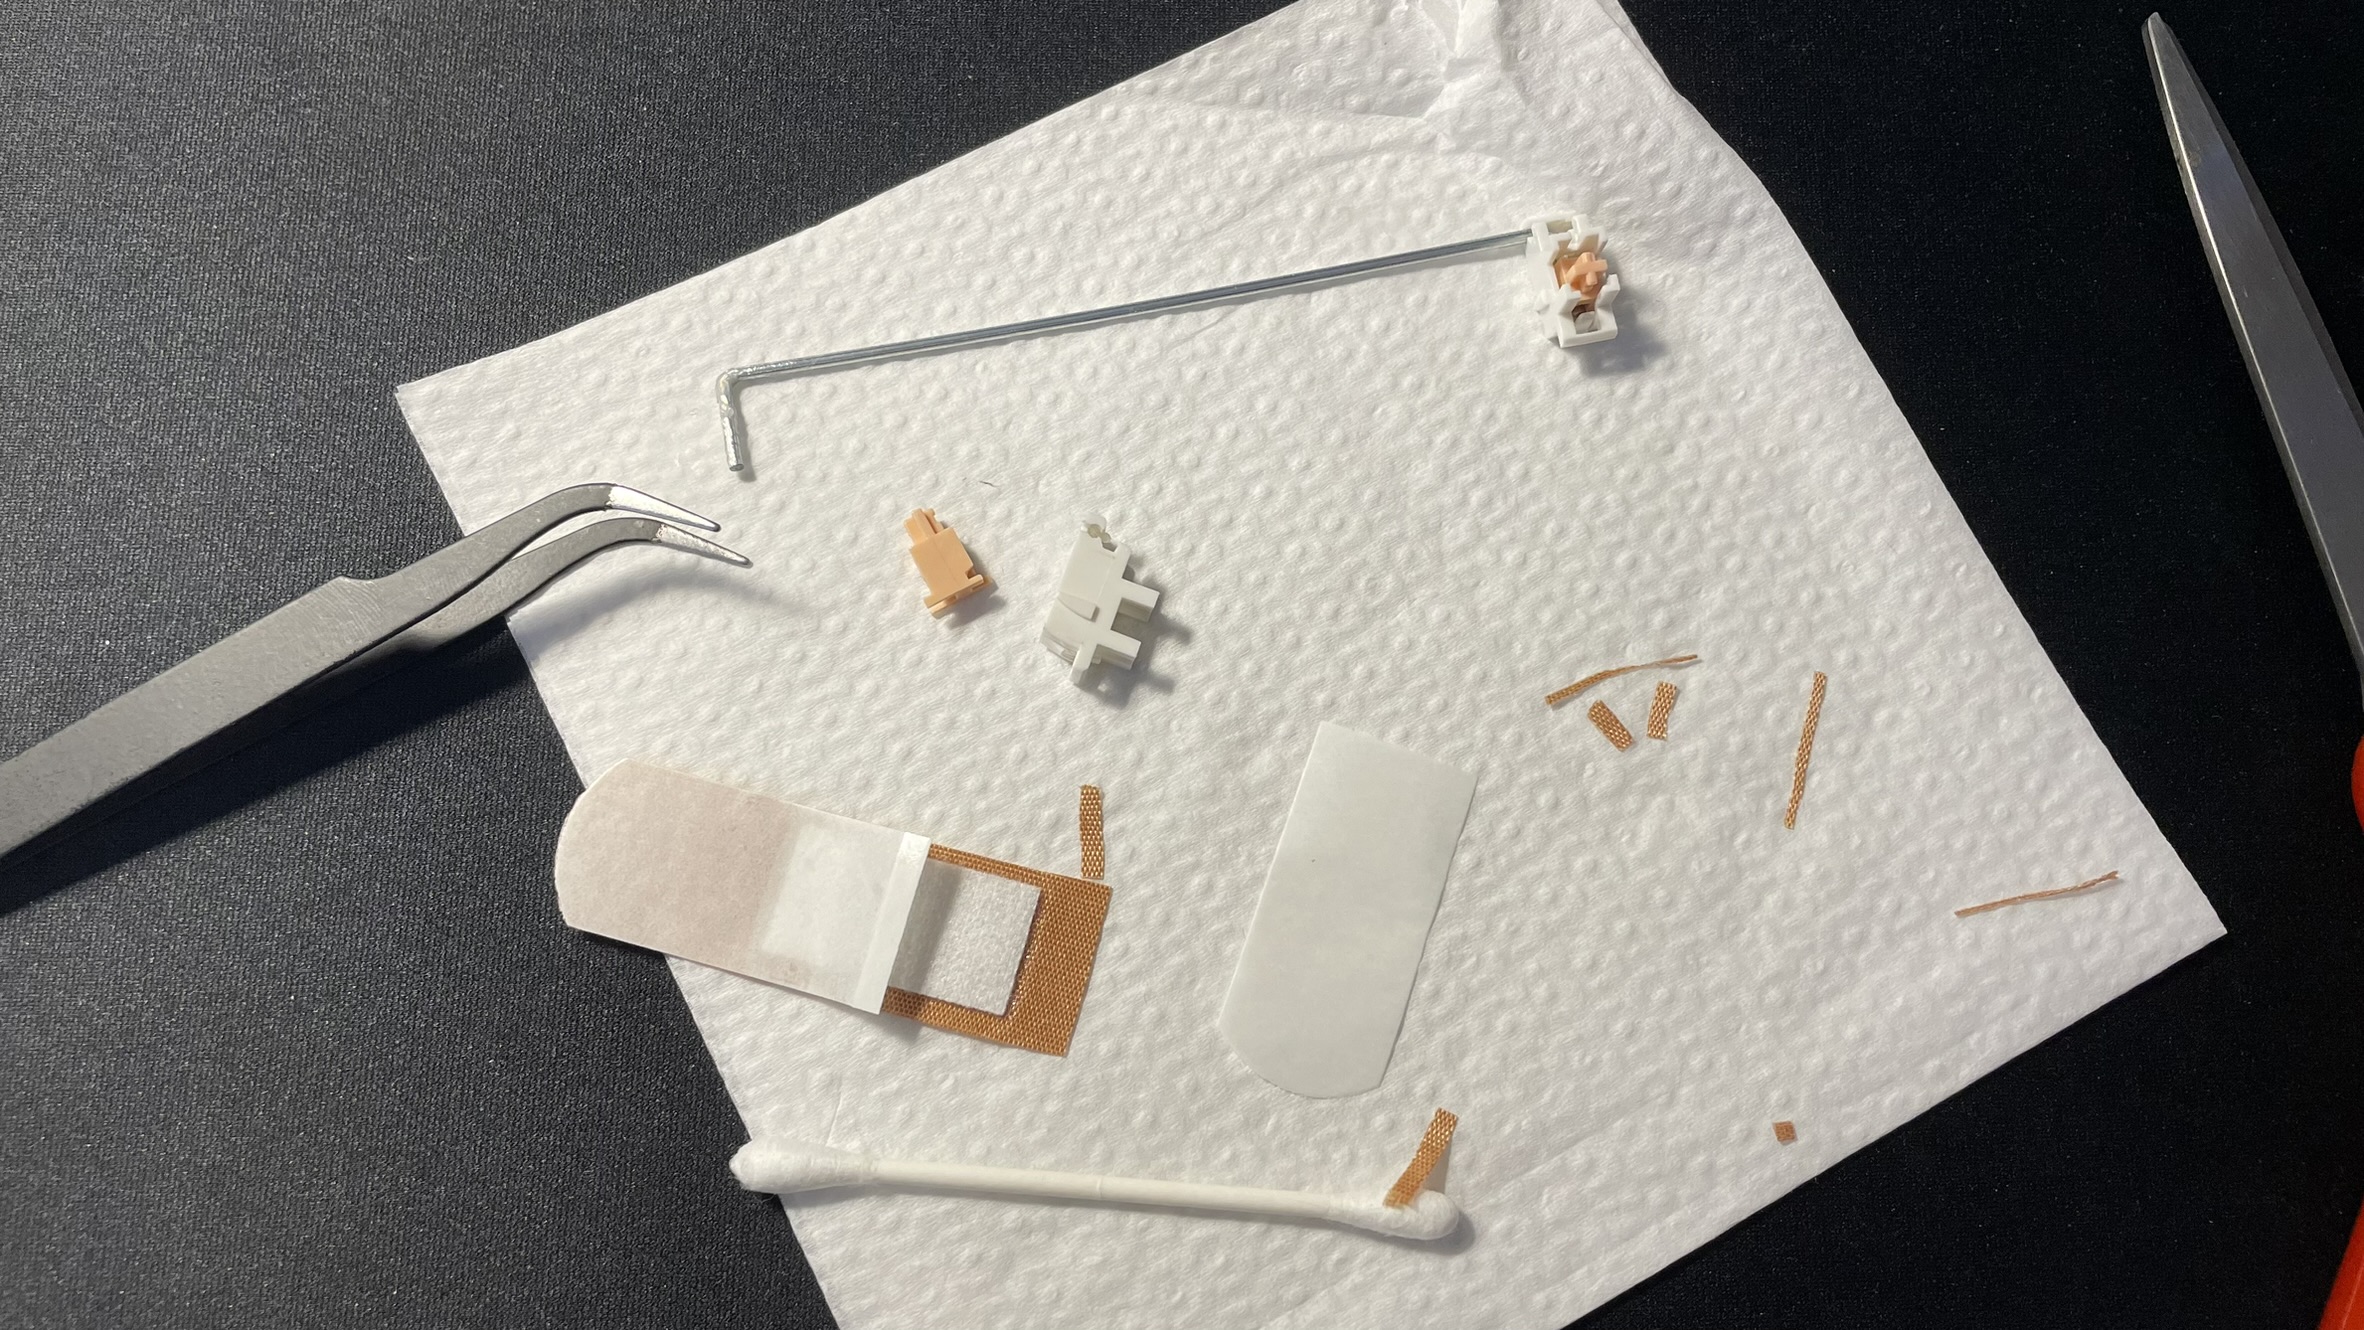
Once again, remove your keycaps and stabilizers. If you did any of the lube mods on your stabilizers already, you’ll need to wipe the lube off the inner stabilizer housing. The easiest method I found was wrapping a layer of napkin around the end of my tweezers, which were narrow enough to fit through the small gaps in the inner housing.
After cleaning the inner stabilizer housing on each side, cut very thin strips of fabric band-aid (no padding). They need to be narrow enough to fit inside the inner stabilizer housing. Use your tweezers to gently press one end flat in the housing then fold it over and press it into place underneath so it wraps around the thin diagonal piece of plastic inside the inner stabilizer housing.
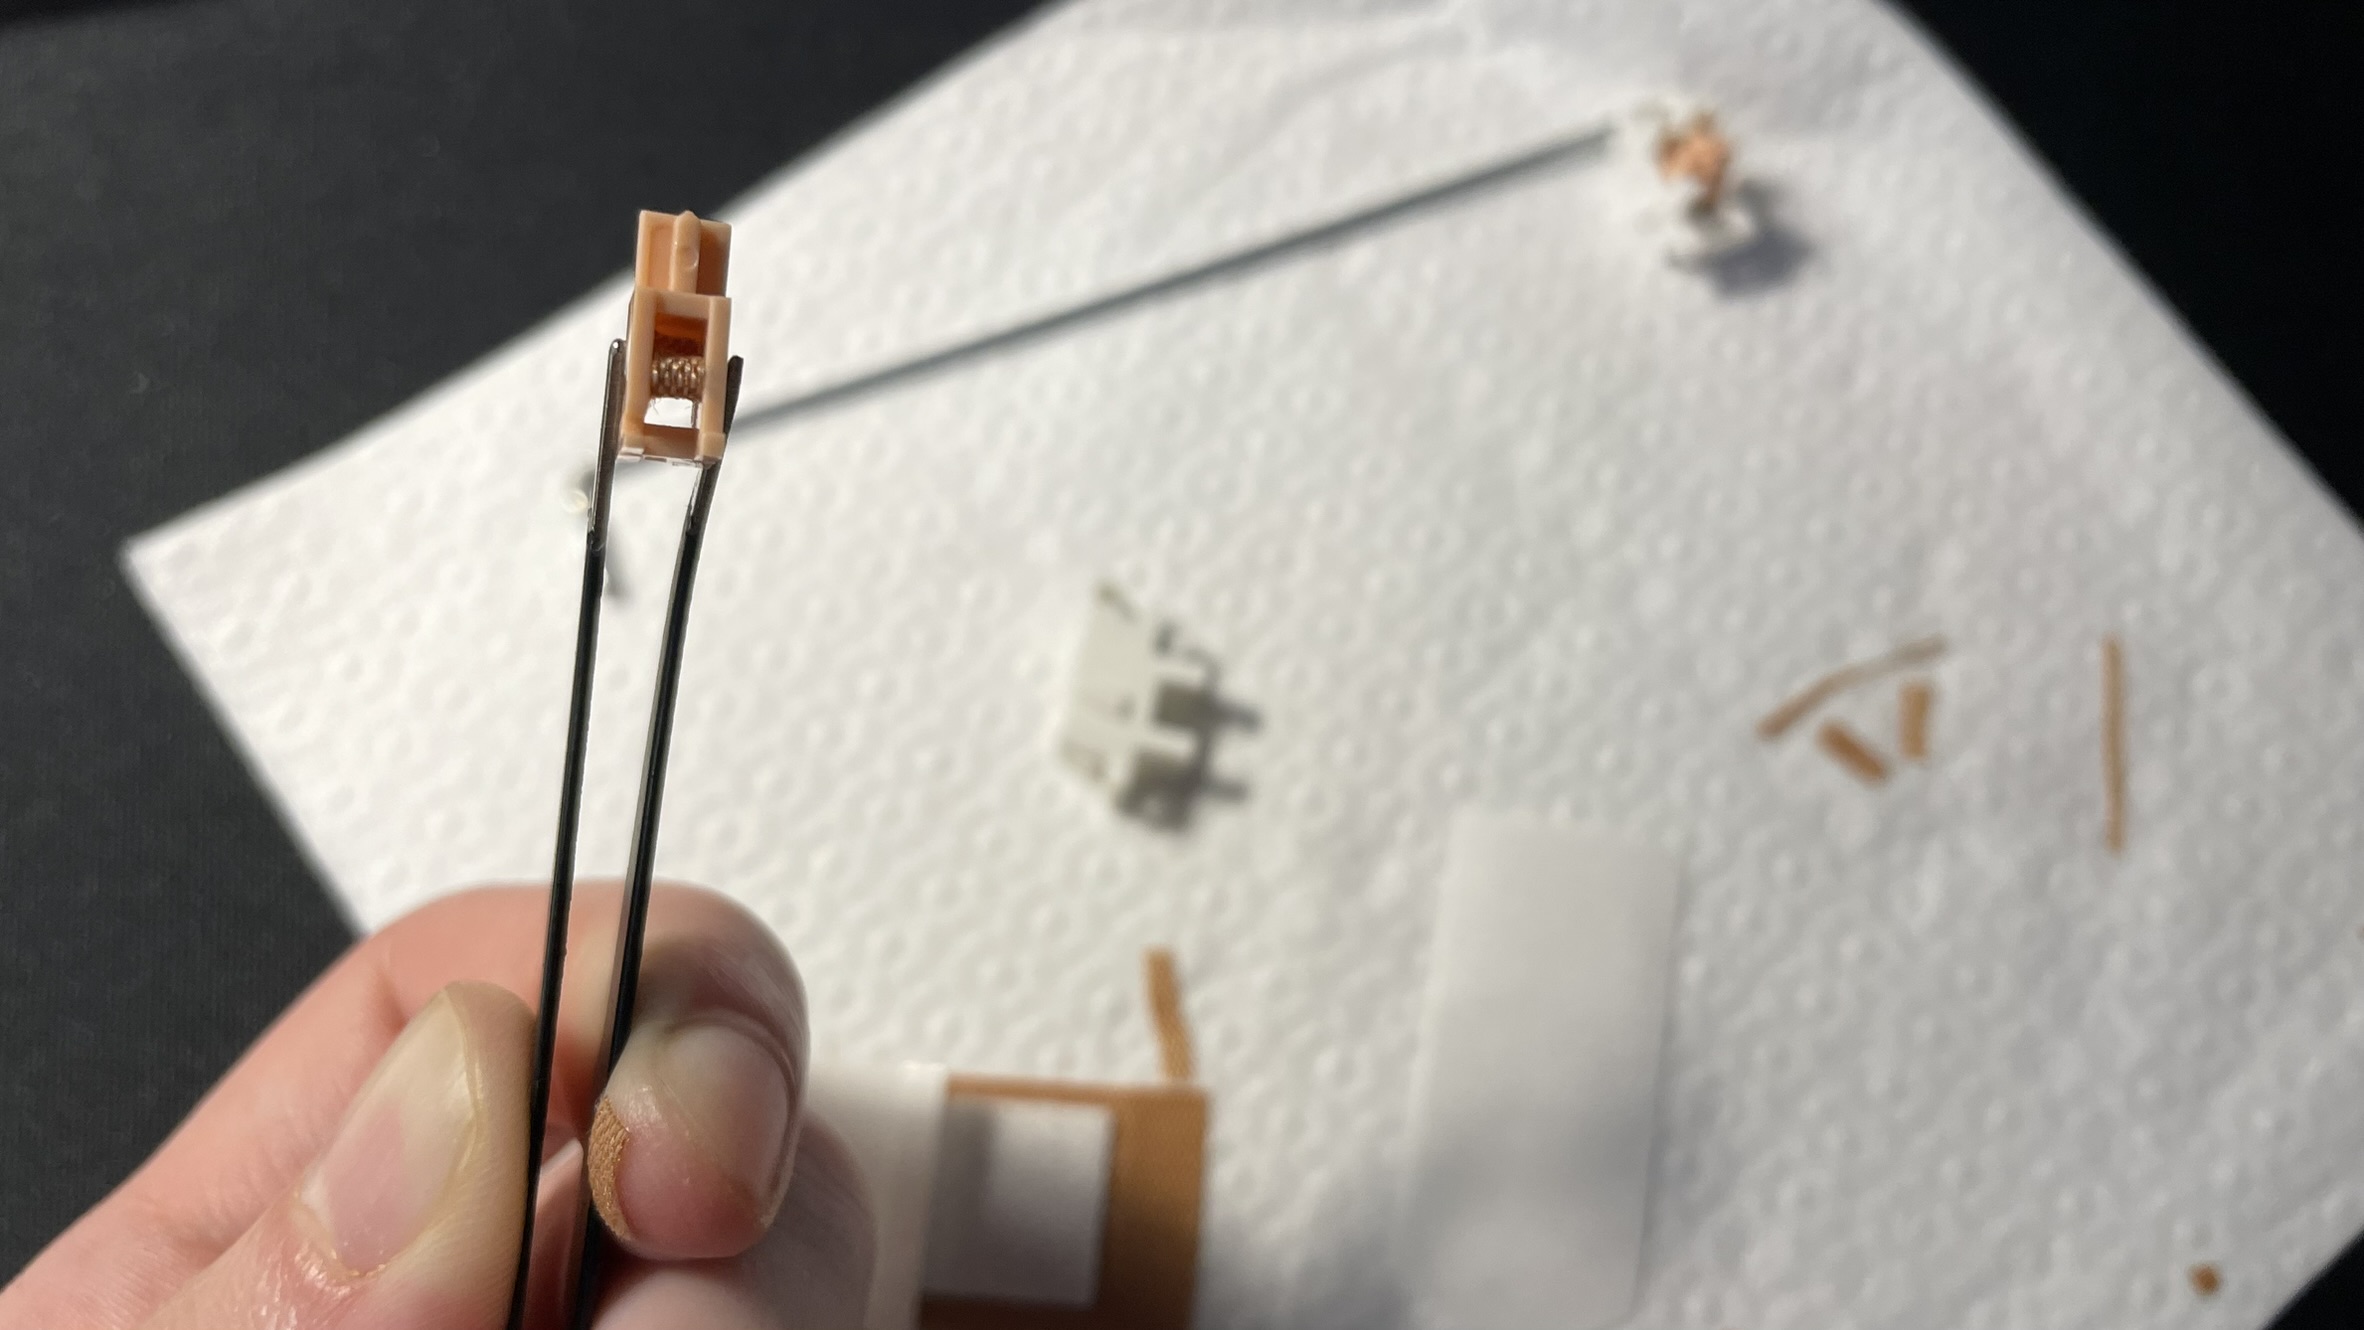
That’s it. After the band-aid pieces are firmly in place, reassemble the stabilizers, put them back in your keyboard, and test it out. I immediately noticed a big difference in sound and feel when I tried this on my spacebar. Not only was it a bit quieter, but it also has a deeper, smoother sound now thanks to the cushioning from the fabric band-aid strips. This mod was the most delicate one I tried, but it is worth it if you have hollow, rattling stabilizers.

Stevie Bonifield is a freelance tech journalist who has written for PC Gamer, Tom's Guide, and Laptop Mag on everything from gaming to smartwatches. Outside of writing, Stevie loves indie games, TTRPGs, and building way too many custom keyboards.


