How to Create a Sortable Column in an Excel Workbook
Creating a sortable column in an Excel Workbook is easy
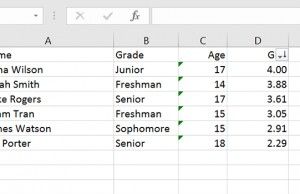
Sorting columns and rows is as much a part of Excel as the data used within it. The ability to view data from different perspectives -- whether greatest to least, or alphabetically -- is where Excel shines brightest. It’s not just a tool for collecting data, but viewing it as well.
And the latter, arguably, is even more important.
- How to Use Microsoft Excel Like a Pro
- Microsoft 365 review
- The best laptop deals available today
How to Create a Sortable Column in an Excel Workbook
And to view that data properly, you need options.
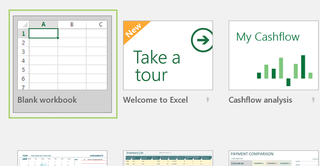
1. Open an Excel workbook or create a new one.
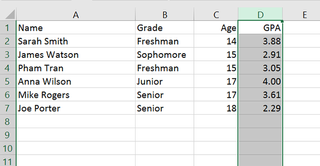
2. Highlight the column you wish to sort.
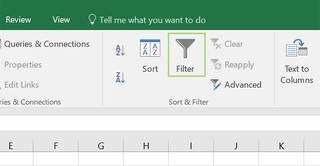
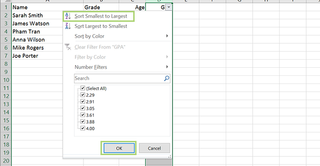
3. Click the Filter icon under the Sort & Filter heading. Notice the drop down arrow placed to the right of the column heading.
4. Click the arrow to sort the data how you’d like -- smallest to largest, or vice versa -- and press OK.
Stay in the know with Laptop Mag
Get our in-depth reviews, helpful tips, great deals, and the biggest news stories delivered to your inbox.
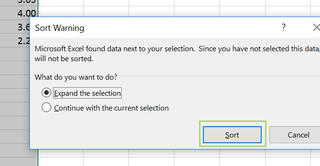
5. Click Sort in the pop-up warning.
Microsoft Excel Tips
- Use VLOOKUP in Excel
- Back Up Files Automatically in Excel
- Remove Duplicate Data in Excel
- Create a Waterfall Chart in Excel
- Lock Cells in Excel
- Freeze Rows and Columns in Excel
- Build a Forecast Chart in Excel
- Create a Funnel Chart in Excel
- Make a Treemap in Excel
- Convert Excel Sheets to Google Sheets
- Open Google Sheets in Excel
- Combine Data from Different Cells
- Merge Cells to Span Multiple Columns
- Use AutoFill for Repetitive Data
- Copy and Paste Repetitive Data the Easy Way
- Use Text to Columns
- Draw Diagonal Line in a Cell
- Create a New Shortcut Menu
- Transpose Columns Using Paste Special
