How to Free Disk Space Automatically with Windows 10 Storage Sense
As laptops get smaller, storage space gets more valuable. While many of us supplement physical storage with cloud-based alternatives, there’s no substitute for storage on-demand, even when you’re not connected to the internet. And for most Windows users, the amount of storage wasted on temp files and the Recycle Bin would free up a fair bit of space on our hard drive if only we could we could remember to get rid of it.
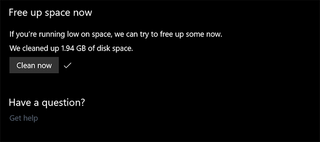
A new feature in Windows 10’s Creators Update has your back.
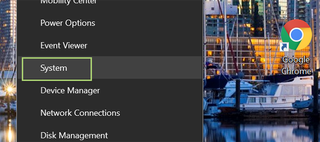
1. Right click the Windows icon at the bottom right of the screen and open the System menu.
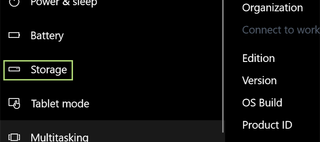
2. Select Storage from the sidebar at the left.
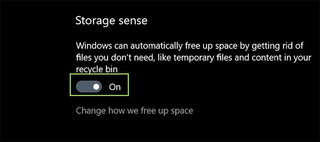
3. Toggle Storage Sense to the on position.
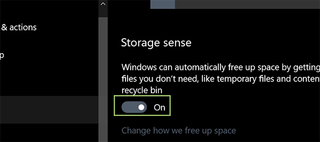
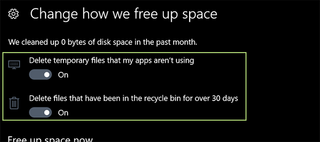
4. If you’d like to determine what Storage sense deletes (either files in the Recycle Bin or temp files -- or both), click the Change how we free up space link below the toggle.
5. Toggle on, or off the desired settings.
Stay in the know with Laptop Mag
Get our in-depth reviews, helpful tips, great deals, and the biggest news stories delivered to your inbox.
Windows 10 Storage and Backup
- Reclaim Hard Drive Space by Shrinking Windows 10
- Delete the Windows.old Folder in Windows 10
- How to Save Space By Cleaning Windows' WinSxS Folder
- Back Up Files with the File History Feature
- Mount and Burn ISO Files
- Format a Hard Drive For Both Windows and Mac
- Zip a File or Folder in Windows 10
- Control Which OneDrive Files Are Available Offline
- Map OneDrive as a Network Drive
- Fetch Any File on a Remote Computer with OneDrive
- 3 Ways to Save Space
- Free Disk Space Automatically with Storage Sense
- All Windows 10 Tips
- How to Install Apps to an External Drive
