How to (Really) Lock the Desktop Background in Windows 10
Desktop backgrounds are a very personal thing. And for anyone on an office or shared computer, the idea of someone changing it can be a little annoying. For those who own a business and want to display their branding as the background -- without giving employees the option to change it -- there’s really only one solution that works.
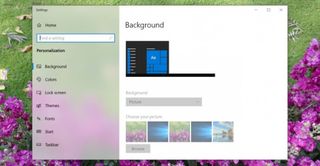
While there are easier ways to do this, it’s just as easy for an employee or roommate (or anyone who shares your computer, really) to undo it. The most effective way, at least in my opinion, is to make a quick edit to the registry.
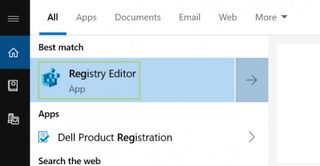
1. Type regedit in the search box on the Taskbar.

2. From the search options, select Registry Edit.
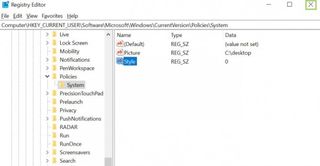
3. In the Registry Editor, Go to HKEY_CURRENT_USER\Software\Microsoft\Windows\CurrentVersion\Policies.
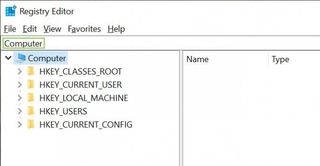
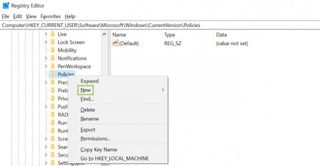
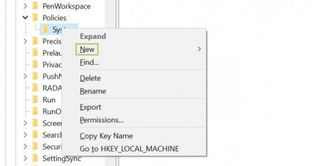
4. Right-click on Policies to open the context menu.
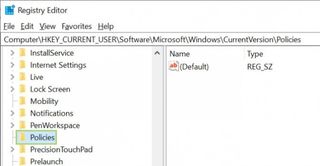
5. Click New to create a new key.
Stay in the know with Laptop Mag
Get our in-depth reviews, helpful tips, great deals, and the biggest news stories delivered to your inbox.
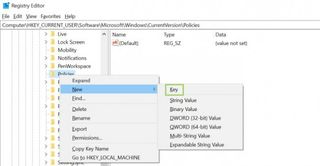
6. Select Key.
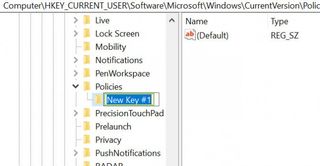
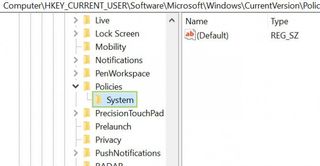
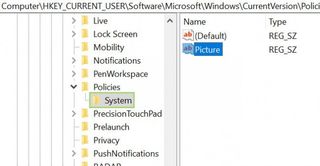
7. Type System, to name the new key.
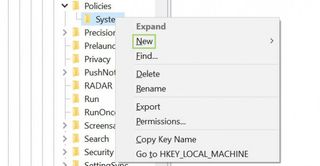
8. Right-click on System to open the context menu.
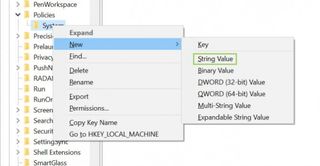
9. Click New to create a new string.
10. Select String.
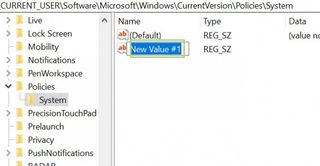
11. Type Picture to name the new string.
12. Double-click on Picture to add value for the string.
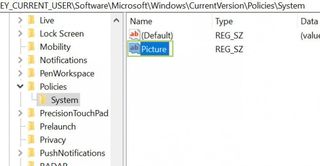
13. Type the path of the desktop image in the Value data field.
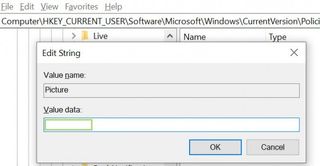
14. Press OK.
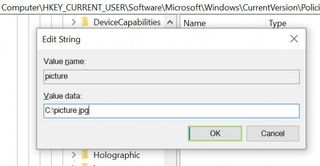
15. Again right-click on System to open the context menu.
16. Click New to create another string.
17. Select String.
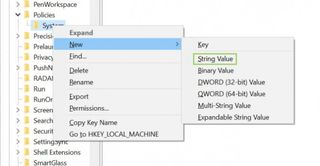
18. Type Style to name the new string.
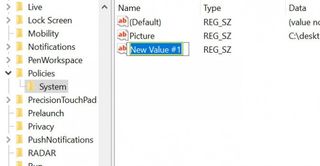
19. Double-click on Style to add value for the string.

20. Type 0 in the Value data field for the string. This will center align the image. If you would like it to fit the screen, type 3.
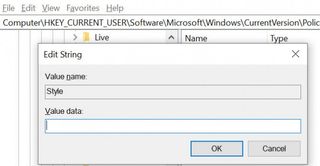
21. Press OK to finalize the changes.
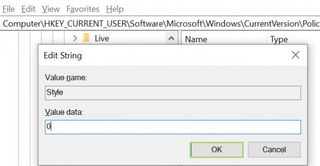
22. Click X to close the Registry Editor window.
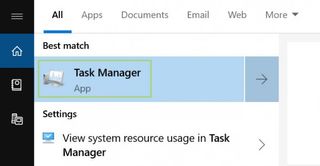
23. Type task manager in the search box on the Taskbar.

24. From the search options, select Task Manager.
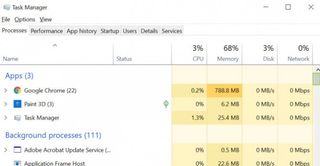
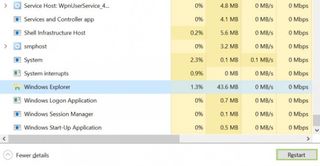
25. In the Processes tab, scroll down to find Windows Explorer.
26. Select Windows Explorer.
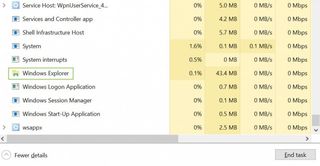
27. Click Restart to restart the process and apply the new settings.
Credit: Microsoft
