How to Make a Picture Transparent in PowerPoint 2016
Some images you add to a PowerPoint presentation may be better without a background, as it would be easier to see the slide's text. For those occasions, PowerPoint offers a tool to automatically erase parts of an image.

As you'll see, this tool doesn't always knock out an entire background, especially when there are tonal differences or gradients. We suggest clicking on different parts of the background for optimal results.
MORE: Best Photo-Editing Software From Beginner to Pro
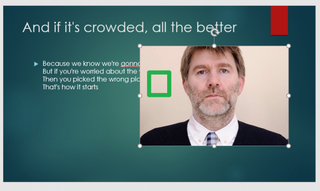
1. Double-click on an image.

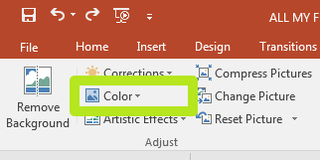
2. Click Color in the adjust section of the ribbon in the top left corner.

3. Select Set Transparent Color.

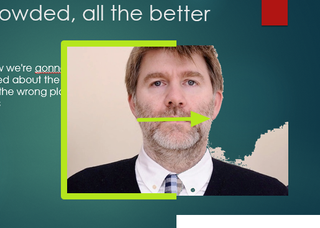
4. Click on the part of the image you want to erase.
Stay in the know with Laptop Mag
Get our in-depth reviews, helpful tips, great deals, and the biggest news stories delivered to your inbox.

You've added transparency to an image in a PowerPoint slide. If you didn't get the desired effect, try clicking a different part of the photo or using a different picture.

Microsoft PowerPoint Tips
- Change Templates in PowerPoint
- Upload a PowerPoint Presentation to YouTube
- Change a Presentation to Portrait Orientation
- How to Insert a Screen Recording in PowerPoint
- Change Slide Size in PowerPoint
- Convert a Presentation to PDF in PowerPoint
- Add a YouTube Video in PowerPoint
- How to Print Notes with Slides in PowerPoint 2016


