How to Password Protect a Folder in a Mac
Not all of your files are meant to be seen by everyone. Your friends and family may not appreciate this truth, but that's just the way it is sometimes. Luckily, MacBook owners can protect their sensitive files from prying eyes by password protecting specific folders.
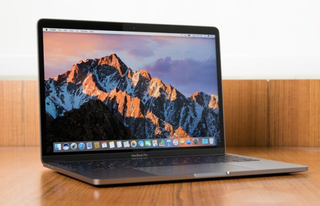
Many paid programs offer similar functionality, but we prefer this free method built into Apple that allows folders to be turned into protected disk images. This goes as far back as Mac OS X 10.6 Snow Leopard.
1. Click Command + Shift + A to open the Applications folder.
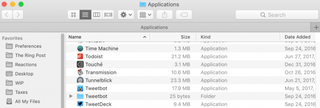
2. Open the Utilities folder within Applications.

3. Open Disk Utility.
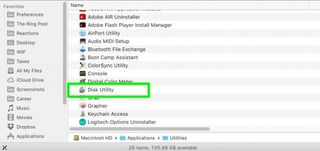
4. Click File.

5. Select New Image.
Stay in the know with Laptop Mag
Get our in-depth reviews, helpful tips, great deals, and the biggest news stories delivered to your inbox.

6. Select Image from Folder.

7. Select the folder you wish to protect and click Open.
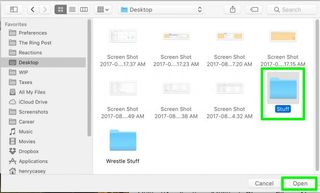
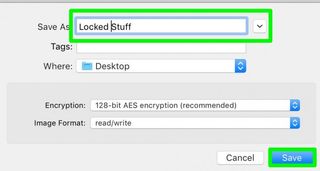
8. Click on the Image Format option menu and select read/write.

9. Click on the Encryption menu and click 128-bit AES encryption.

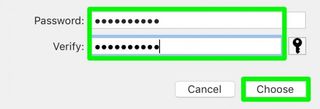
10. Enter the password for this folder twice, and click Choose.
11. Name the locked disk image and click Save.
12. Click Done.

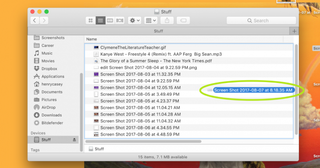
You've turned your folder into a locked disk image! You can delete the original folder now, if you'd like. Just don't delete that .DMG file!

And just like a folder, you can add items to your password-protected disk image before ejecting it.
MacBook Image Credit: Shaun Lucas/ Laptop Mag
macOS High Sierra Tips
- How to Download and Install macOS High Sierra
- How to Use Picture-in-Picture on a Mac
- How to Use Siri on Your Mac
- How to Use Optimized Storage in macOS Sierra
- How to Use Memories in the Photos App on Mac
- How to Use Messages in macOS Sierra
- How to Use Apple Pay in macOS Sierra
- How to Unlock a MacBook with Your Apple Watch


