How to Remove Duplicate Data in Excel 2016

It's a big hassle, but a common one: Your Excel spreadsheet contains duplicates and you need to weed them out. Don't worry. The steps below will help you find duplicates (or even triplicates) in your spreadsheet and remove them.
Data duplication can happen when records are entered into the spreadsheet more than once (or you're combining records from multiple sources). You might also find duplicates for one or more fields--such as a name or state field--with the same data and want to limit the records to unique data for some fields. Excel's built-in Remove Duplicates tool can help you get find and remove those duplicate records in one swoop.
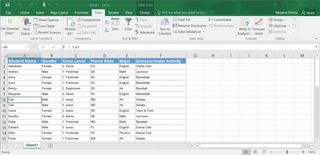
1. Click on any cell in your spreadsheet that contains data.

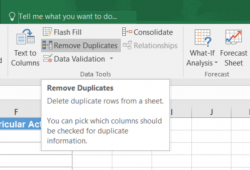
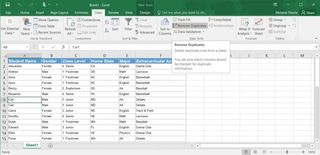
2. Click the Remove Duplicates button in the Data tab.

3. In the resulting window, select the columns you want to search for duplicates and remove and hit OK. By default, when the Remove Duplicates dialog box is opened, it will have all the field names (columns) checked. Leave them all checked if you're looking for completely identical records in your spreadsheet or select only those columns you don't want to have duplicates for (ex:, in our example, if you want to have just one student per state in the spreadsheet, uncheck all the fields except "Home State").

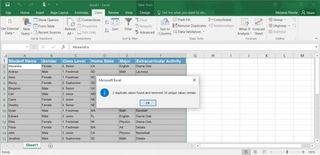
4. Click OK after Excel scans for those duplicates in each field and deletes them for you. A new message will tell you how many values were removed.

And you're done. You've now removed the duplicate data you didn't need in Excel.
Stay in the know with Laptop Mag
Get our in-depth reviews, helpful tips, great deals, and the biggest news stories delivered to your inbox.


