How to Take a Scrolling Screenshot in Windows 10
When attempting to capture a webpage, especially one that requires additional scrolling, the default options in Windows 10 -- like Print Screen, or the Snipping Tool -- fall well short. These apps are designed for single-page screenshots, and don’t work when the entire area isn’t visible all at once.
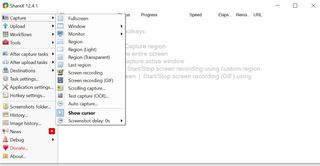
For those times that you need to scroll to capture all the information, we like ShareX, an open source app that adds the functionality you need to capture the information you need.
- Here's how To Disable Taskbar on a Second Monitor in Windows 10
- This is how to Create a Guest Account in Windows 10
- See how to Hide a Recovery Partition (or Any Disk) in Windows 10
- Click-clack: Here's how to enable keyboard typing sounds in Windows 10
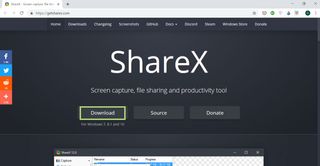
1. Download and run ShareX executable file from https://getsharex.com/. There are alternatives here, if you’d prefer: PicPick is a popular one, as is SnagIt, but neither are free.
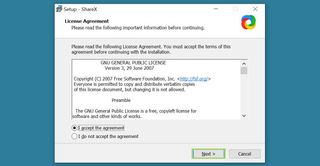
2. In the Setup window, read the License agreement and select I accept the agreement.
1. Click Next and follow the Setup wizard.
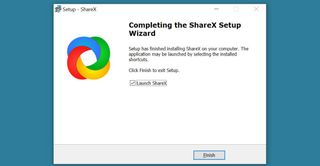
2. Click Finish to complete the setup and launch ShareX.
3. With the web-page open in the background, click Capture.
Stay in the know with Laptop Mag
Get our in-depth reviews, helpful tips, great deals, and the biggest news stories delivered to your inbox.
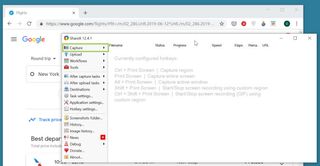
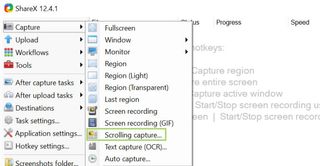
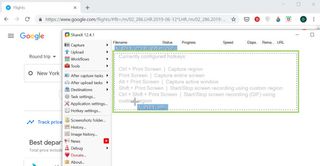
4. In the Capture menu that opens, select Scrolling capture. ShareX will provide a capture area demarcated by dotted lines.
5. Click on the capture area to open more options.
6. In the window that opens, click Select window or control to stroll. ShareX will now select the entire web-page by default.
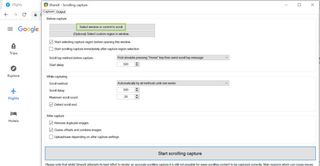
7. Click Start scrolling capture.
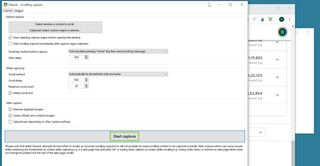
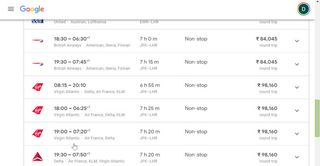
8. Scroll down to the end of the webpage. When you reach the end of the web-page, the Output window will appear.
9. In the Output window, click the Upload/save depending on after capture settings button.
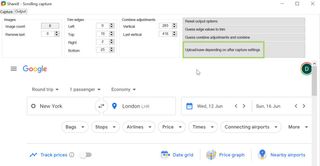
10. Click X to close the output window.
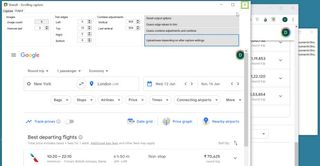
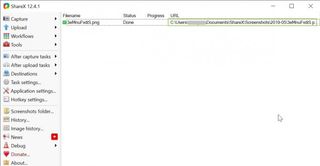
11. In the ShareX window, note the path where the screenshot is saved.
Credit: Microsoft
