How to Search a Second Hard Drive in Windows 10
Windows 10 makes it easier than ever to find files, with a handy always-active search bar right next to the start menu. There’s only one problem: Although Windows 10 is supposed to index files on all of your active hard drives, Microsoft’s ubiquitous OS usually sticks to the C: drive and calls it a day. If you want to access all of your favorite files on a D: drive (or a G: drive, J: drive, S: drive, or whatever else you care to call it) as quickly as you can type their names, you’ll need to apply a little elbow grease.
Luckily, while indexing your files takes some time, the process isn’t hard to initiate. Read on to see how you can bring every file on your Windows 10 PC right to your fingertips with only a few keystrokes.
MORE: How to Use Windows 10
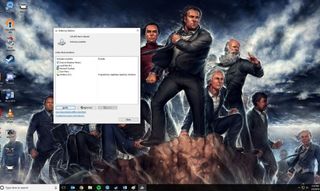
1. Access Indexing Options.
The easiest way to do this is to simply type “Indexing Options” into the search bar and click the first icon that comes up.
However, if your computer hasn’t indexed your C: drive (an unlikely case, but let’s consider the worst-case scenario), you can also access Indexing Options through the Control Panel.
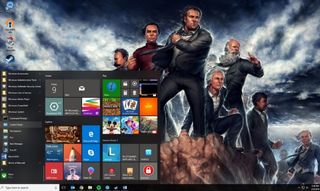
Click on the Start menu, scroll down to Windows System, then select Control Panel.
Stay in the know with Laptop Mag
Get our in-depth reviews, helpful tips, great deals, and the biggest news stories delivered to your inbox.
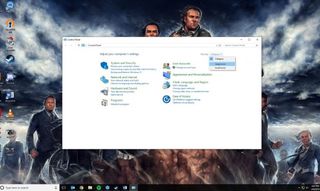
In the upper-right corner, switch from Category to Large Icons.
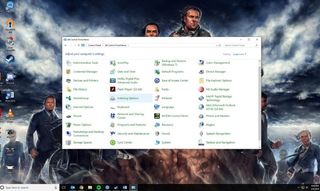
Then, click on Indexing Options.

2. Click on Modify.
This will give you access to the search index options.
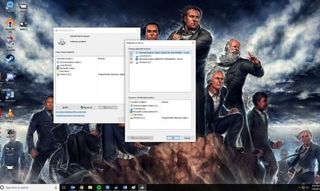
3. Select all of your hard drives.
Make sure there’s a check mark next to whichever drives you’d like search to include. Then click OK. If you don’t see your drive listed, click on Show All Locations.
Windows will now automatically index your files as you work. You can just let it run, or you can give the process a kickstart.
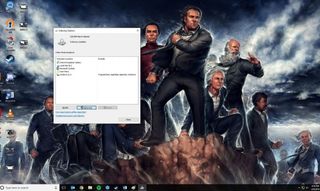
4.(Optional) Toggle Advanced settings.
There are two things you’ll want to do here.
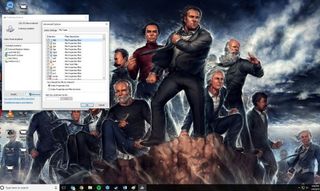
First, select the File Types tab, then ensure that every type of file has a check mark next to it. (Unless there’s a type of file you specifically don’t want to index, of course.)
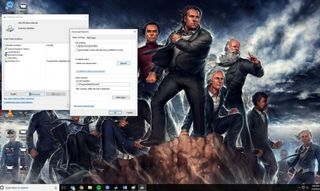
If you want to rebuild your search index from scratch (which might be a good idea, especially if you can leave your PC alone for a few hours), click Rebuild and follow the instructions. You can let the PC index files unencumbered, or you can keep working and live with a slower indexing rate. The choice is yours.
That’s it! You can now access any file on your whole computer right from the search bar. It almost makes up for being unable to turn Cortana off completely. Almost.
Windows 10 Storage and Backup
- Reclaim Hard Drive Space by Shrinking Windows 10
- Delete the Windows.old Folder in Windows 10
- How to Save Space By Cleaning Windows' WinSxS Folder
- Back Up Files with the File History Feature
- Mount and Burn ISO Files
- Format a Hard Drive For Both Windows and Mac
- Zip a File or Folder in Windows 10
- Control Which OneDrive Files Are Available Offline
- Map OneDrive as a Network Drive
- Fetch Any File on a Remote Computer with OneDrive
- 3 Ways to Save Space
- Free Disk Space Automatically with Storage Sense
- All Windows 10 Tips
- How to Install Apps to an External Drive
