How to Set Alarms in Windows 10
Most of us don't have old-fashioned clock radios at home or portable alarm clocks to take with us on the road. When you need to be woken up at a particular time, you can use your smartphone, but any Windows 10 device can also do the job. Windows 10 has a built-in alarm clock app, which you can set up using the following steps.
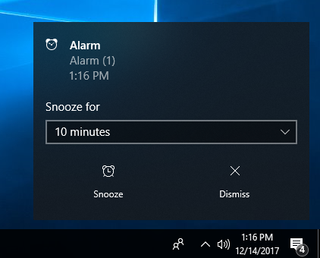
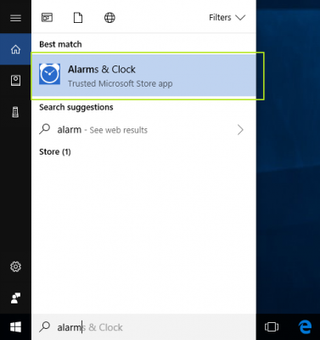
1. Type "alarm" into the Windows search box.

2. Click the "Alarms & Clock" icon.
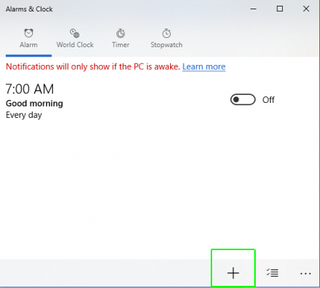
3. Click the plug button to add a new alarm time. You can also select an existing alarm to edit it.
4. Set an alarm time. You can also set the alarm sound, snooze time, number of times the alarm repeats and the name of the alarm, but these are all optional settings.
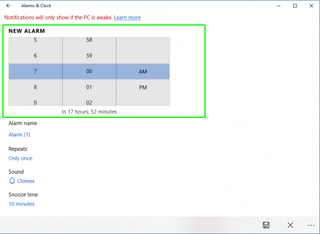
5. Click the save button in the lower right corner of the window.
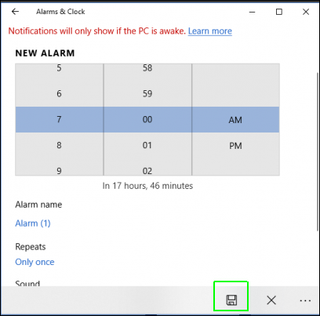
Note that, on most computers, the alarm screen will say that "Notifications will only show if the PC is awake." So, for your alarm to go off, you will need to configure your computer NOT to go to sleep.
Stay in the know with Laptop Mag
Get our in-depth reviews, helpful tips, great deals, and the biggest news stories delivered to your inbox.
To stop your computer from sleeping:
1. Type "sleep" into the Windows search box

2. Click "Power and Sleep Settings"

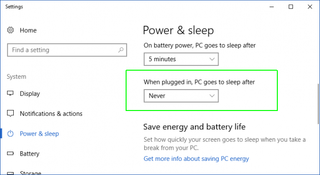
3. Set Sleep time to "Never" under "when plugged in" and / or "on battery." If you don't let it sleep when you're on battery, your computer could run out of juice.
Windows 10 Performance and Productivity
- Best Windows 10 Keyboard Shortcuts
- MIrror Your Screen to a TV or Monitor
- Speed Windows 10 Boot Time
- Get Superfast Mouse, Touchpad Speeds
- Calibrate Your Monitor
- Activate 'God Mode'
- Defragment Your Hard Drive
- Measure the Time it Takes for Apps to Load at Boot
- Use Maximum CPU Power
- Enable Swipe to Delete in Email
- Copy and Paste at the Command Prompt
- How to record your screen in Windows 10
- Use Offline Maps
- Get the Full Layout in Windows 10’s Touch Keyboard
- Create a .Reg File for Easy Registry Hacks
- Record PC Gameplay on the Xbox App
- Perform a Clean Install of Windows 10
- Uninstall Windows 10 and Roll Back to 7 or 8
- Enable the Linux Bash Shell
- Generate a Detailed Battery Report
- Turn a PC into a Wireless Display
- Open Folders in the Taskbar
- Open Sites in the Taskbar
- Import Gmail Contacts
- Get Android Notifications
- Use Multiple Desktops
- Use Eye Control
- Use the Timeline Feature to Resume a Task
- Send Web Pages from Phone to PC
- All Windows 10 Tips
- Increase your Battery Life


