How to Upgrade the SSD in Your MacBook Pro with Retina Display
Even if you're not doing a lot of video or photo editing, the hard drive in your MacBook Pro can quickly get filled with files. Fortunately, replacing the SSD in the notebook is fairly easy to do. Here's how to do it.
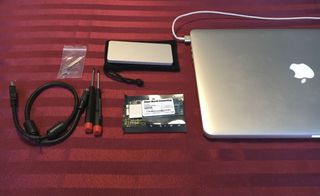
For this story, I upgraded a 15-inch 2013 MacBook Pro with Retina Display that originally came with 256GB of storage. I purchased a 480GB OWC Aura 6G SSD + Envoy Pro Upgrade Kit, which costs $288. The kit includes not only the SSD, but the necessary screwdrivers to open up the MacBook Pro, as well as an enclosure so that you can turn your old SSD into a portable hard drive. You can save $40 by purchasing the SSD alone, but being able to convert your old drive into a massive portable storage device is worth the extra expense.
1. Back up your Mac. If anything goes wrong, you'll want to have all your files safely stored somewhere.
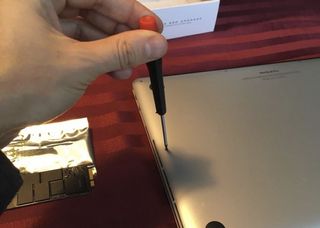
2. Unscrew the bottom cover of the MacBook Pro with Retina Display. There are 10 screws in total, and they're all the same size, but be careful not to lose any. Use a little box to hold the screws until you need them.
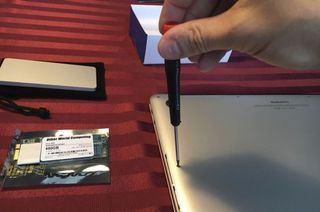
After you remove the bottom cover, you should see this:
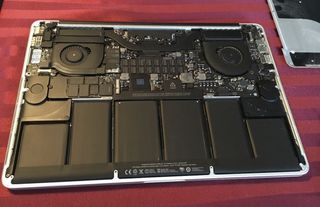
3. Remove the screw holding the SSD in place. This requires the second screwdriver that came in the kit.
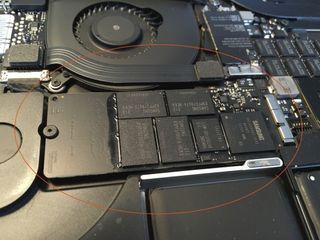
4. Gently remove the SSD.
Stay in the know with Laptop Mag
Get our in-depth reviews, helpful tips, great deals, and the biggest news stories delivered to your inbox.
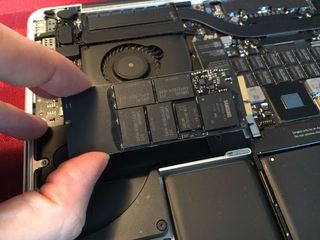
5. Insert the new SSD into the MacBook Pro, and screw it into place.
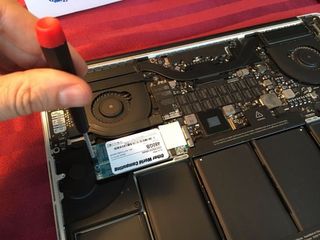
6. Replace the bottom cover of the MacBook Pro, and replace all the screws.
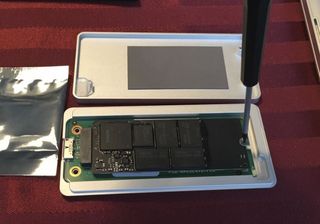
7. Open the external drive enclosure, insert your old SSD, and screw it into place. This will be crucial for restoring your files.
8. Turn on your MacBook Pro and hold down Command+R. This will start the Internet Recovery process.

9. Connect to a Wi-Fi network, and follow the prompts to restore the Mac's operating system. First, you'll need to use Disk Utility to format the new drive.
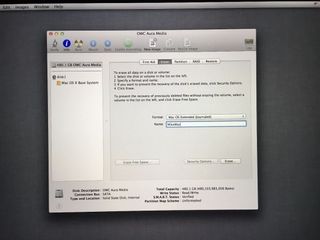
10. You can either completely reinstall the Mac OS, or restore from a Time Machine backup. Choosing the former helps to get rid of old files and things that may be slowing down your Mac, but will take much longer than restoring from a Time Machine backup. That's because a fresh reinstall will load the version of the operating system that originally came with your Mac, so you'll have to run further system updates if you want to use the most recent version of the OS.
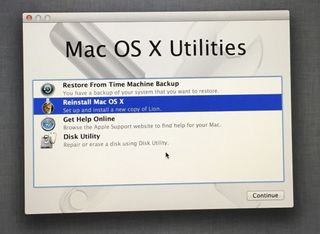
Like I said, this takes a bit of time.
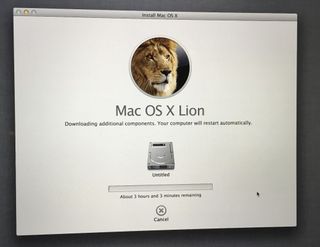
11. Connect the OWC external drive (the one that has your old SSD) to your Mac using the included USB cable.
12. On your Mac, open the Applications>Utilities folder, and launch Migration Assistant.
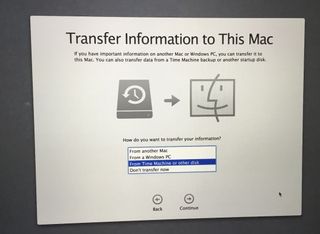
13. Follow the steps to transfer the data from your old SSD to your Mac. The Migration Assistant will let you choose which types of files you want to transfer. Depending on how many files you have, this can also take upwards of an hour.
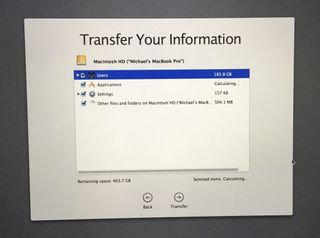
After that, you're all done! Your Mac will restart, and your desktop should appear exactly as it did before you swapped SSDs. Provided you're comfortable with it, you can now erase all the files on your new portable drive, and use it as external storage.
- How to Make Desktop Shortcuts in Mac OS X
- How to Find Downloaded Files in Mac OS X
- How to Force Quit an App in Mac OS X
Laptop Upgrade Guide
- How to Tell If You Can Upgrade Your Laptop
- How to Install an mSATA SSD Boot Drive
- How to Upgrade Your Laptop’s Hard Drive to an SSD
- How to Install an M.2 SSD in the Lenovo ThinkPad T440s
- How to Upgrade the RAM on the Lenovo ThinkPad T440s
- How to Upgrade the RAM (Memory) on a Laptop
- How to Upgrade Your Alienware 17’s SSD and Hard Drive
- How to Upgrade Your Alienware 17's RAM
- How to Upgrade Your Dell XPS 13's SSD
- How to Upgrade Your ThinkPad 13's RAM
- How to Upgrade Your ThinkPad 13's SSD
- How to Upgrade Your ThinkPad T460s' RAM
- How to Upgrade Your ThinkPad T460s' SSD
