How to Use the Evernote Web Clipper
Evernote seems even more powerful once you fully grasp the ability of the web clipper. Currently available for all major browsers (Chrome, Safari, Firefox and Cortana), the Evernote Web Clipper is a lightweight extension that lets you capture articles, images and other content from the web and store it in a variety of formats for later viewing.
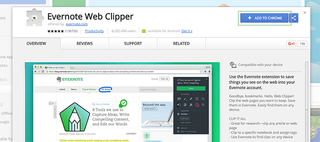
1. Download and install the Evernote Web Clipper by clicking Add to Chrome on the popup window.
2. Open the Evernote Web Clipper from the extensions icon on your address bar and log in.
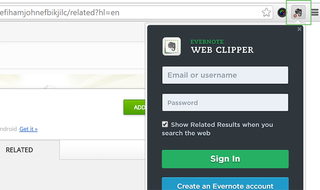
3. Clip full articles using Article or Simplified article.
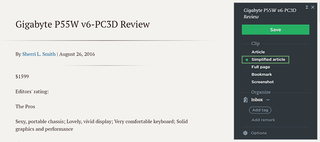
The latter strips away everything but the text, allowing you to focus on the content itself. It also standardizes the fonts and sizes to an Evernote default -- regardless of the typefaces used on the website.
4. Save full pages (ads and all) by using the Save Full Page option.
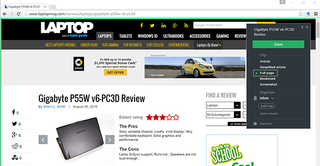
This option shows everything you see in your browser window below the browser-specific items like tabs, the address bar and favorites.
Stay in the know with Laptop Mag
Get our in-depth reviews, helpful tips, great deals, and the biggest news stories delivered to your inbox.
5. Bookmark websites for later viewing with the Bookmark option.

Bookmarking websites saves a clickable URL in Evernote complete with an image from the page and the meta description to remind you about what you’re saving.
6. Screenshot parts of a webpage by using the Screenshot tool.

If desired, there are a handful of tools used to annotate your screenshots, such as text highlighting, selective blurring through pixelation, adding text, adding shapes (arrows, circles, etc.), freehand drawing and a stamp tool that lets you place markers on text such as checkmarks and x’s.
7. Organize your clips before saving by adding them to an existing notebook (or creating a new one), adding tags for easy location via search or adding remarks (text notes) within a note.
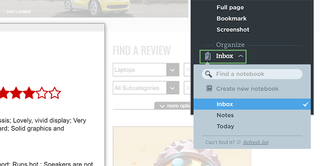
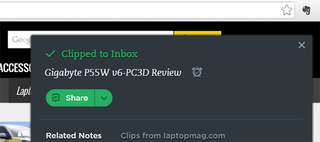
8. Press save and wait for Evernote to display a success message letting you know it’s finished.
