How to customize the Mac menu bar
Get the most out of your MacBook menu bar with these tips
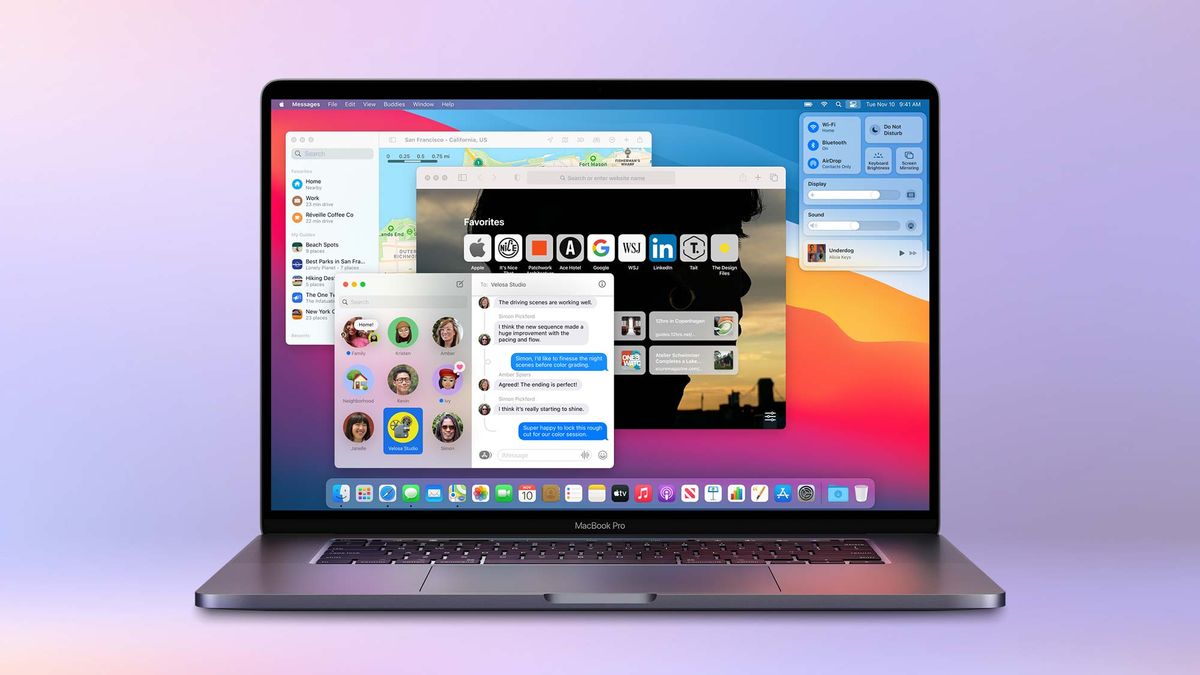
One of the Mac’s most underused functions is that thin strip of icons running along the top of the screen. Despite what it may seem, macOS’s menu bar can do a lot more than offering a quick glance at the time and your Wi-Fi connection.
With the right tools and toggles, your Mac’s menu bar can play an indispensable role in your workflow. You have the ability to customize the row of options to your liking, reorder the space to prioritize the apps you most frequently access, and more. Here’s a bunch of ways you can edit your Mac’s menu bar.
- MacBook Air vs. MacBook Pro: Which is best?
- Best MacBook in 2021: Which Apple laptop should you buy?
1. Automatically minimize the menu bar
Even though the menu bar holds a range of buttons we regularly click, it doesn’t have to occupy space at all times. So to free up screen real estate, you can set the menu bar to automatically hide when you’re not using it and show up when you hover the cursor over its usual location.
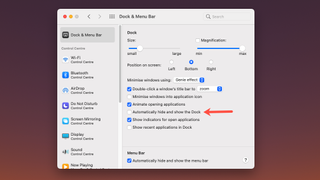
On Macs running Big Sur or above, head over to System Preferences > Dock & Menu Bar and check the “Automatically hide and show the menu bar” box. For older versions, this option is available under System Preferences > General.
2. Bring back the opaque background
On macOS Big Sur, the menu bar comes with a translucent background that takes hues from your desktop wallpaper. But if you’d like to revert to the classic opaque menu bar, you can do so from the settings.
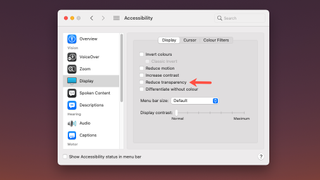
Go to System Preferences > Accessibility > Display and activate “Reduce transparency.” However, do note that this is a system-level switch that applies to all the windows and buttons on your Mac.
3. Organize the menu bar’s icons
You don’t have to settle with the menu bar’s default order. MacOS has a handy key combination that lets you instantly rearrange it and decide which icons go where.
Stay in the know with Laptop Mag
Get our in-depth reviews, helpful tips, great deals, and the biggest news stories delivered to your inbox.
All you have to do is hold down the Command key then drag and drop the app’s button wherever you want. This won’t work for the Control Centre shortcut and the time and date.
4. Choose which system settings appear in the menu bar
Macs on the Big Sur update also come equipped with an iPhone-like Control Centre where you can tuck away the system settings you don’t want in the menu bar. You can take advantage of this to clear up clutter and get rid of the options you don’t often use. For revealing the Control Centre, click its button at the top-right corner.
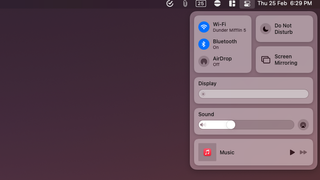
Visit System Preferences > Dock & Menu Bar to get started. Here, on the left, you’ll find a list of all the options you can have in the menu bar. Most of them like Wi-Fi and Do Not Disturb will remain in the Control Centre dropdown even if you boot them from the menu bar.
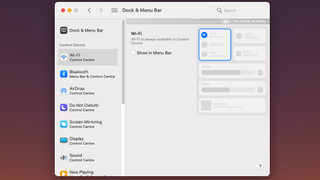
From this list, you can click a menu like Bluetooth and toggle its “Show in menu bar” checkbox to edit its menu bar visibility. Alternatively, to move an option from the Control Centre to the menu bar, you can simply drag and drop it in the row.
5. Expand menu bar controls with Bartender
There’s only so much you can tweak with macOS’s built-in menu bar controls, most of which are not even available for the releases before Big Sur. Enter Bartender, a third-party utility that adds a host of nifty menu bar customizations to your Mac.
Bartender brings a lot more granular settings that enable you to adjust certain menu bar properties that macOS won’t otherwise allow. You can specifically pick which icons -- irrespective of whether they’re from a third-party or a system app -- are present in the menu bar.
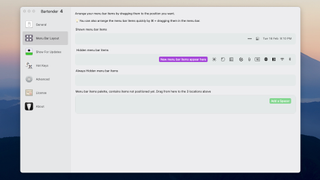
Another Bartender tool cleans up your menu bar by hiding all the buttons except the date and the time and only reveals them when you move your pointer over it.
On Bartender, you can also configure triggers for a bunch of essential menus. The battery icon, for example, can be summoned to the menu bar only when your computer is not plugged in.
That’s not all. With Bartender, if you have too many options showing, you can group them into a label, tune the spacing between them to see more of them in one go, or shift some of them down to another row underneath the menu bar.
You can try Bartender for free for a few days, after which you’ll have to shell out for a one-time $15 fee.
6. Find and install apps to get more out of your menu bar
The reason the menu bar is such a versatile tool is thanks to its compatibility with external software. There are hundreds of third-party utilities you can install that are exclusively designed to augment your menu bar and let you perch a mini app on top of your screen.
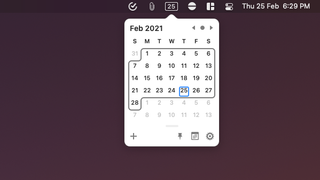
Itsycal pins a tiny calendar on your menu bar, AirBar is a one-tap shortcut for connecting to your AirPods, Amphetamine keeps your Mac from falling asleep, the list is endless.
You can manually look for menu bar apps online depending on what you’re looking for or search centralized directories like this website.
Shubham Agarwal is a freelance technology journalist from Ahmedabad, India. His work has previously appeared in Business Insider, Fast Company, HuffPost, and more. You can reach out to him on Twitter.
