How to find the number of cores in your Windows PC
Cores help you understand the capacity of your PC
The performance of your personal computer is directly related to its hardware. So, it’s not surprising that most people want to know what is inside their computers to set their expectations. Learning your computer’s core count can be done by following a few simple steps.
A core represents one of your CPU’s brains. Each core is responsible for receiving information, processing it and releasing outputs. As you may guess, having more cores is similar to having multiple brains that can work on various processes at the same time. Each CPU used to have a single core. However, CPUs now come with as many as 18 cores due to technological advances.
- How to check your VRAM in Windows 10
- The best cheap laptops under $500 in 2025
Core count is one of the many determining factors of a computer’s performance capacity. It gives you a rough idea of how well your computer will perform when used in different ways. For example, if you intend to use multiple applications simultaneously, run resource-intensive programs, and work with rendering software, you’d want to know your PC’s core count to determine whether your system can handle such demanding tasks.
Checking Your PC’s Core Count
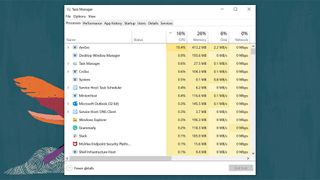
1. Your Task Manager can show you the number of cores you have. Press Ctrl+Shift+Esc on your keyboard to open it.
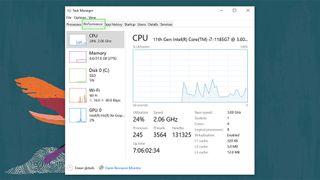
2. At the top of your Task Manager, click the Performance tab.
3. Go to the CPU section of the Performance tab by clicking it on the side navigation menu. The CPU section shows how much of your CPU’s capacity you are currently using.
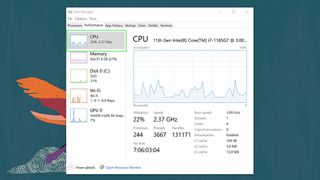
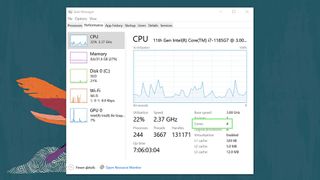
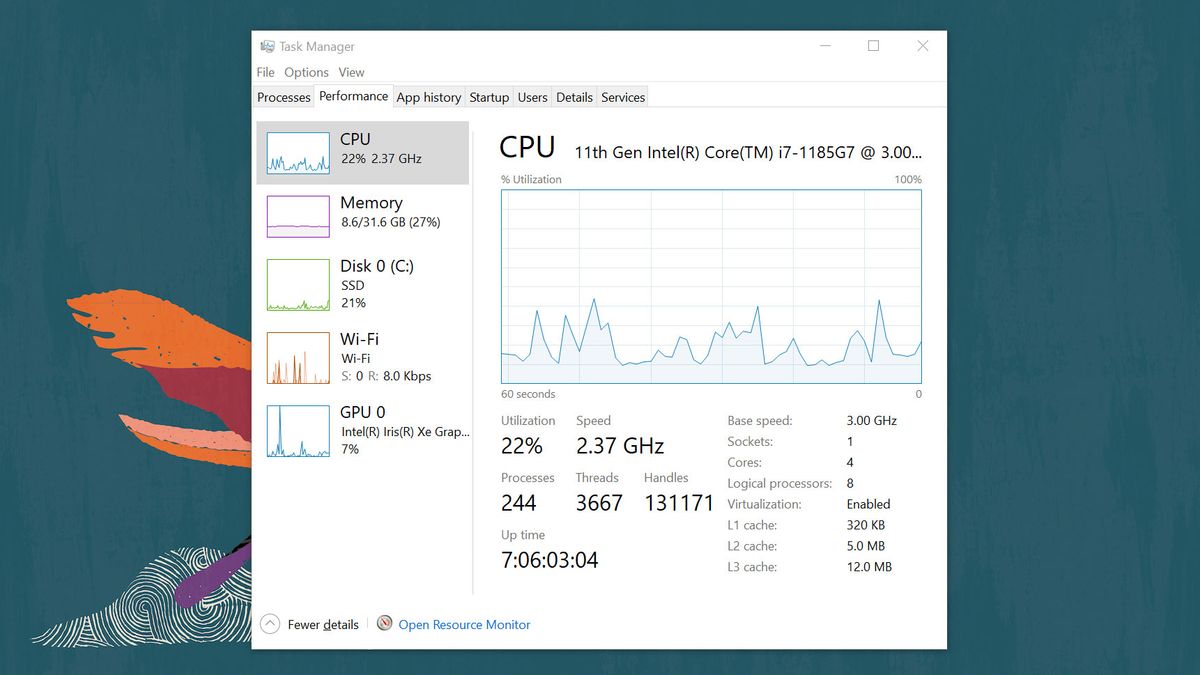
4. Below the CPU utilization graph, look for Cores. The number indicated in this field tells you how many cores your PC has.
Stay in the know with Laptop Mag
Get our in-depth reviews, helpful tips, great deals, and the biggest news stories delivered to your inbox.
