How to fix microphone access problems in Windows 10
Do you have microphone issues? Start here
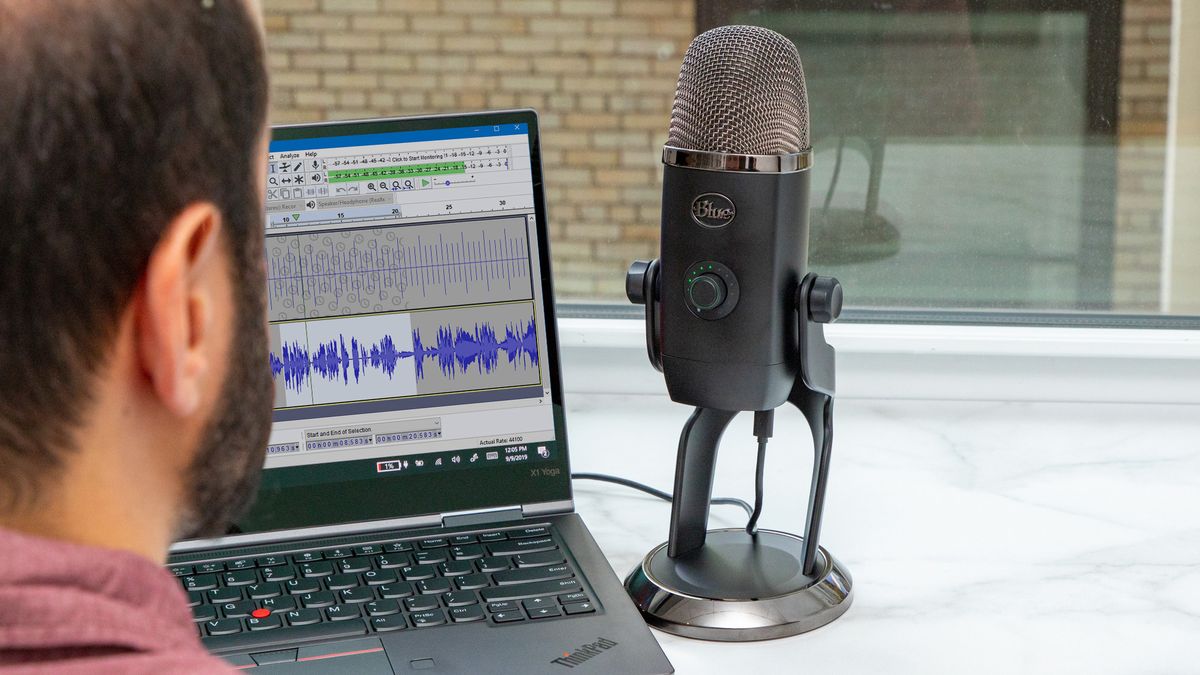
A non-working microphone is a major point of frustration. But don’t get too excited. A microphone that isn’t working properly is most often a simple error. Did you plug it in? Did you accidentally press mute on the headset? Does your system recognize the microphone? Start here before proceeding to more complex solutions.
If you’re sure it’s plugged in, and that you have the latest firmware (and it’s not muted), you can move on to other solutions. The first thing to try is checking the settings to make sure the microphone is allowed to access your computer. Switching this on ensures Microsoft and the software that came with your microphone are on the same page. If your microphone isn’t working, start with ensuring the apps you need it for have permission. You can enable that by following the steps below.'
It’s worth noting that you don’t have to give blanket permissions and allow this software to access everything. You can switch off access to specific apps, like Cortana, or force Windows to notify you and ask for permission before enabling access.

1) Click the Windows icon to open the menu.
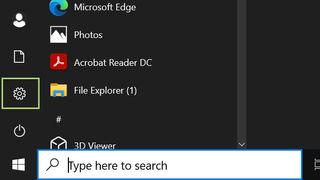
2) Click the gear icon to open Settings.
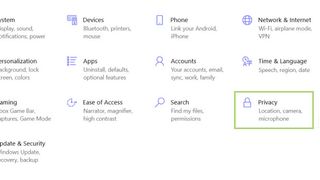
3) In the Settings window, click Privacy.
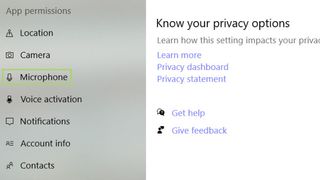
4) In the left pane, under App permissions, click Microphone.
Stay in the know with Laptop Mag
Get our in-depth reviews, helpful tips, great deals, and the biggest news stories delivered to your inbox.
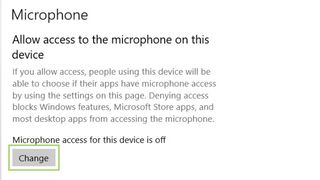
5) Click Change to give access to the Microphone.
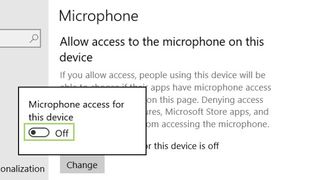
6) In the pop-up that opens, switch on the toggle button.
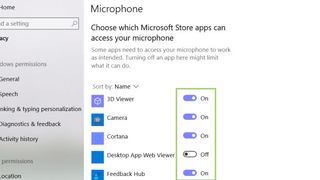
7) To give access to specific apps, switch on the toggle buttons in front of each app.


