How to Convert a PNG to PDF on Windows 11
Transform your images to easy-to-read PDF documents
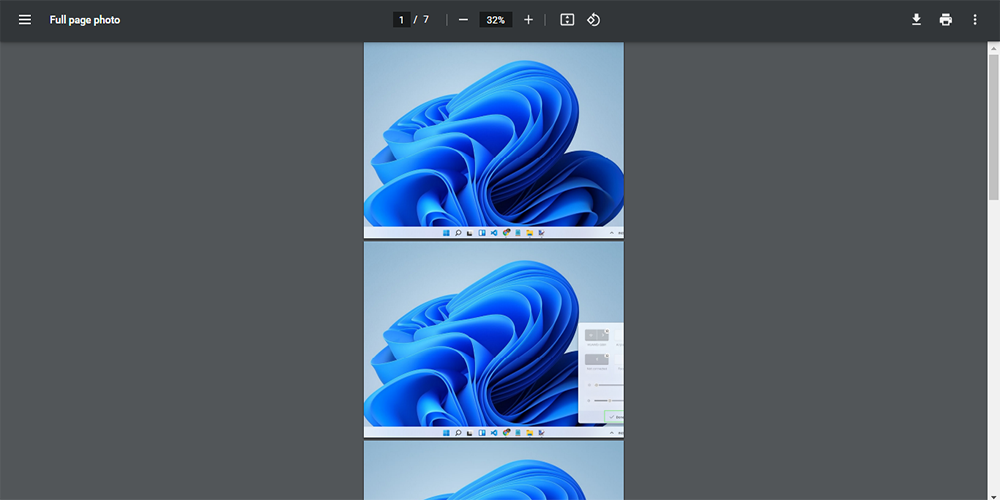
Plenty of third-party applications can help you convert PNG images to PDF files. However, most services require payment or impose limitations in some way. Luckily, there is a way for you to convert as many PNG files as you want to PDFs — and that is by using Windows 11’s Microsoft Print to PDF feature.
There are some benefits to converting your PNG files to PDFs. For example, it is easier to email a single PDF document as opposed to a whole fleet of images. Unless image quality is essential to you, converting images to PDFs means your pictures will use less storage space on your PC.
Additionally, your professor may require you to submit PDF versions of your handwritten outputs if you are a student. The only way you can do this is by taking pictures of your work, then converting them to PDFs. Whatever your reason is, Windows 11 can help you convert PNGs to PDFs effortlessly.
- The best Windows laptops you can buy right now
- Windows 11 vs Windows 10: Here's what's new
- 11 essential Windows 11 shortcuts you need to know
Converting PNG Images to PDF Files on Windows 11
As mentioned, you don’t need to rely on third-party apps to convert your PNG images to PDFs. Windows 11 has a built-in tool tool that lets you transform your images into portable document format in a flash. Check out the instructions below to become a PNG-to-PDF conversion master.
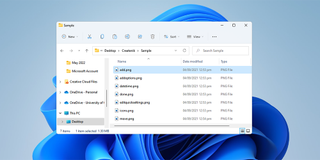
1. First, open the folder where your PNG files are stored.
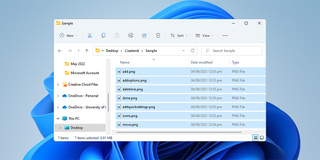
2. Next, select the images you plan to convert to PDFs. The sequence in which you select these images will also be their order when you convert them to PDF.
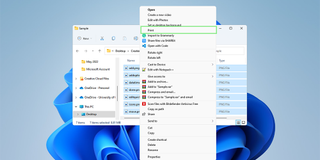
3. Right-click the files, then select Print. This action will open the Print Pictures window.
Stay in the know with Laptop Mag
Get our in-depth reviews, helpful tips, great deals, and the biggest news stories delivered to your inbox.
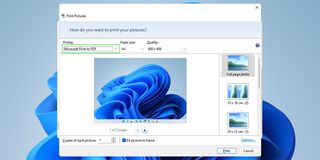
4. From the Printer dropdown located at the upper-right corner of the window, select Microsoft Print to PDF. At the same time, you can choose the paper size and quality of the PDF file that will be generated.
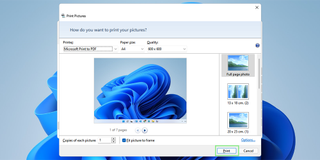
5. Then, click the Print button at the bottom-right corner of the window. A window that lets you choose where the PDF file will be saved should appear.
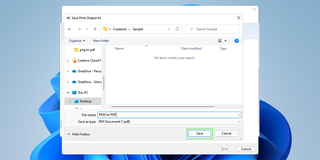
6. Navigate to your preferred save location, and click Save.

