How to delete a page in Microsoft Word on Windows 10
Clean up your writing by deleting pages in Word

Writing, be it for school, work, or fun, is rarely easy. And even the Shakespeares-in-training among us make mistakes, or end up writing what they don’t mean. As a result, we sometimes need to get rid of what we’ve done to make room for something better.
Fortunately, there’s an easy way to do this. Here’s how to delete a page in Microsoft Word:
- Rebranded Microsoft 365 is here: What's new?
- 5 New Microsoft 365 features that will change how you work
- How to Turn on the Black Theme in Microsoft Office
How to delete a page in Word on Windows 10
Step 1: Open Word
Assuming you haven’t created a shortcut to get to your desired document on your desktop, you first have to launch Microsoft Word. From there you will be able to find and select your document.
Step 2: Finding The Page

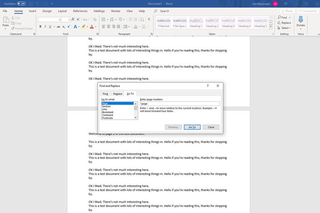
Once you've entered your Word document, find the page you want deleted. To do this you can either scroll to the page directly, or press the “Ctrl” and “G” keys at the same time. This will open a menu with a box that says “Enter Page Number”. In the box, type the number of the page you want to delete, followed by “/page”. (If “/page” is already there, then this part of the job has been done for you. Woohoo!)
After you’ve chosen the page, click the button that says “Go To” to get to the desired page. After you get to the page, click the “Close” button.
Stay in the know with Laptop Mag
Get our in-depth reviews, helpful tips, great deals, and the biggest news stories delivered to your inbox.
Step 3: Deleting the page
When you get to the page, click anywhere on the page to have it selected. Once you verify that it has been selected (the page will be highlighted to show that it has been selected), simply press the “delete” or “backspace” key, and the page will be deleted!


