How to set up a Chromebook for your kid
These quick steps will help a parent, guardian or teacher set up a Chromebook for kids

With back-to-school season in full swing, now is a good time for a refresher on setting up a Chromebook for the child in your life. One of the major advantages of Chromebooks is their ease of use and security. Coupled with lower price points, Chromebooks have become the de facto standard for grade school students.
As a parent, guardian or older sibling, you may want to know how you can set up a Chromebook for the young student in your life, to keep them productive and safe in the wild world of the Internet.
In Chrome OS, you can have multiple users, this is great if many people will be using the same device or if you’re a parent who purchased the device wants to take control. To get started, you will need to create a new user account.
Create a new user account in Chrome OS
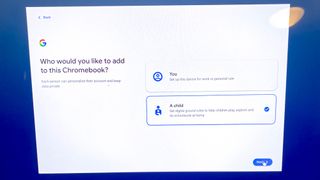
When adding a new user, will be asked, “Who would you like to add to this Chromebook?” with choices of “You” or “A Child.” We’ll choose a child here.
Next, there will be an option to create an account for a child or sign in with a child’s account (if you’ve already created one).
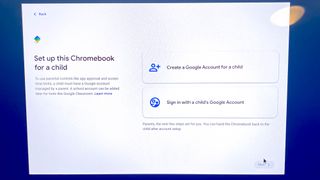
Creating a child account, rather than just using a typical “grown-up” account in Google, has some advantages. For example, parents can keep track of app use, set safe search, and remotely lock devices attached to the account to set limits on screen time.
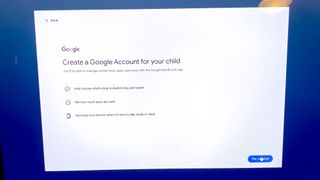
If you choose the “Create an account” option, you will be creating one from scratch, entering the child’s name, age and gender (helpfully, there are non-binary options as well).
Stay in the know with Laptop Mag
Get our in-depth reviews, helpful tips, great deals, and the biggest news stories delivered to your inbox.

Then you can choose or create an email address for your child, followed by a password, and confirmation by SMS verification code to ensure that neither you nor your child is a robot.

Once that’s done, you’ll be prompted for the Parent sign-in. This will be your (or whoever wants to take on that responsibility) Gmail address.
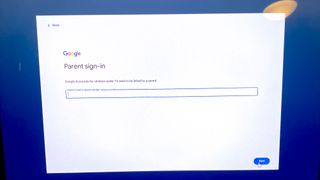
You’ll agree to terms and conditions (or not, in which case, you can stop reading here) and the account will be created.
How to filter content for kids on Chrome OS
The next screen, Controls on Google Play, is interesting, and as a parent, I found it to be useful. This lets you set different limitations for content downloaded from Google Play. For instance, with Apps and Games, you can set a limit to different ESRB ratings from E for Everyone, to T (Teen), all the way to M (Mature) and Adults-only content. You can also set allowed ratings for Movies and TV Shows to their equivalent ratings. For books purchased on Google Play, you can filter out sexually explicit novels.
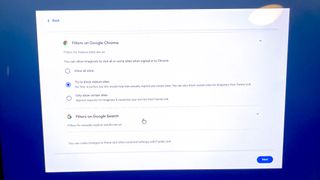
On this screen, you also get the option to filter content in Google Chrome. This can be set to “all sites” for no restrictions, “try to block mature sites,” which will try to filter sexually explicit or violent content, or “Only allow certain sites,” which lets you decide what sites your child can visit and any sites outside of that purview require an approval request. Lastly, you have the option to enable or disable SafeSearch.
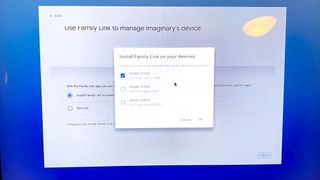
In the last step, you will be asked to install Google’s Family Link app. If you have any Chrome OS or Android devices already, it can push the install of the app to a device of your choosing automatically. The Family Link app lets you make changes to any of the settings later on and allows you to approve requests from your child to view content or download apps. It also gives you the option to share any paid apps or content with your child.

