10 essential Doom Eternal tips for surviving Nightmare
Welcome to Hell…
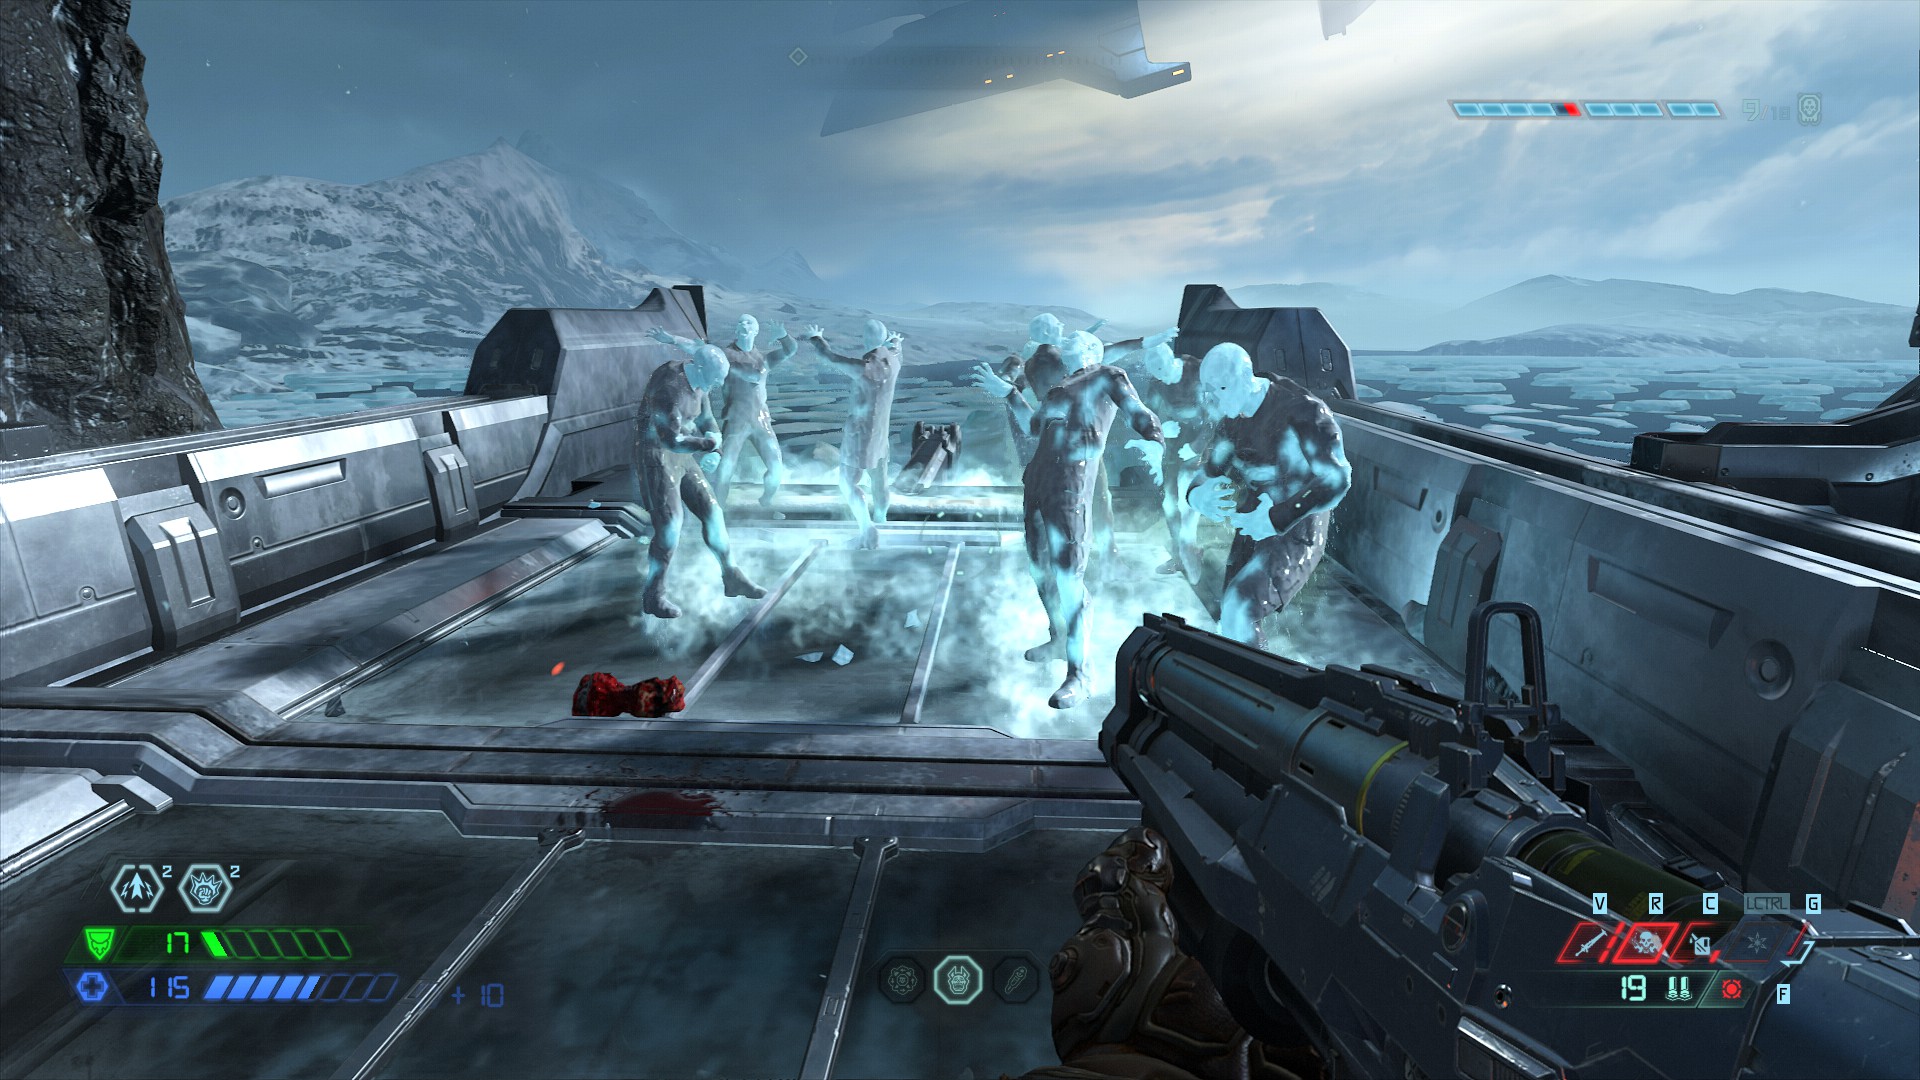
Doom Eternal’s Nightmare difficulty is terrifying. Enemies have the potential to kill you in two hits and the slightest misstep can result in a swift death. However, there are lots of ways to make this journey manageable.
Here are 10 tips on how to survive Doom Eternal’s Nightmare difficulty.
- After you've beaten Hell, check out the best PC games to play now
- Need something to run Doom Eternal? See our best gaming laptops
Never stop moving
Doom Eternal’s enemies constantly have their sights locked onto you, so frequent movement is a must for survival.
One shot is all it takes to get killed, so standing still for more than a second is not recommended. Utilize the dash movement as a way to swiftly traverse the game’s arenas and you should be fine.
Collect everything
Before you complete a mission, head to your map menu and make sure every collectible has been found. These secrets are visible on the bottom right of the screen. If you’ve discovered one already, it will have a brighter background. If not, use the fast travel, which is unlocked at the end of a level, to go back and look around.
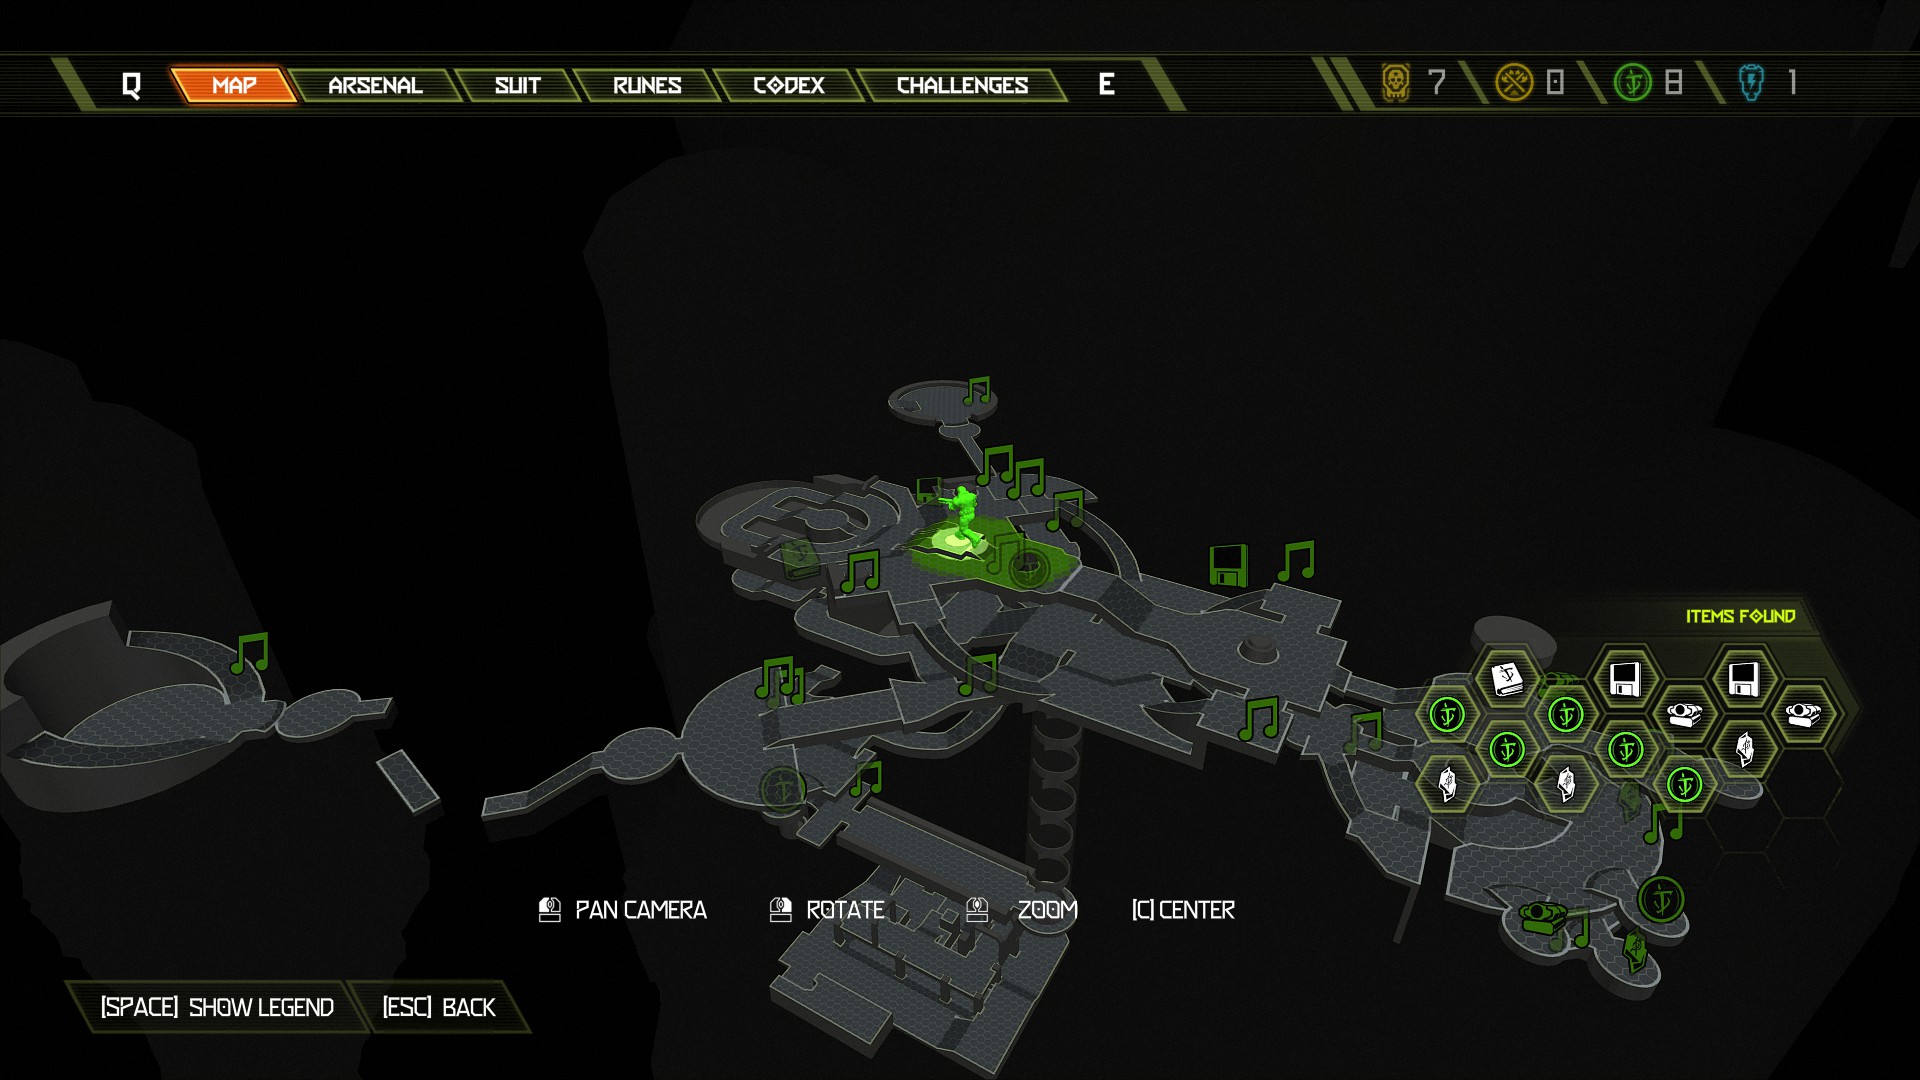
Even after I attained every collectible, fighting the final boss on this difficulty took me a dozen tries. You’ll need anything you can get, so it’s incredibly important to make sure you’re finding every Praetor Token (general upgrades), Rune (swappable buffs), Weapon Mod (provides an alternative fire option for weapons), Sentinel Crystal (permanently increases health, armor or ammo) and Battery (can unlock special areas in the Fortress of Doom).
Upgrade the dash skill immediately
Upgrading the dash skill using Praetor Tokens is a great idea, especially since most encounters don’t let you rest.
Stay in the know with Laptop Mag
Get our in-depth reviews, helpful tips, great deals, and the biggest news stories delivered to your inbox.
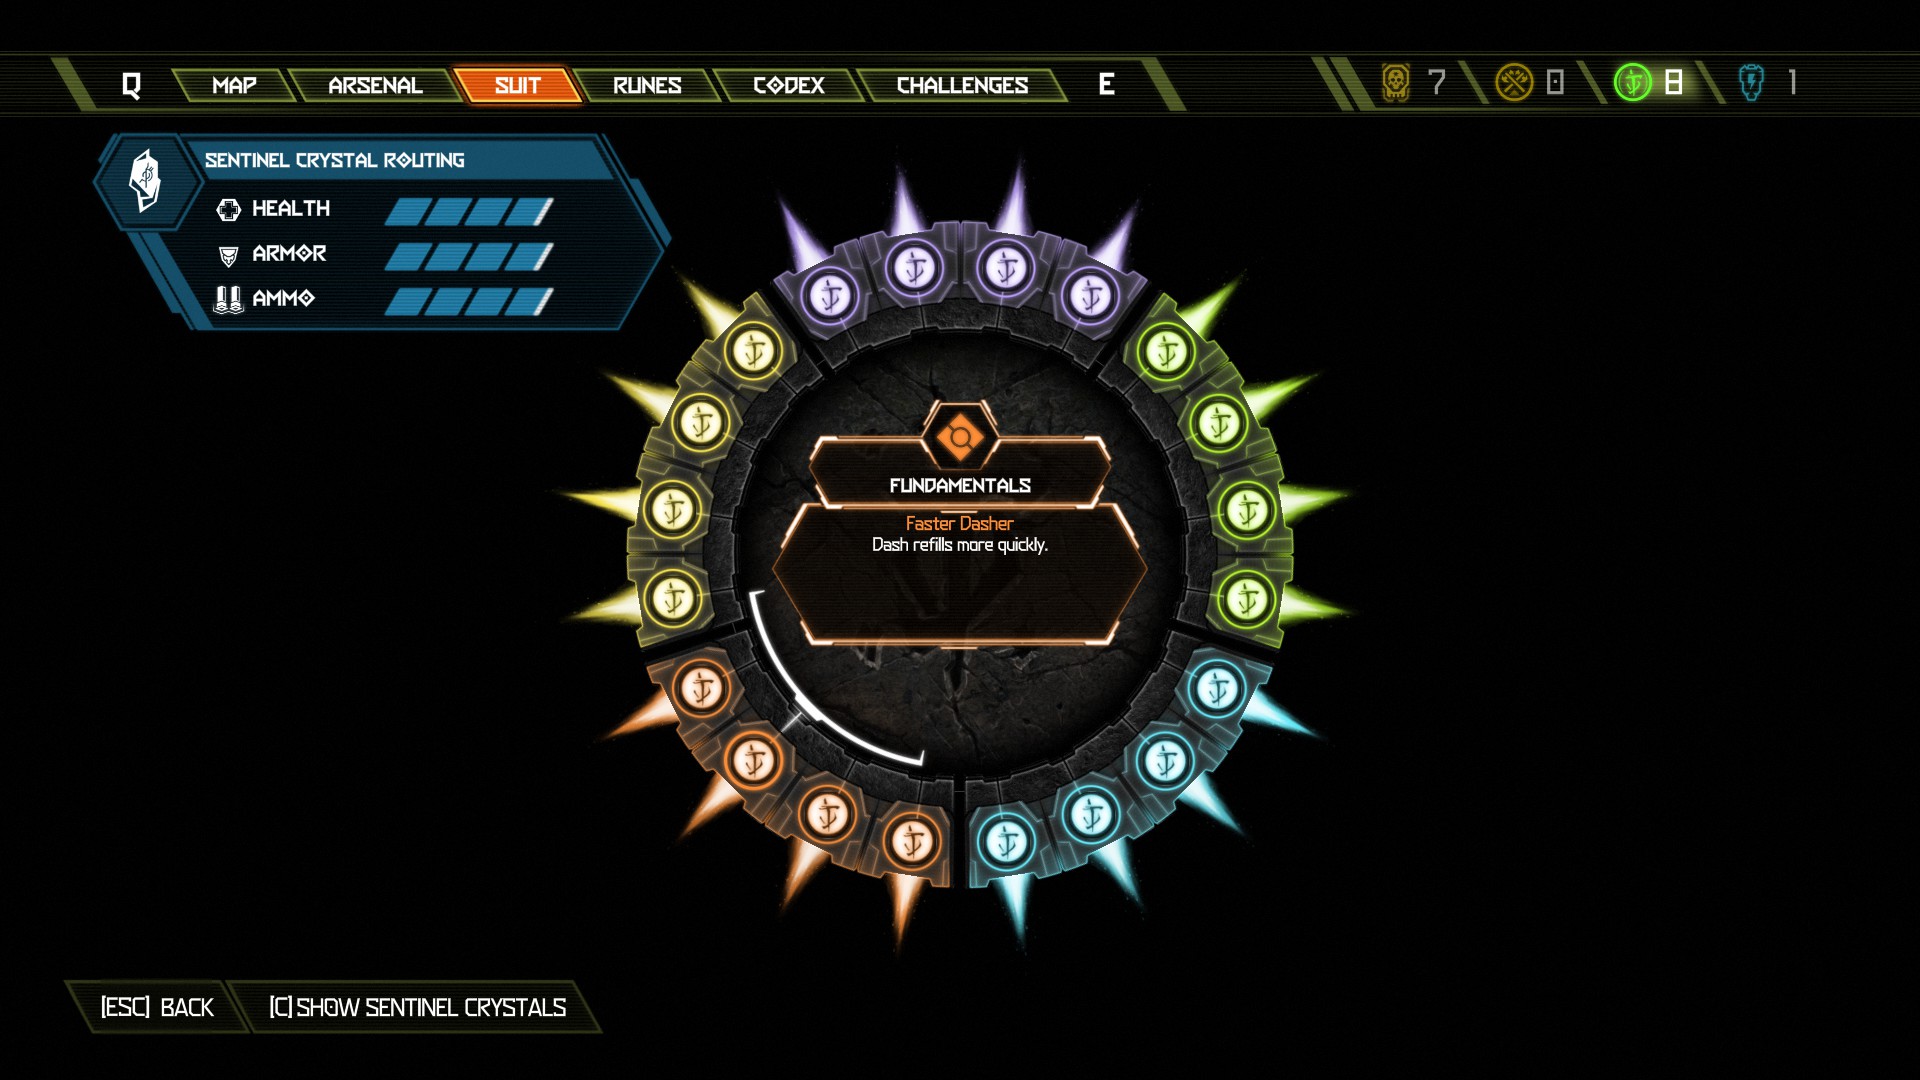
“Faster Dasher” and “Hit and Run” are highly recommended, as one reduces the cooldown between dashes and the other restores both dashes whenever you Glory Kill an enemy.
Ice Grenade is your best friend
The Ice Grenade is an incredible way to immobilize enemies and remove them from an encounter for a short time. I highly recommend going for all four Ice Grenade upgrades, but “Ice Bite” should definitely be your first purchase. With this upgrade, frozen enemies take more damage, providing an easy way to burn through larger demons.

Afterwards, go for “Ice Drops,” as it’ll make frozen enemies drop health pickups. For maximum efficiency, couple it with Flame Belch and Blood Punch on a large group of enemies to collect dozens of Health and Armor drops. The other two Ice Grenade upgrades can be done in any order, as they both increase the efficiency of the gadget in different ways.
Frequently chainsaw enemies
This may seem obvious, but don’t forget it: Chainsawing enemies is an incredible source of ammunition. Minor demons will never stop spawning in an encounter, so there will always be something to Chainsaw, Glory Kill and Flame Belch.
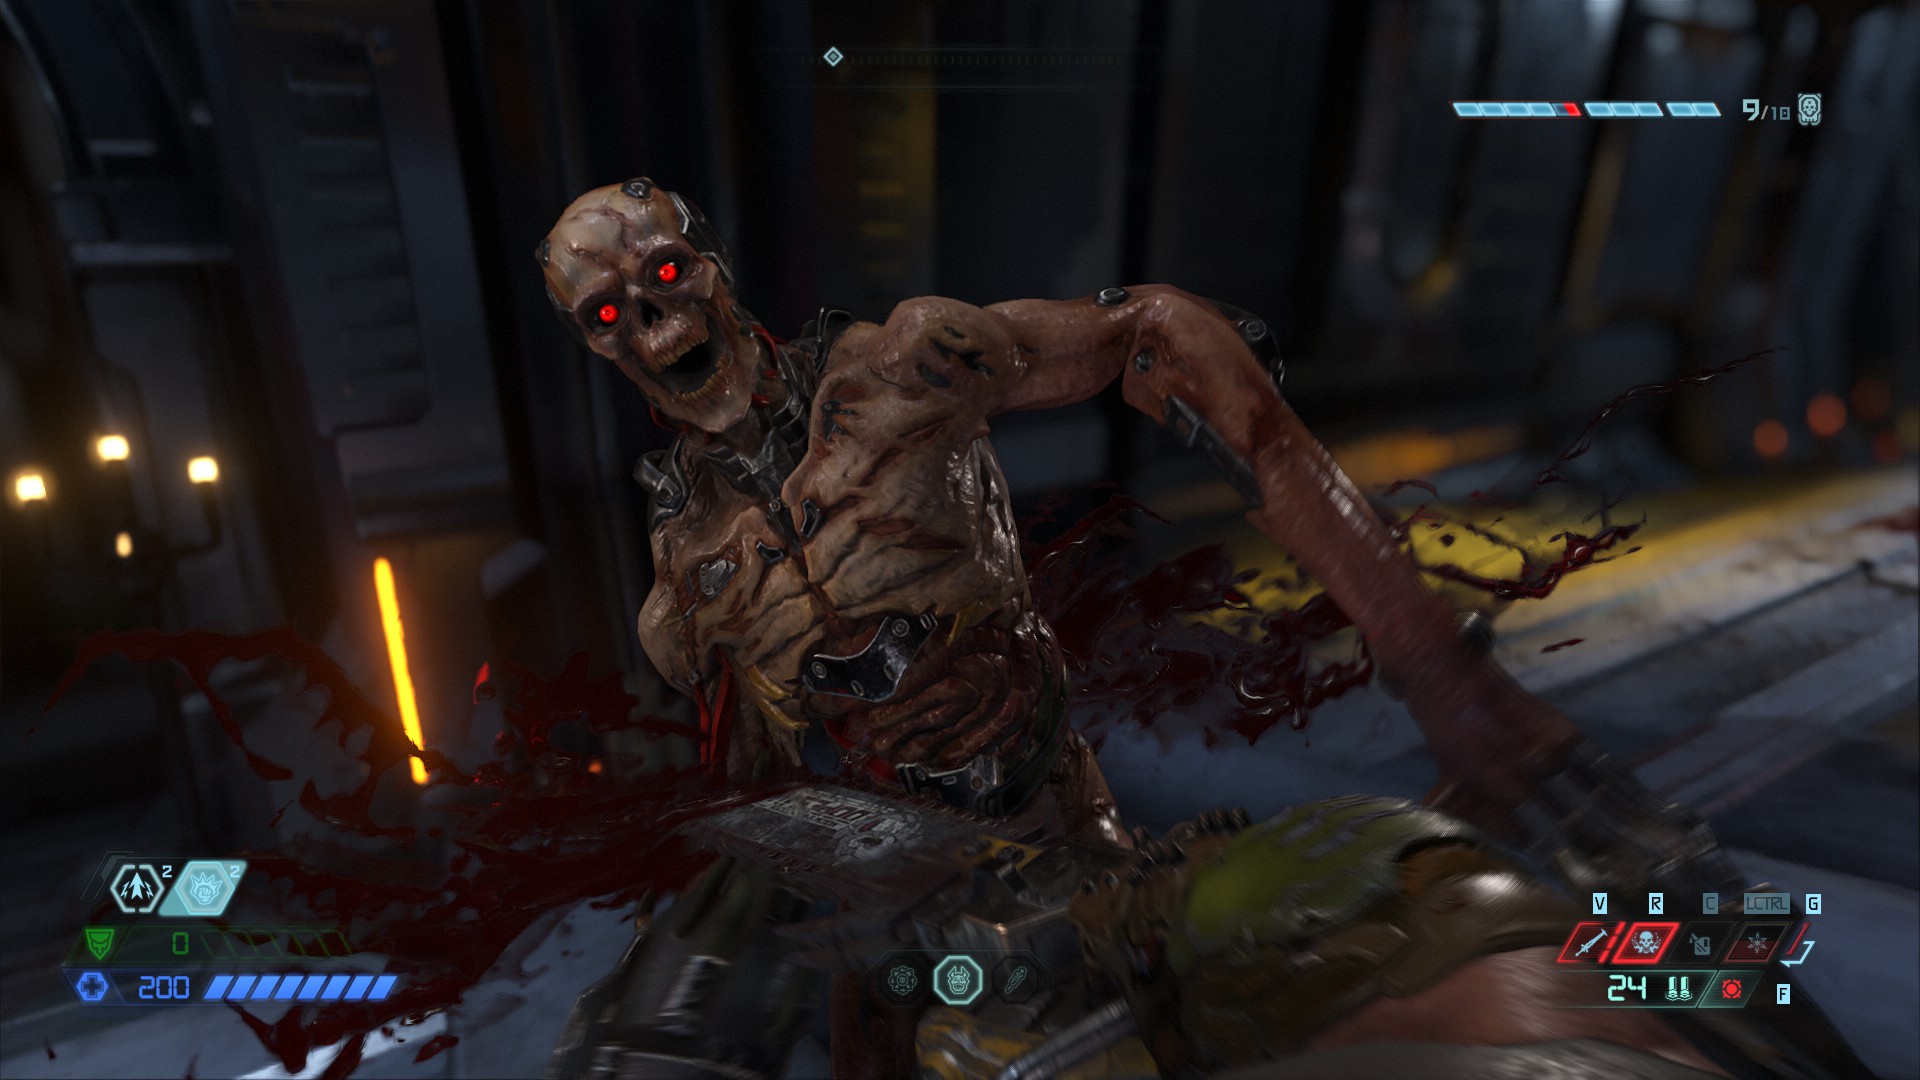
If you have no ammo for some of your best guns, you’re essentially a fish out of water. Even with half of your total bullets to spare, it’s still a good idea to chainsaw a lesser demon. It’s better to be over prepared for an encounter than get trapped with no ammo.
You can use three chainsaw fuel notches to cut through larger enemies, but this is not recommended, as it won't cause them to drop additional ammo. Furthermore, there’s rarely enough chainsaw fuel in an arena for this to be a viable option.
Try different weapons
If you find yourself dying over and over, it might be a good idea to swap weapons or mods.
Certain enemies have built-in weaknesses, for example, the Doom Hunter is susceptible to the Plasma Rifle while the Marauder is best fought with the Super Shotgun or Ballista. Furthermore, the Combat Shotgun’s Sticky Bombs are great for large groups of enemies and Cacodemons, while its Full Auto mode can tear through bigger enemies.
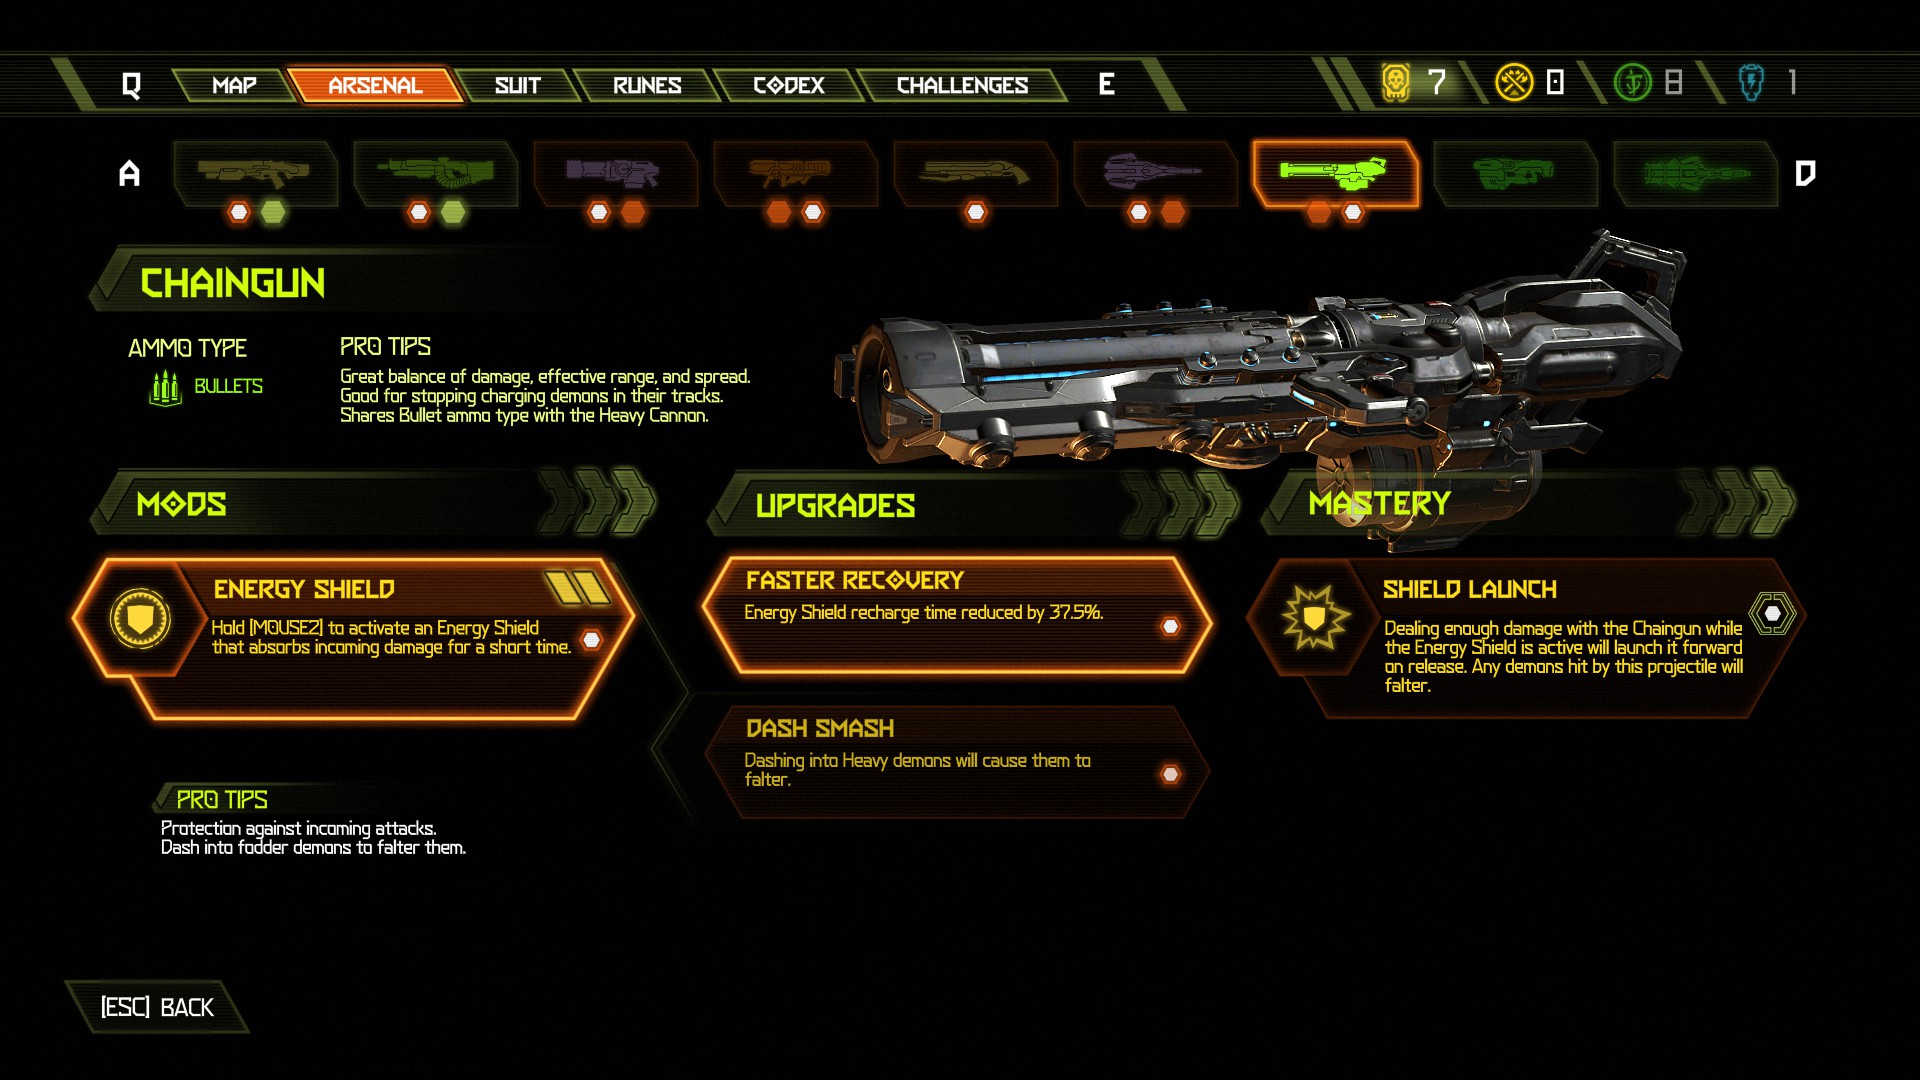
When you acquire the Chaingun, it possesses a weapon mod that lets you project an Energy Shield while firing. This is my favorite weapon in the game because you can burn through enemies while protecting yourself from incoming damage. If you’re having trouble with a specific encounter, I highly recommend utilizing it to push through.
Grab Sentinel Crystals first
You’ll find a handful of Sentinel Batteries throughout Doom Eternal that let you unlock different portions of the Fortress of Doom.
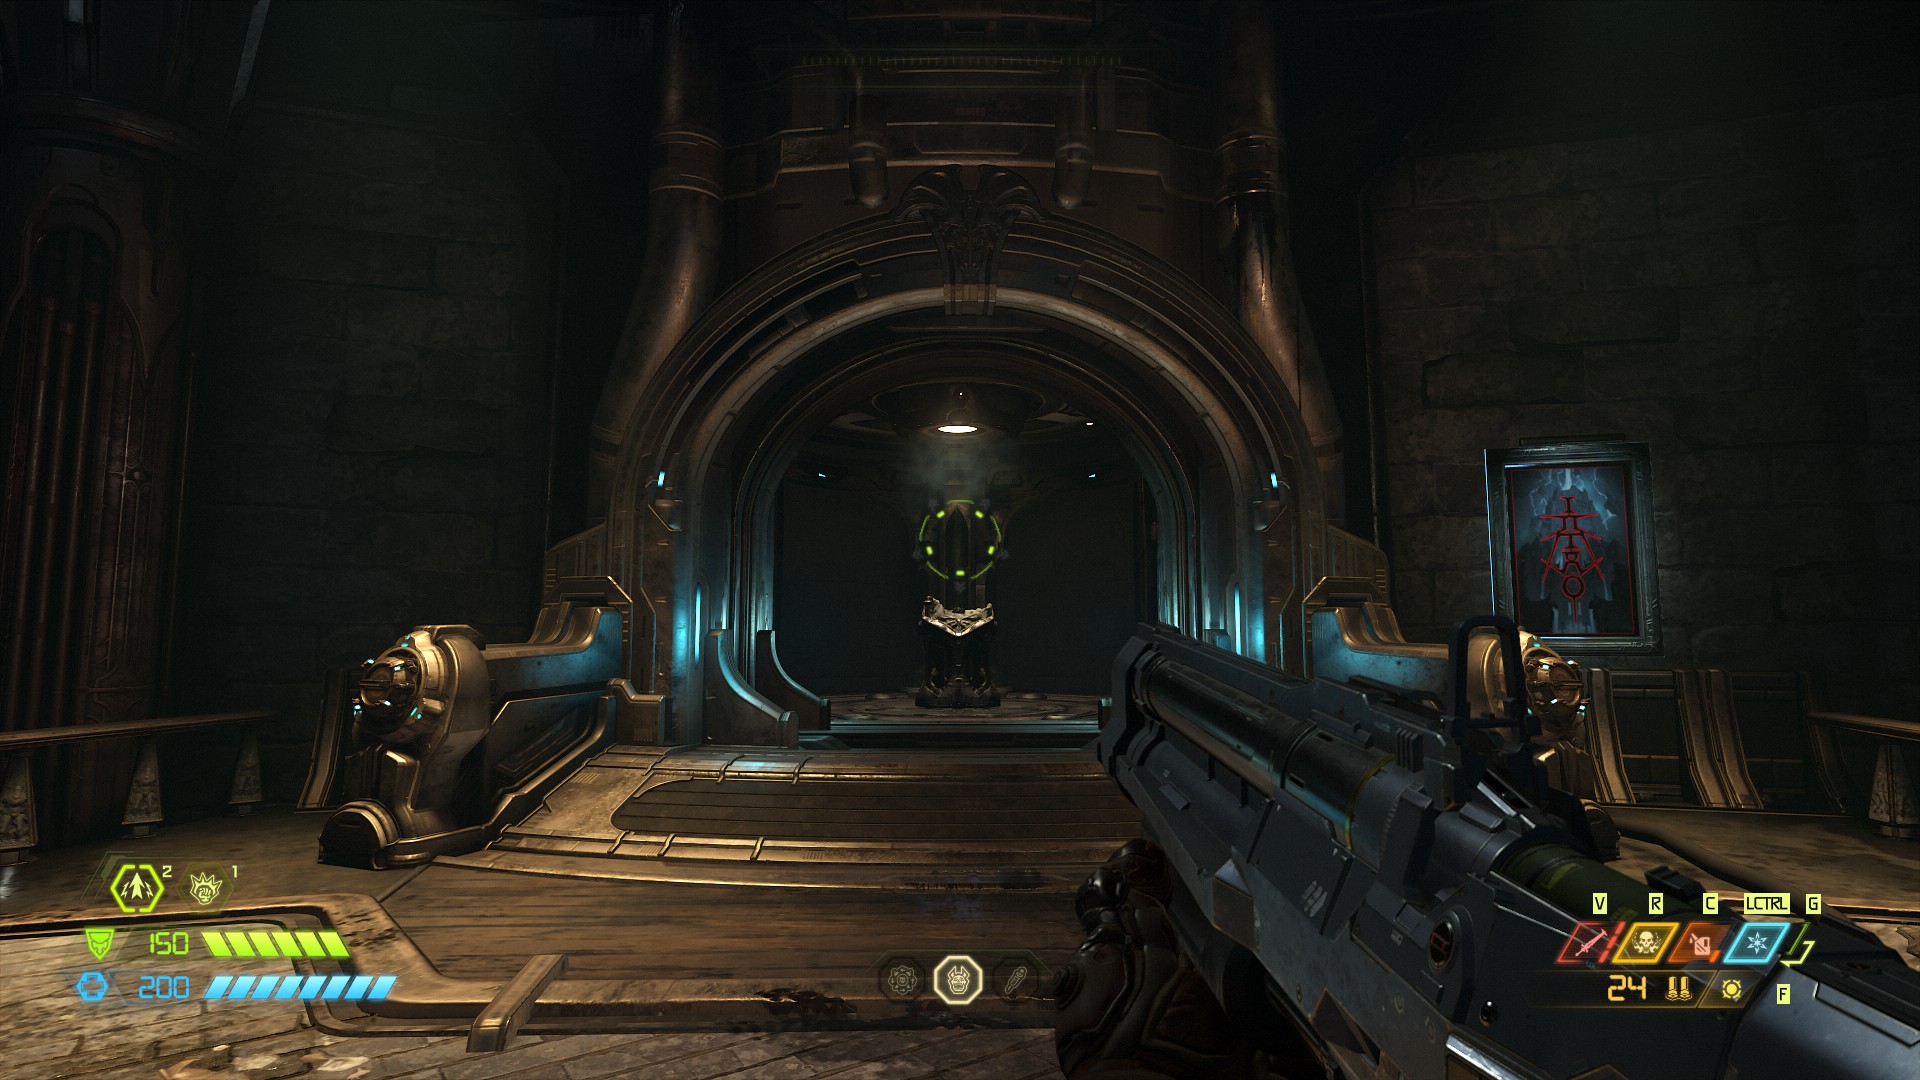
Try using your first batch to unlock the Sentinel Crystals on the ship, as this will give you access to permanent stat boosts. You can use the Sentinel Crystals to upgrade your Health, Armor or Ammo. Additionally, they come with important bonuses, like Quickdraw Belch, which reduces the cooldown between Flame Belch uses.
Defeating the Marauder
The Marauder is the most daunting enemy in Doom Eternal and fighting him can be confusing because the tooltip is slightly incorrect about how to defeat him. You’ll want to stay at a medium range. Getting in too close will cause him to blast you back with a shotgun and going too far will result in him launching his ranged axe attack. Maintain a distance equivalent to about a dash away from him and have your fingers ready.
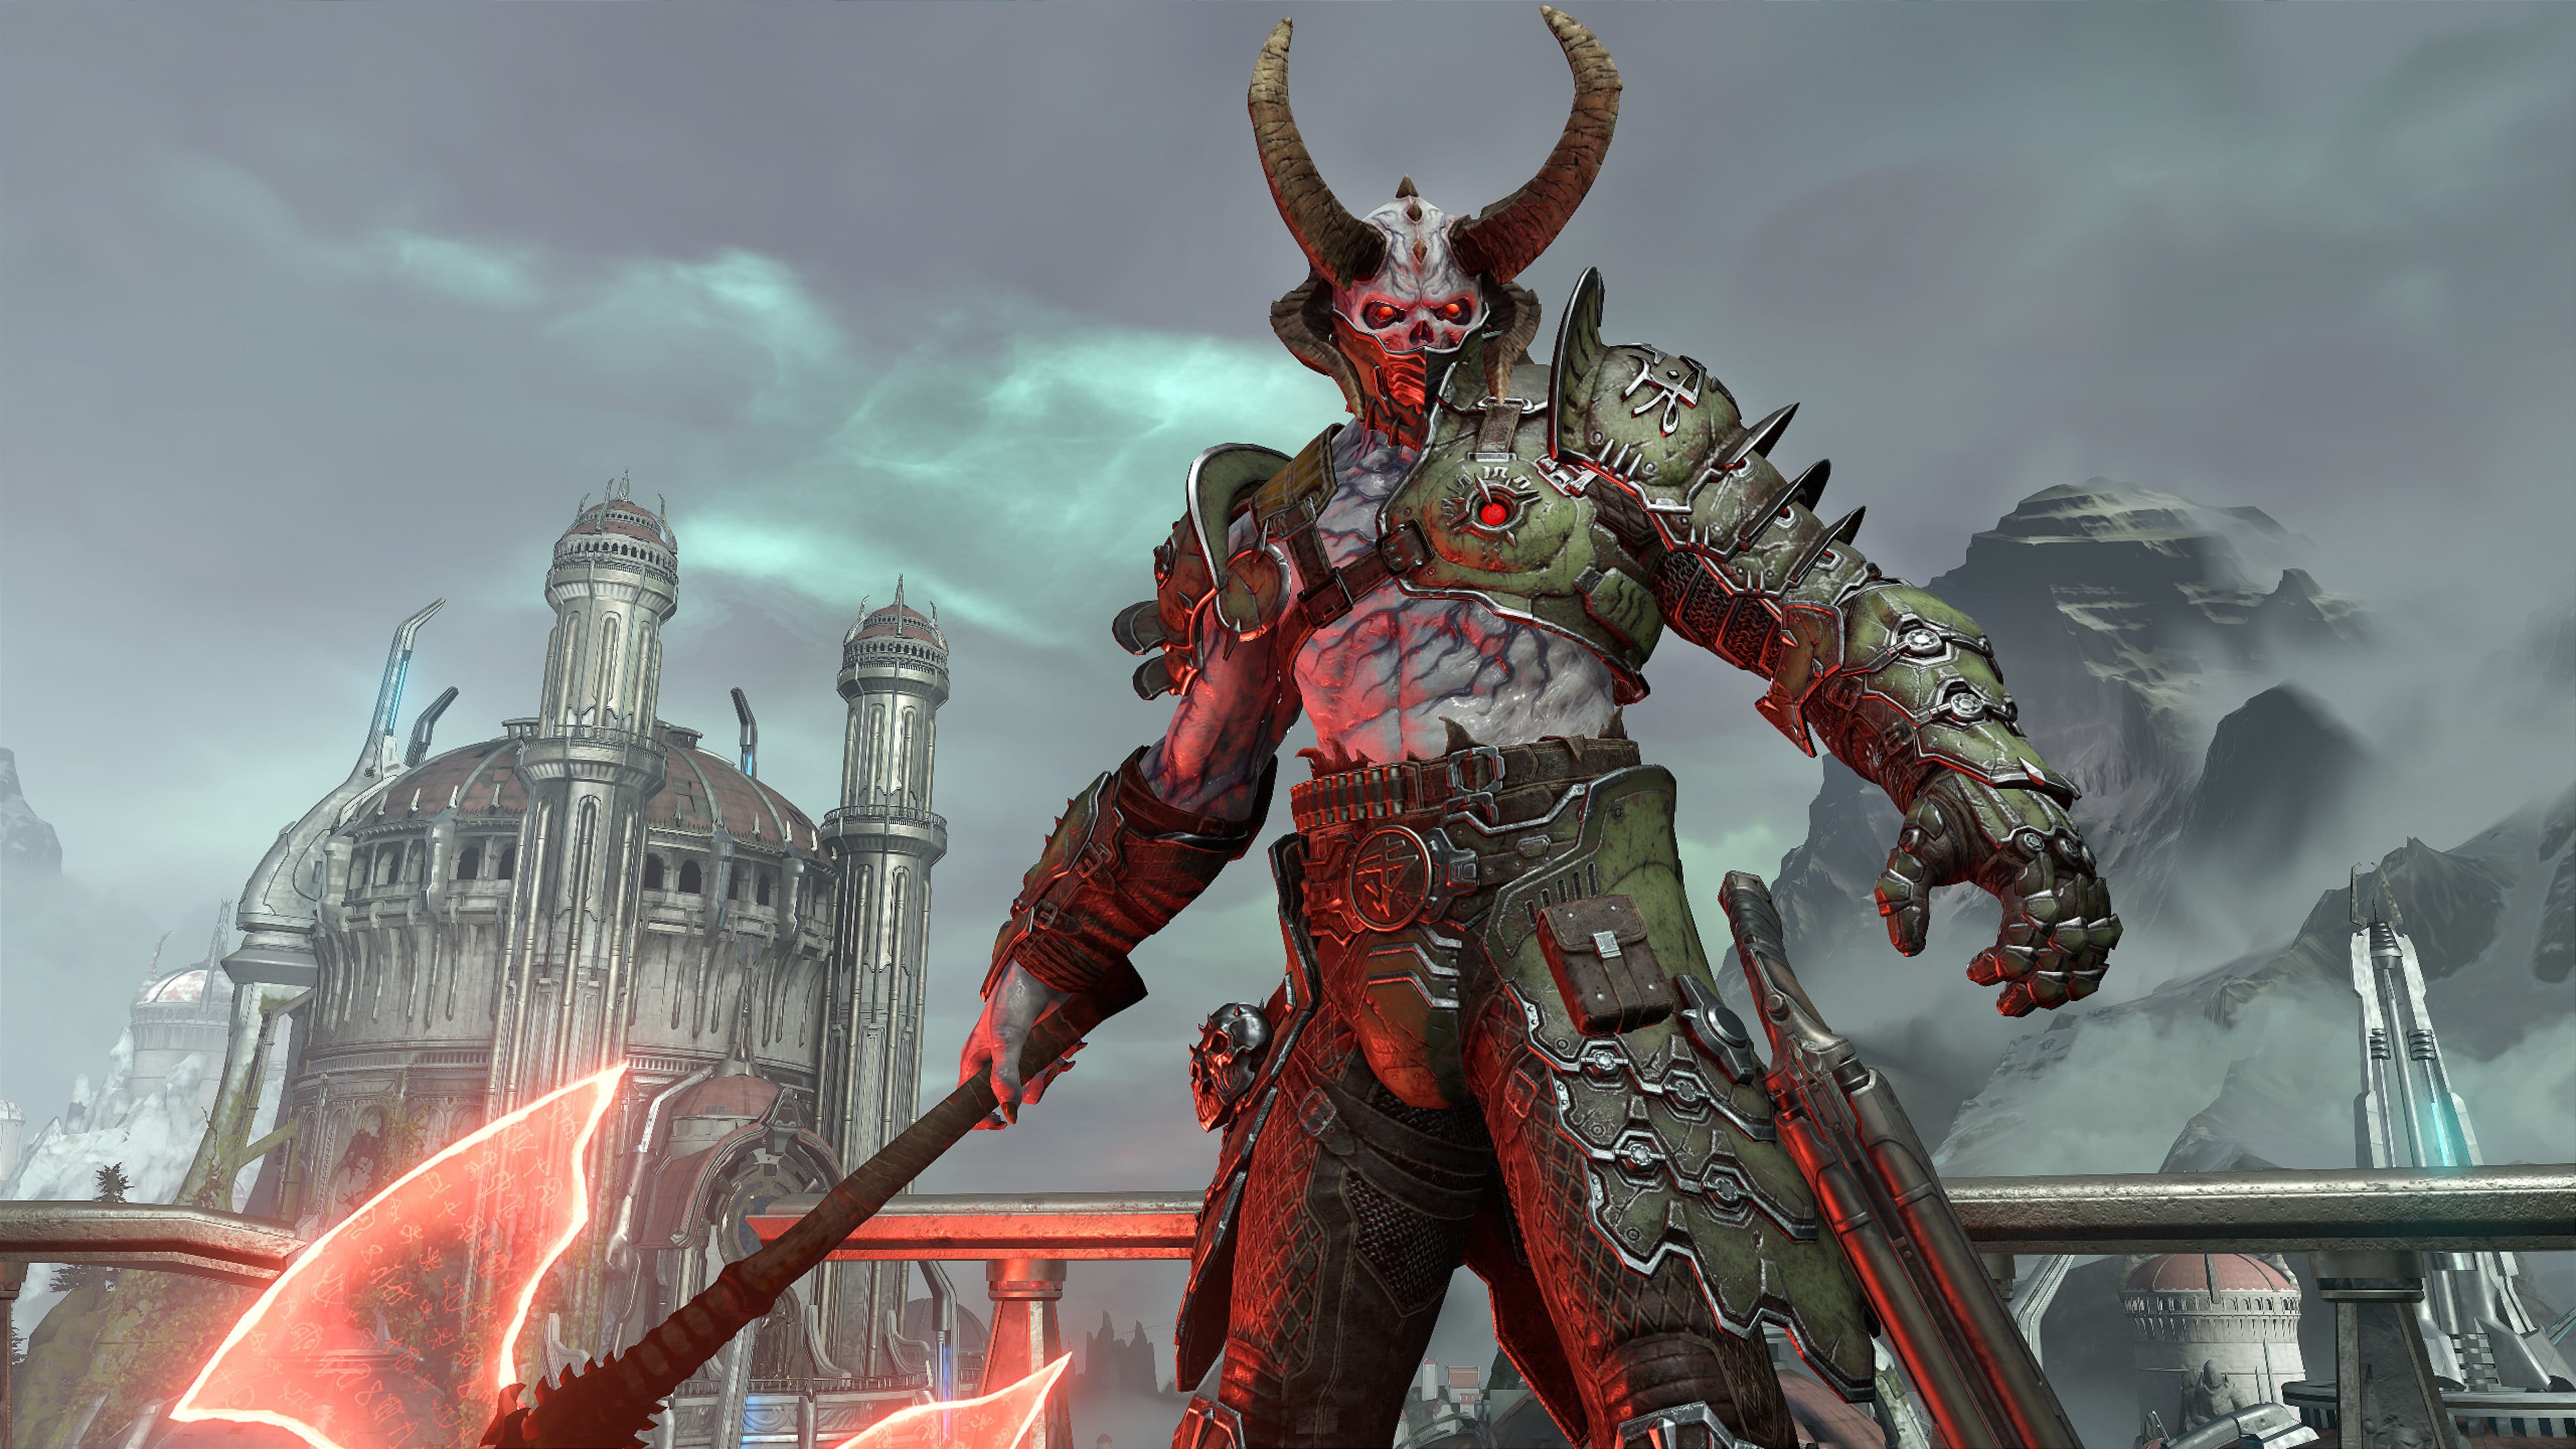
Once he launches his ranged attack, dash to the side and his eyes will glow green as he comes in for an axe strike. Then blast him back with your Super Shotgun, and, once he’s stunned, continue pelting him or swap to the Ballista to get some extra damage in.
However, even when his eyes glow green and he comes in for the axe attack, you should still be prepared to dash away. Hitting him with the Super Shotgun will stun him most of the time, but this is not guaranteed. As a safety measure, shoot him when his eyes glow green and immediately dash away just in case. If you’ve successfully stunned him, you can quickly dash back in and continue to fire.
Be careful dashing backward
As you go through frantic motions and run in every direction, it’s always a good idea to avoid dashing backward.
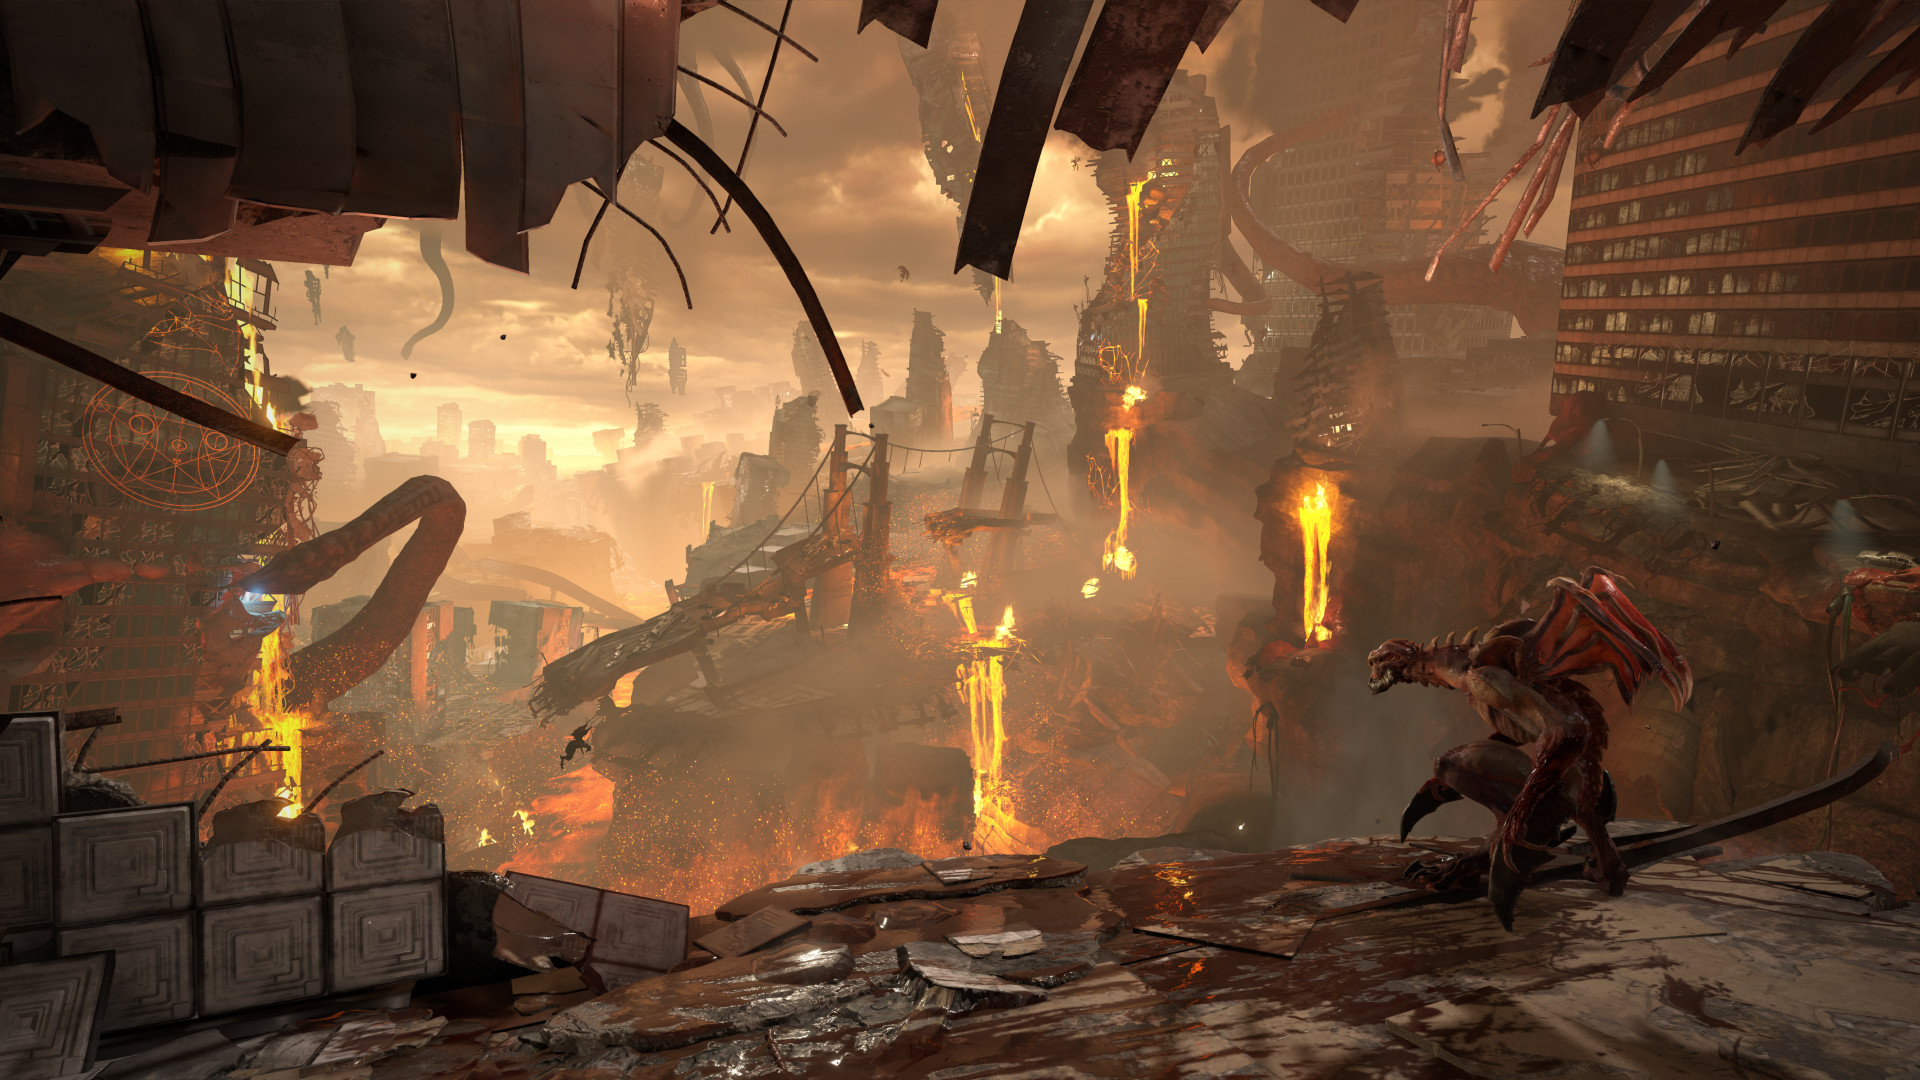
Many of Doom Eternal’s enemies only need to be close for a second to launch a melee attack, and dashing backward into unknown territory guarantees that you’ll get swiped by something. Considering these enemies have the capability to remove half of your health with one hit, it’s best to be very careful.
Acquire Saving Throw immediately
When you find your first Rune, it’s a good idea to pick up Saving Throw.
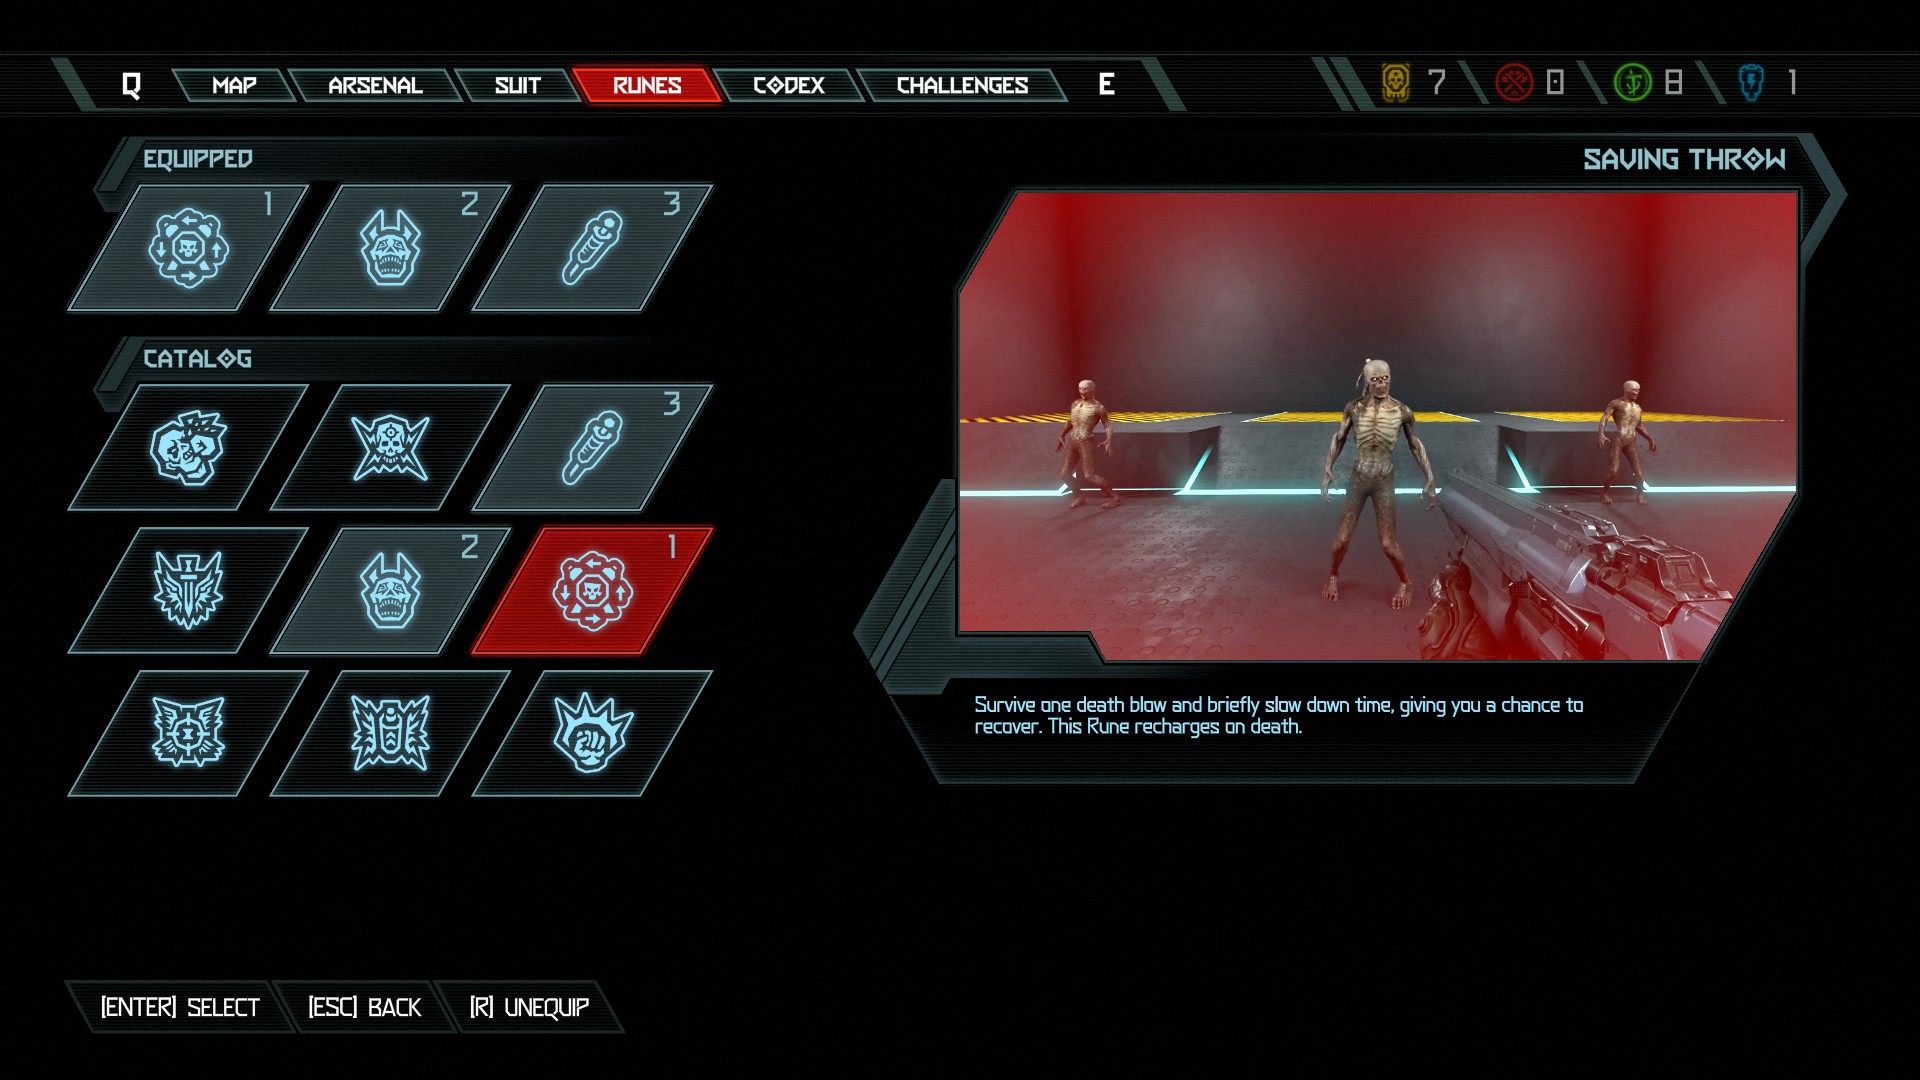
This will give you the opportunity to survive a blow that would’ve otherwise killed you. Enemy attacks on Nightmare difficulty kill you in two or three shots, so this is necessary for increasing survivability.
However, be warned: Bonus lives will activate before Saving Throw does.

Self-described art critic and unabashedly pretentious, Claire finds joy in impassioned ramblings about her closeness to video games. She has a bachelor’s degree in Journalism & Media Studies from Brooklyn College and five years of experience in entertainment journalism. Claire is a stalwart defender of the importance found in subjectivity and spends most days overwhelmed with excitement for the past, present and future of gaming. When she isn't writing or playing Dark Souls, she can be found eating chicken fettuccine alfredo and watching anime.